A week in the shop
13 Nov 2018
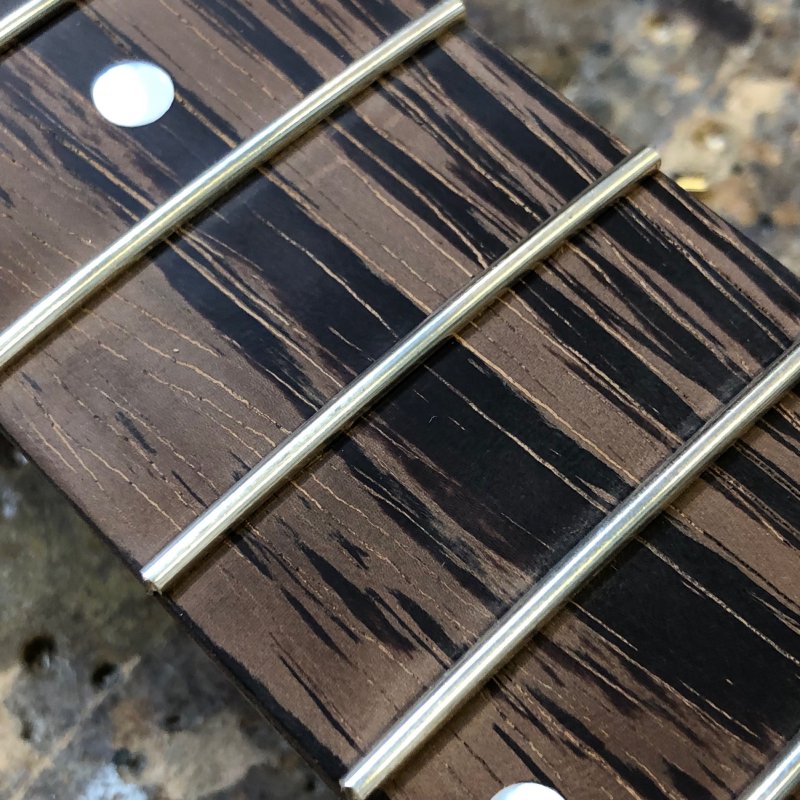
At the end of last week I’d installed the frets into the neck for The Clydesdale offset guitar, but I wasn’t happy with how one of them as sat. In the end I decided the best option was to remove that fret and put in a fresh one; not a decision to be taken lightly, but it was definitely better than fighting with the existing fret further and risking chewing up the fret slot. Having gone through the delicate operation of removing said fret (an operation made considerably easier because it wasn’t sat right anyway, which meant I could readily get purchase to remove it), I replaced it with a new fret that started with a much closer over-radius (as covered last week), and it’s now sat home perfect.
This coming week I’ll start the fun of levelling, rounding, and polishing the frets.
Overall, although the wenge looks nice, I think in future I’ll see if I can find another wood to work with for dark fretboards. Wenge looks lovely, but whilst I’m still finding my feet as a luthier the difficulty of it means I’m trying to tackle too many variables and it’s slowing me down quite a bit in terms of learning. I think it’s better to learn one thing at a time and keep iterating rather than working on multiple things on a single project. So wenge again in the future certainly, but I suspect I’ll try other rosewood alternatives next time around, even if they don’t look quite as special.
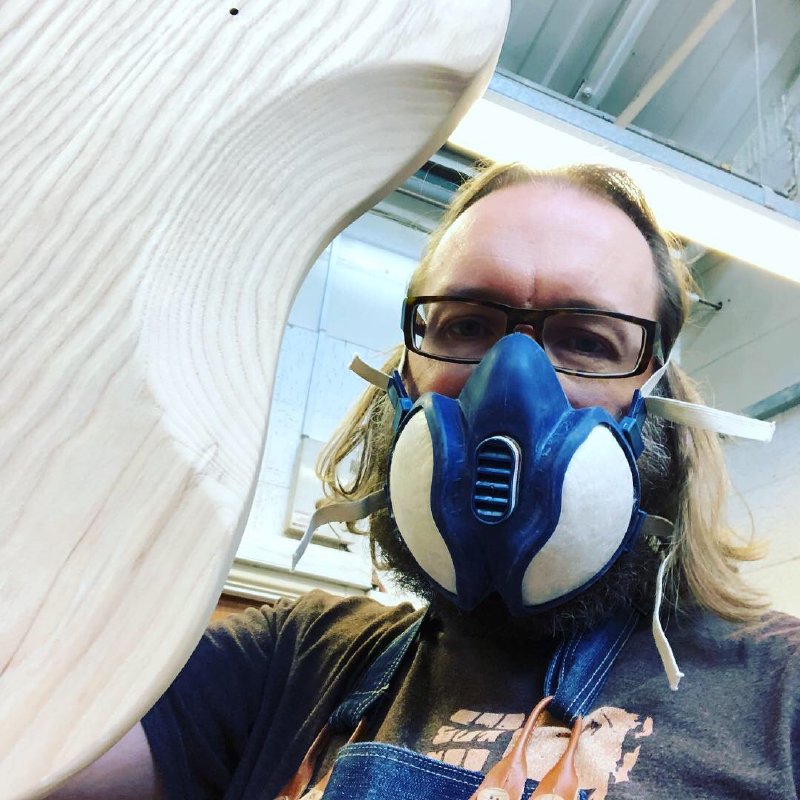
One of the nice bits of a guitar building is when you transition from fabrication to finishing: although you still have a good few weeks to to, it signals you’re on the home straight. With the next getting close to being ready I turned back to the body for The Clydesdale which has hung to one side in Makespace for a while, and I spent a good few hours getting it sanded to the point where I could stain it.
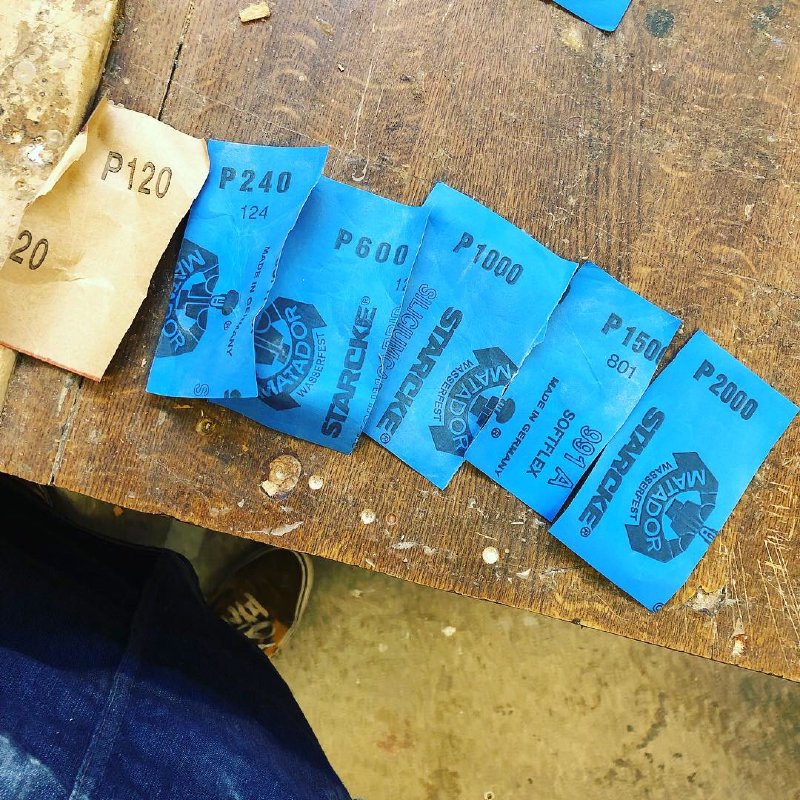
Natural wood finishes on guitars are probably more effort than is logically justifiable compared to painting. Not that painting doesn’t have its own set of complications, just that the effort to appreciation for natural finishes is more questionable :) Wood is a soft natural material, so it’s easily scratched or dented, and additionally it will sometimes naturally contain imperfections you can’t do much about. If you paint the guitar body then you can mask a lot of this which won’t impact the performance of the instrument but would be considered visually unappealing. For a natural finish you need to not just sand the wood smooth to touch, you need to get rid of any slight blemish you see, as staining and oilling tends to cause these imperfections to be accentuated. Thus I easily spent over four hours on sanding the body for this guitar to first get rid of any machine marks, then going up through the grits to get a smoother and smoother finish until it was flawless.
There’s a saying in my workshop (admittedly only by me, but I do say it often enough): higher grits of sandpaper only exist to show you what you missed two grit levels down. You’ll happily review the body after completing it with 600 grit sand paper, but by the time you get up to 1000 or 1500 you’ll find scratches that weren’t there that are visible now, appearing apparently out of nowhere. For example, you can just see tiny scratches here on the lip of the horn that were not visible before reaching higher grits:
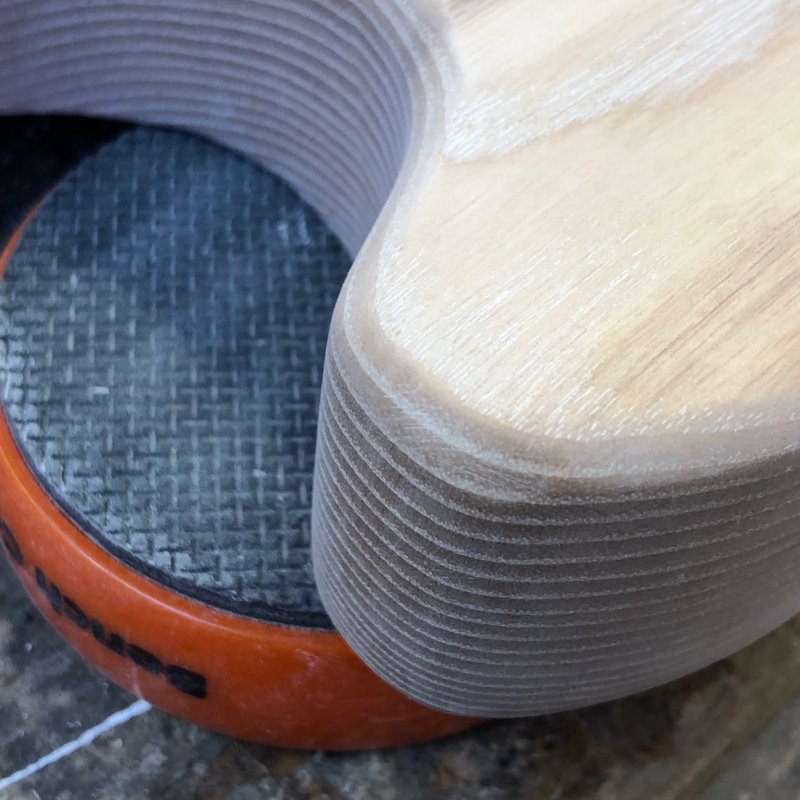
At this point you need to go back down several grits and work your way back up for that area, and then other ones will appear as you get up to 2000 grit. All of which is a long winded way of saying that if you have a guitar with a natural finish appreciate that it takes a disproportionately longer time to get right than painting :) Still, by the end of Sunday I got the body to the point where I could start applying the coats of stain.
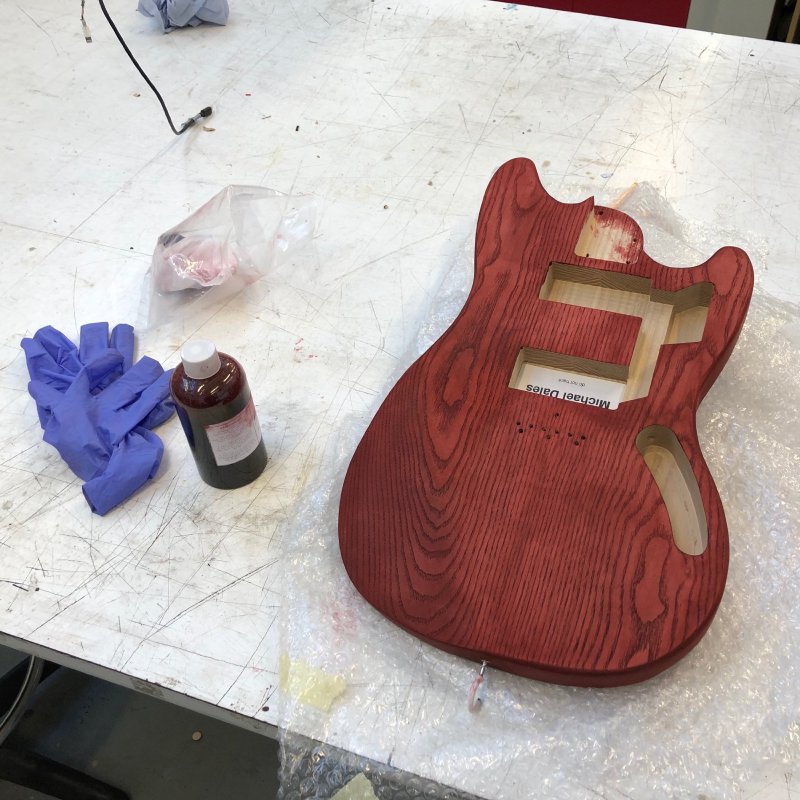
Generally I apply 5 to 6 coats of stain, once a day, to get a consistent rich colour, and then the same process is repeated with finishing oil until it has a nice protective shine. It’s a two week phase where you touch the guitar once a day for ten minutes, but the end results are lovely.
We do lots of training in Makespace (the community workshop where I do most my guitar building) on how to operate tools and equipment, but we don’t do much in the way of broader why would you want to use this tool in the first place. Myself and other workshop regulars are trying to change this, and we’ve put in place a couple of things to try and make it easier for people to learn the broader context for how things are made: it’s no good teaching people to operate equipment if they don’t know they need to use that equipment in the first place or what is possible with the tools we have.
The first of these is a monthly(ish) Show & Tell evening themed around Fusion 360. I’ve been running a Fusion 360 course for a while now at Makespace, and I’ve been having conversations with individuals where they’ll explain to me how they made something and I end up learning something I didn’t know (and this is why I do the teaching in the first place - teaching definitely pays back in spades as others go on to do cool things with their newfound knowledge). But it seems inefficient that I have to speak to everyone I’ve taught individually to get this information, and then it only ends up with me learning and not everyone: thus the Show & Tell evening. Each month we have three people talk for 20 minutes about a thing they’ve made and now they designed it. The thing doesn’t need to be tricky - 3D design and manufacture is a complex topic, so even seeing how seemingly trivial things have been made usually turns up a few gems that half the room won’t have seen before. Feedback from our first one was positive, and I certainly have learned from it things I’ve since put into practice as I design my guitars for 2019, and I look forward to the second one this week coming.
The second event was I did a sort of advance tutorial on how to use a hand router, taught both by myself having used templates etc. with guitars, and with another member who’s got a lot of experience in building furniture and the like (which also meant I got to learn things as we did the session). The aim was to go beyond how to operate the hand router, but show off what you can do with it beyond just round over edges on things. We talked about templates and jigs, how to make different styles of cut etc. It seemed to go quite well, and I was pleased we got quite a broad audience, going beyond the obvious wood working crowd in Makespace. It’ll be interesting to see if any of these people go on to make things in ways they otherwise wouldn’t have in future.
I definitely think that this broader set of learning in Makespace is something, along with the assistance of others, we can do more of to try and open up the workshop beyond just a small niche of regular tasks people currently use it for.