An xmas weeknotes
Published 31 Dec 2018
Tags: cad, CNC-routing, necks, scarf joint
It being xmas this week there wasn’t much time spent in the workshop itself, but I did get some bits done.
Just before xmas the replacement material to make the pick guard for The Clydesdale guitar turned up (two sheets, just in case), so I nipped into the workshop to have a go at cutting it again. Given I had all the g-code generated for the CNC router to make the pick guard I was going to just re-run it all, on the assumption that the CNC router had just glitched as was demonstrated on previous failures, but paranoia got the better of me and as a precaution I went back to the g-code for that path that failed and re-ran it on the machine with no material (running it “on air” as people like to say) just to convince myself it was a glitch (when the CNC router previously destroyed parts running the same g-code on air had just worked, strongly implying it was a glitch in the machine).
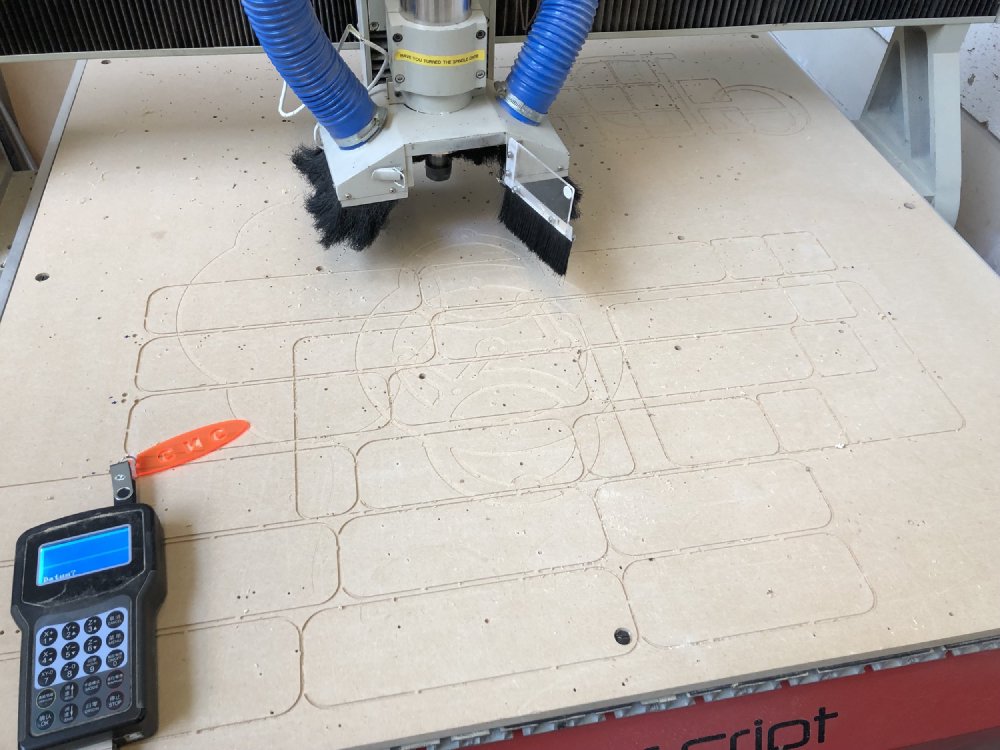
Turns out it was a good job I did this, as the machine did the same erroneous cut as before with this g-code! The g-code itself I’m convinced is valid (and others have reviewed it and said the same). In fact, when the CNC router makes the incorrect cut it is on the final layer of five (the material is 2.5mm thick and I cut it out in five passes, each just taking off 0.5mm), and it fails despite the fact that the exact same g-code is executed for each layer (I took apart the g-code file and compared the section for the failing layer with the one immediately above and it is byte-for-byte the same g-code).
I tried repeating the experiment multiple times, changing the feed speed of the CNC router, the origin offset, and even power cycling it on and off for a period of time, but this valid g-code file will fail 100% of the time.
This is both good and bad, for obvious reasons. Firstly it’s good, when something goes wrong it’s always good to be able to repeat the failure so you have a test case to show that you’ve fixed it. When in the past the machine has failed once and then never shown the error again it leaves you nervous as to when it will next strike. But the bad is that here there is no valid reason the machine should fail like this, so the machine is wrong, consistently. I suspect I can work around this, but it’s proved once and for all that the machine controller is wrong and needs replacing before I do any more expensive work on it.
Unfortunately all this meant I ran out of time to actually cut the scratch plate, so that’ll be this weeks top priority. I’ll regenerate the tool paths from Fusion and run them on air before trying to cut them on the CNC this time.
On the tool replacement front whilst the solutions I was looking at last week seem okay, I had a chat with one of the Makespace directors, and I’m mostly unconvinced any of them will work in the Makespace environment. Here we have a lot of new people come in who haven’t used kit like a CNC router before, and everything I tried just felt too flakey to be put to that purpose. Instead we’re going to investigate more embedded controllers again, such as the Masso CNC Controller.
That’s not to say people shouldn’t use Grbl and tools like Universal G-Code Sender, but just you need to understand what you’re doing with those tools more than you would with an embedded pendant solution like the one we have been using, where there is just less to go wrong, and less to reset when you get confused.
Whilst away from the shop I did sit down and try to get a couple of guitar neck designs done that I’d been meaning to do for a while: one simple and one complicated.
The first was working out how I’m going to make a neck with an angled headstock given the limited set of tools I have at my disposal. The new guitar design I’ve worked on for 2019 is based on a symmetric body design, so I really want to switch to a symmetric neck design, and I’ve gone for something that looks a little more like the Gibson/PRS style, compared to the inline headstocks I’ve been doing until now.
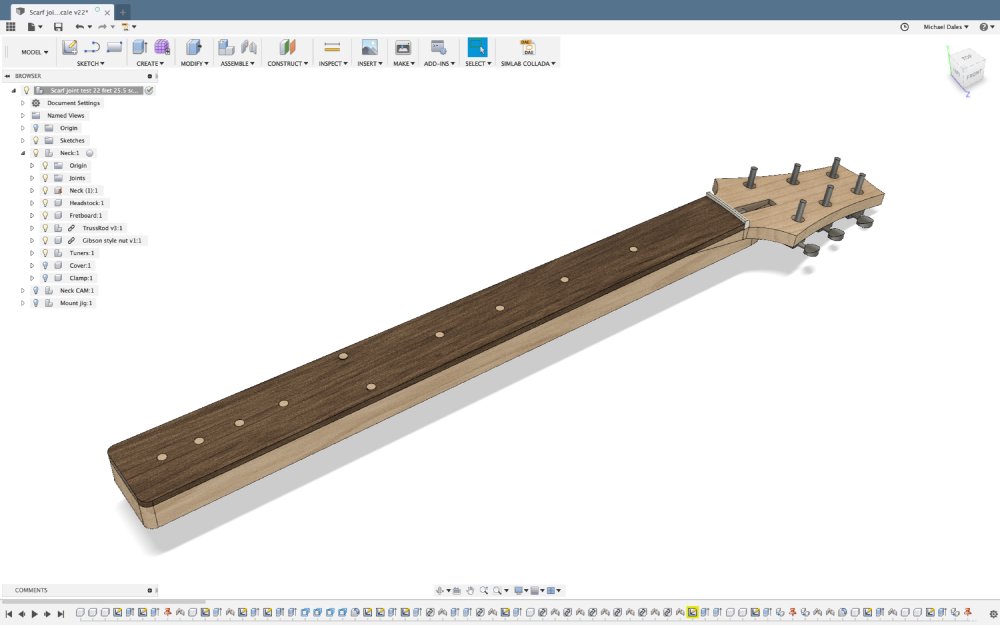
Rather than make the neck from a single bit of wood, which would waste a lot of material, I want to make it using a single bit of wood that’s split at an angle and glued back together at the neck/headstock join, what’s called a scarf joint. In theory there’s many ways to do this, but all the obvious ones require tools I don’t currently have. For example, we have a band saw at Makespace, but it’s not that good quality wise - best for roughing up planks not getting precision cuts like I’d need for this joint. We also have a mitre saw jig, but it won’t go to as shallow an angle as I need here (10˚).
Thus in the end I’ve come up with a slightly harebrained scheme that involves CNCing out the two parts of the neck, and then using a complicated set of jigs to glue them into position.
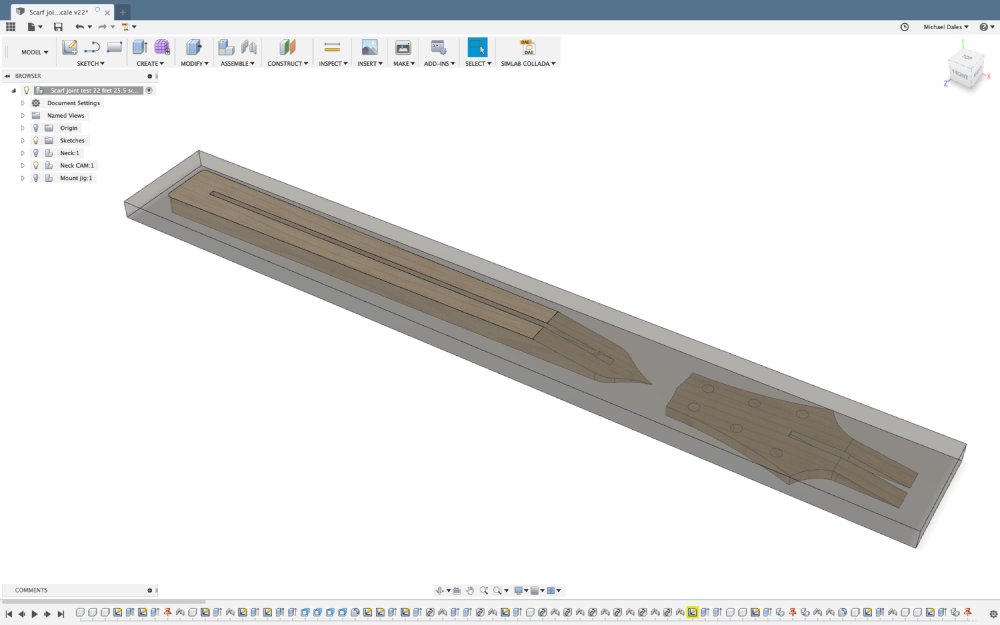
The positioning is key here, as there angles and shapes make it hard to align without some sort of jigs, and the obvious clamping surfaces are not straight on to the plane of the join, so there’s a risk that the two parts will slide apart once clamped, thus it all gets very complicated. I’ve sat on this problem for several months now, and I finally decided to just ask for help from a couple of more experienced wood workers I know, and they agree that my harebrained scheme probably is the best I can do with the tools at my disposal. Once The Clydesdale is done I’ll probably give this a go as a novelty.
The other bit I did was playing with new inlay designs, just using my older neck design as a template for it. I do in part still want to replace the neck on The Blues Deluxe t-style so I can feel happy selling it on, as (as I’ve mentioned before here) the neck warped when glued and whilst at the time I managed to save it, I don’t think its up to the standard I’d expect today.
Anyway, I clearly was missing video games, as the design I came up with is a slight mashup based on game controller arrows to complement the chevrons on the strap that guitar has:
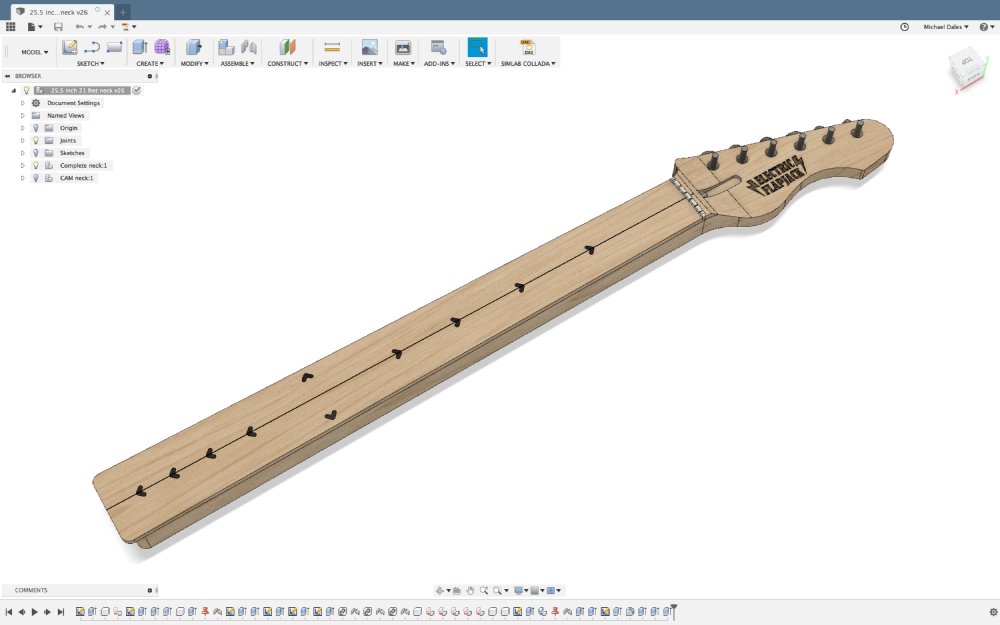
I have to say, for what should have been a simple design, getting the arrow inlays to work in Fusion 360 was quite a pain. I had to specify lots of constraints so that when I copied and moved the design around the neck each time it’d stay in the right shape, and I could define a proper midpoint for positioning it between each pair of frets.
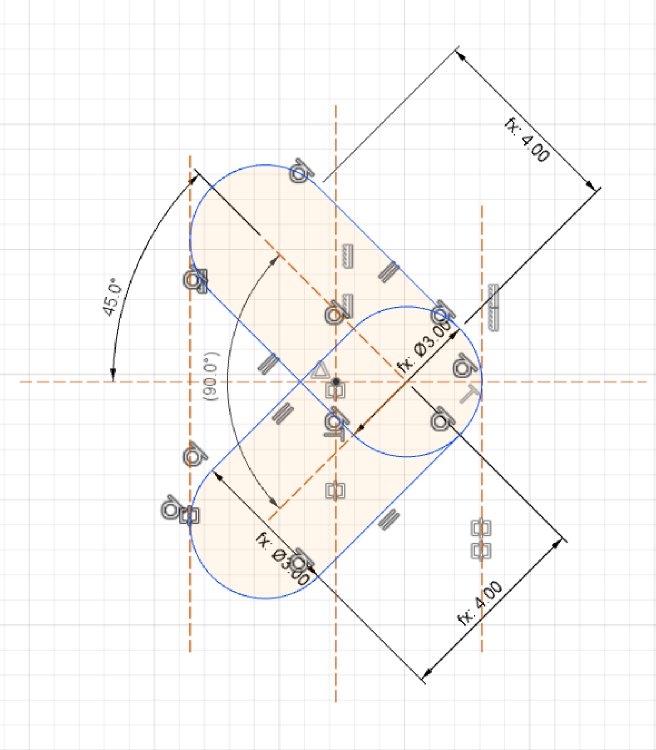
I’m sure there must be an easier way than what I did, but I couldn’t find one, and at least that got me there in the end. Not sure this is the final version of this look, but it’s nice not to have the same old circles for a change.
And that’s a wrap for 2018! I’ve started a year in review post, but for now let’s just say 2018 did not go the way I planned, but I learned a lot along the way. The trick will be turning that learning into momentum in 2019 and getting more guitars made, rather than just reeling from setbacks as I’ve done this last year. Good luck with whatever you’ve got planned for 2019!