A week in the shop
25 Jun 2018
Important reminder up front that I’ll be at Liverpool Makefest this coming Saturday, with a stand explaining how I build my guitars and now you could to. I’ll have some guitars and in progress bits on show, and look forward to meeting people and trying to help them see how something like this can come together. I had a lot of fun doing it last year, and look forward to meeting people this year too.
I’ve also had my talk proposal on how to get started in a new domain accepted for EMFCamp later this year, which I’m looking forward to too!
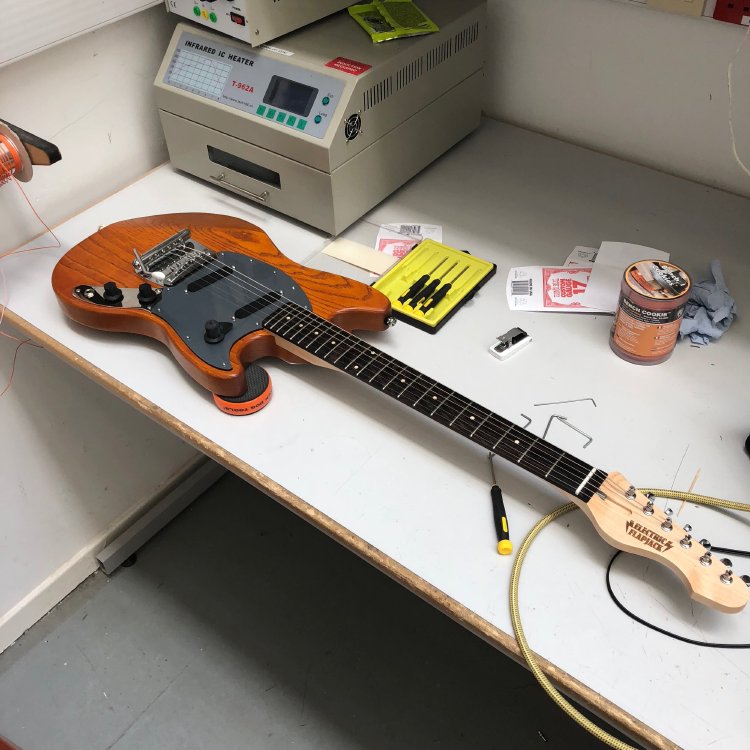
The prototype offset finally came together this last week, which has been a much welcome confidence boost after all the setbacks of the last few months.
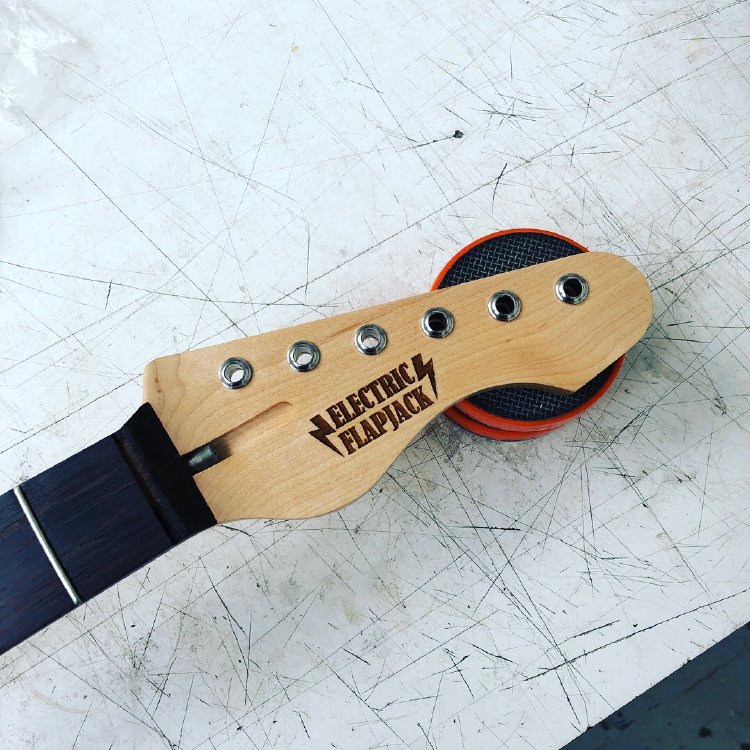
The start of the week was doing the final assembly, which was a little slow due to this being the first guitar I’ve built from this CAD design. It’s the little things such as the tolerances for things that need to fit snug needed a little final tweaking; I’d made them small in order to be conservative (as you can’t add as easily as you can take away), and so the fittings for things like the thimbles that hold the bridge in place and the ferrules for the tuning pegs all needed a little sanding to remove a half millimetre or so. to get them just right. This is a slow process, and quite hard on the hands: not having a proper tool for the job (as I didn’t realise there was one) I was using sand paper wrapped tightly around a drill bit, with lots of care being taken not to scratch the finish.

It turns out there is a tool called a reamer which would do this job, so next I’ll hopefully be able to do this quicker. Because I am using vintage style tuners, which have a stepped hole, I didn’t think I could use a reamer at first, but you can buy two tier ones from StewMac, which is good to know (many thanks to Leddington of G Leddington Guitars for educating me on this!). That said, I’ve also gone back to my CAD model and adjusted the sizes of these holes now I know that they need a little more room. Still, the end result was a nice snug fit for both the ferrules and the thimbles.
I also drilled all the final holes for mounting the pick guard, the strap buttons, and the control plate. It’s always somewhat nerve-racking to take a drill to a nearly finished guitar, but again you just need to be slow, and I find starting with a small drill bit (say 1 or 1.5mm) and working up for the bigger sizes always pays dividends in ensuring that your holes are where you want them, and well worth the extra time.
The little gauge I was printing last week to measure pot shafts came out nice, and I’m glad I extended it to a full millimetre larger than the described shaft size as in the end for the pickup selector that’s what I needed
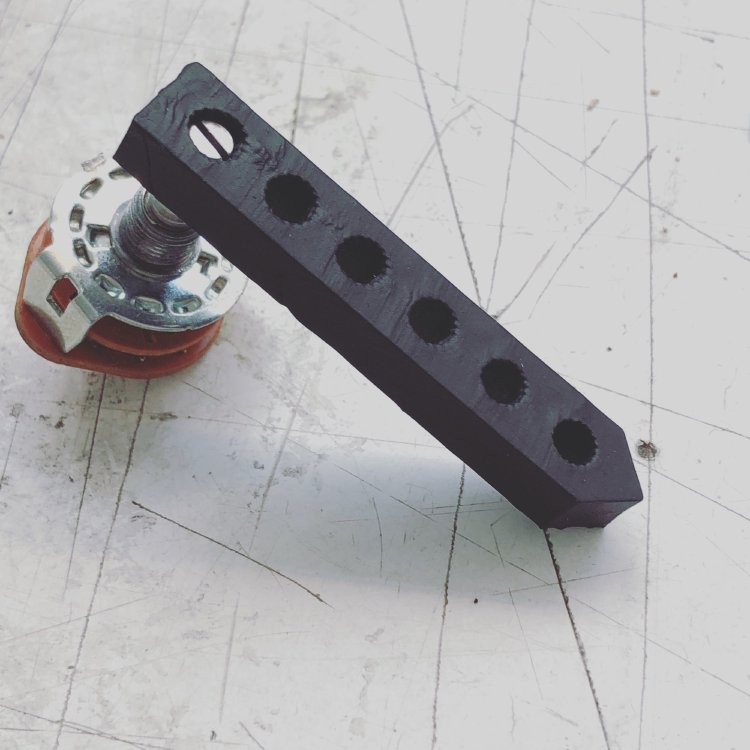
Thanks to that I was able to print a first set of controls for the guitar on the Formlabs FormOne printer here at Makespace. Once printed I wasn’t happy with the finish of the print itself, so I took time to sand it like I did the body, going up through the grits from 240 to 2000 before finishing with wire wool (to get into the tighter gaps) and the end result is lovely. I have however had to print a second batch. The pickup selector hand’t cured properly inside, and that selector switch is quite stiff, so in the end I ruined the teeth. The volume and tone controls worked fine, but I felt they sat a bit too high, so I reworked the design to have more of a hollow underneath and made them taller. I’ll try fitting them this coming week.
Otherwise the guitar came together well: for once I got the electronic soldered first time, despite switching from leaded to unleaded solder: for things I’m not selling I’ve been using leaded solder as it’s easier to work with, but now I’m going to start shipping these guitars I’ve had to switch to unleaded which is harder to work with. Still, it fired up first time:
It still needs final setup, but I’m really pleased with how this guitar has turned out. The swamp ash body has a wonderful light weight to it (thanks to Matt of Fidelity Guitars for turning me on to swamp ash), the House of Tone Mustang pickups sound great, and I’m pleased with the pickup selector which has four positions giving me neck, bridge, both in series and both in parallel. The pickups are wound in opposite directions so in the combined positions you get a nice noise cancelling humbucking effect too. I also really like the scale length, which is very comfortable to play.
Now I just need to finish setting it up. That sprints for the dynamic vibrato need tightening, as it loses it’s tuning unless you pull back after using it, and the nut/bridge height need tweaking. But otherwise really pleased with how it’s come together. Now to get the commissions done, which actually will benefit from the learnings I’ve had on this build.
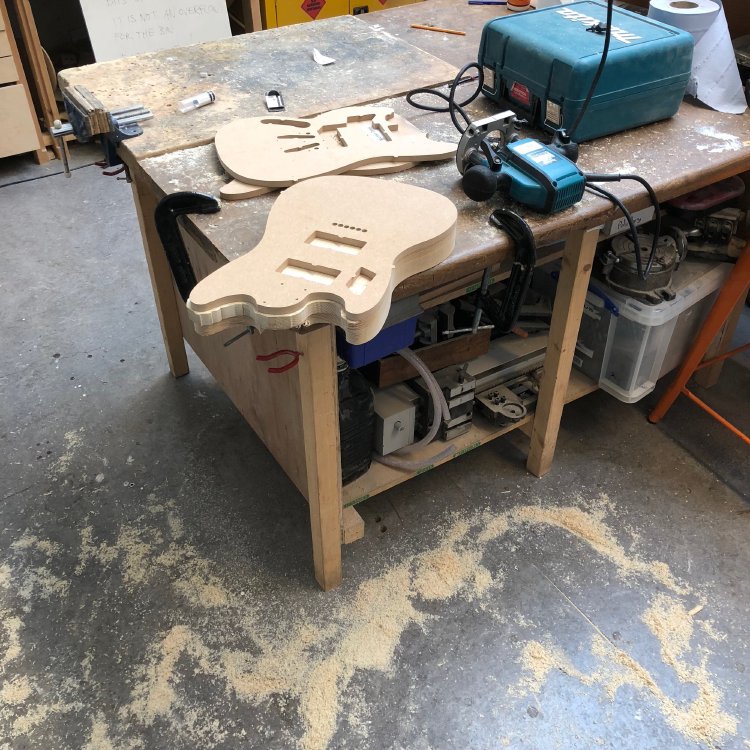
Whilst most of the week was working on the prototype offset, I finished routing out the body I roughed out with the bandsaw last week. I used the templates I made a few weeks back and ran around the edge getting the profile finished. It was slightly complicated by having to avoid the area where the CNC router took a chunk out, and I only had a 24mm long bit at the body depth is 41mm, so I had to template from both sides in the end. But it’s now done and the next task is to plug that hole.