How to plug a mostly-irregular shaped hole in wood using Fusion 360
Published 1 Jul 2018
Tags: cnc routing, fusion 360, measure measure cut, tips and tricks
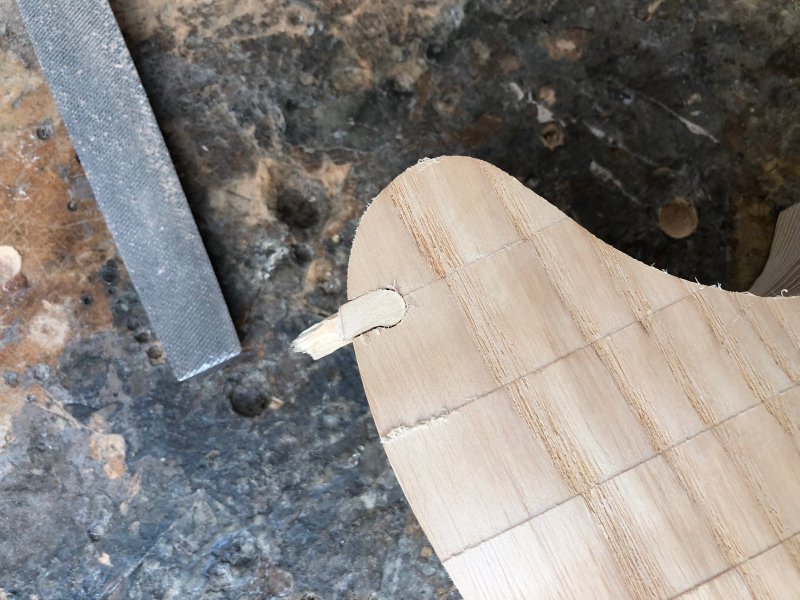
Regular readers will know I’ve had a bit of bad luck with the CNC router this last year, the latest of which was where the router unexpectedly decided to cut into the body of a guitar when it was supposed to be cutting the contours, ruining the body like so:
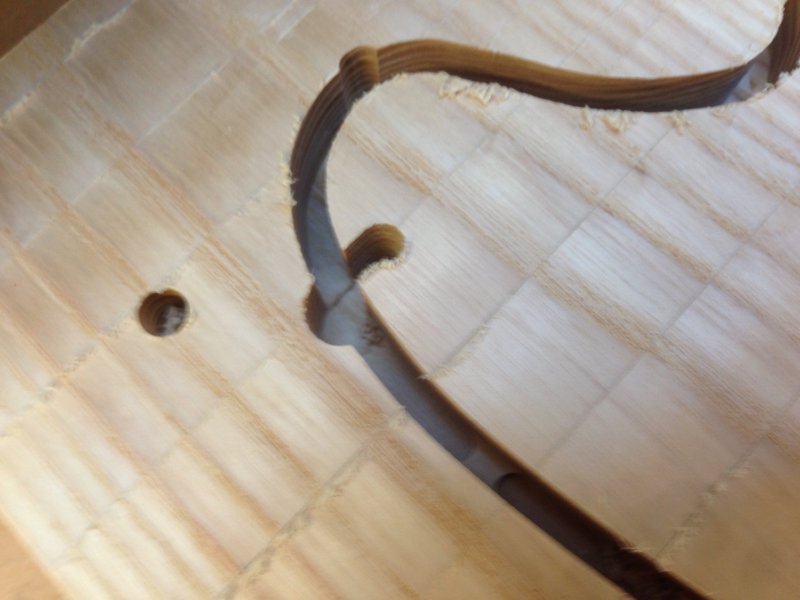
Whilst this body is now not fit for its original purpose any more, as that guitar will have a natural finish, I’m keep to try patch this error and make something from this body given the time and expense that has already gone into it. Having finished the CNC routers job of cutting out the rest of the body by hand using a template and a hand router, I wanted to patch up the hole using a bit of left over wood I had from when I cut the body out.
The typical approach here would be to cut a more regular shape out of the body and then plug that, so (as suggested by Ray over at Black Swamp Guitars) I could have used a wide spade bit to drill out a circular area and plan plugged that with a circular plug. Basically you’re trying to make the problem simple with this cut then patch approach, as patching irregular shapes is very difficult. However, for fun, I wondered if I could somehow model the area cut out here, as whilst it’s not as simple a shape as a circle, it is a series of clean curves made with a router bit of a known size, and it’s also nicely uniform across its depth due to how it was made: thus if I could get the top 2D profile then I could just extrude that to make the plug.
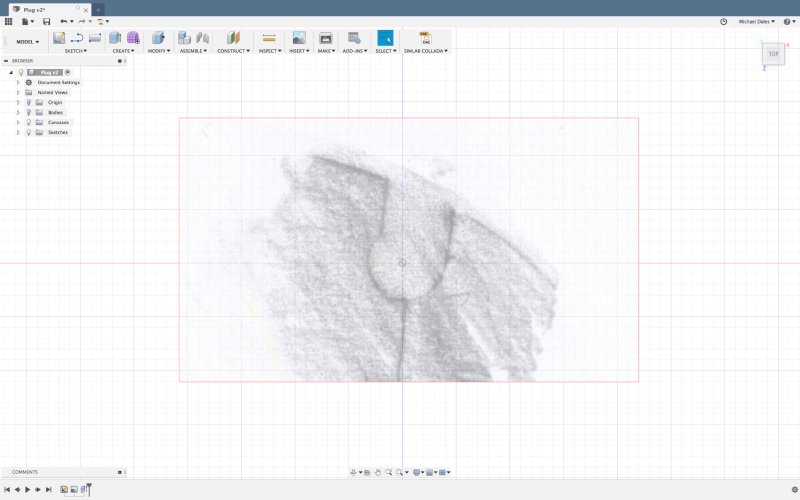
To make the plug, I first did something I’ve not done since I was a child: I got some paper and a pencil and took a rubbing of the top of the guitar in the area where it went wrong.

Having done this, I then scanned it and imported it as a canvas into fusion:
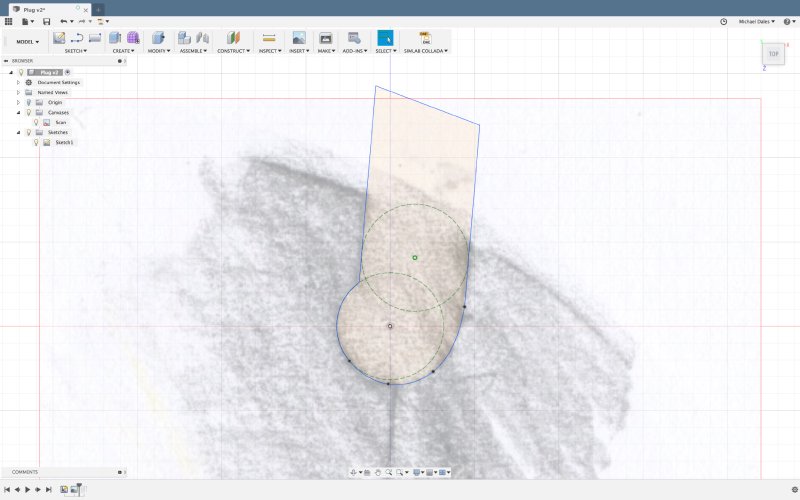
When you import a canvas Fusion doesn’t know how big the image is (it appears to ignore the DPI information in the image header alas), so the next thing I did was make a couple of reference construction circles in the sketch with the canvas, the diameter of which was the diameter of the bit the router was using when it went rogue (in this case 1/4”). Having got those two circles I positioned one so that it was roughly where the inner sweep was as the router cut in, and one in it’s final resting place, and then I could use that to start resizing the image canvas until I was happy I had the image to scale. Once that was done I used the Fusion sketch tools to draw the outline of the damaged area, with a little extra sticking out the side:
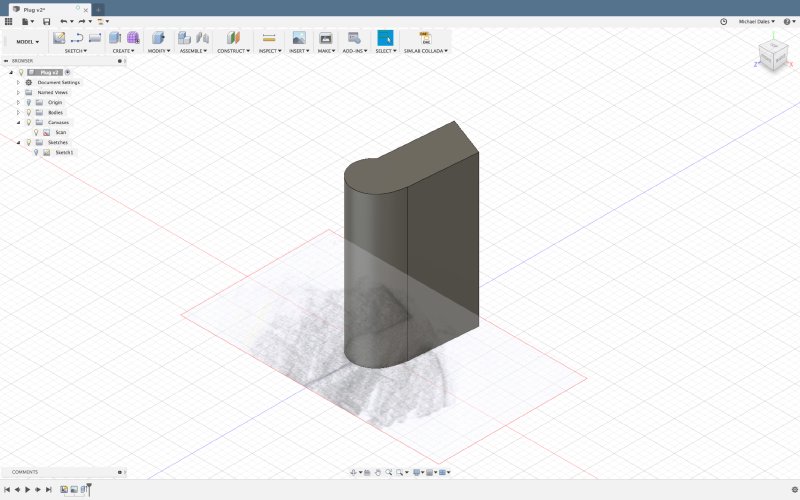
This done I could then extrude the entire shape, and now I have a design for a plug that in theory should perfectly match.
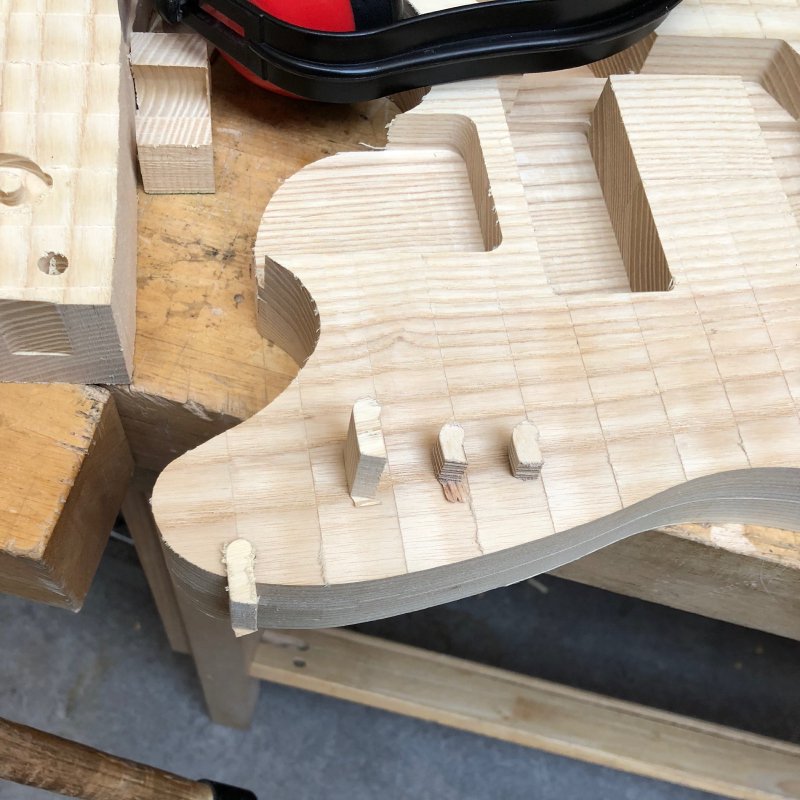
Having got my design, I then made some CNC router toolpaths, and I did an initial test run using a bit of scrap ply I found in the workshop. The result wasn’t bad, a lot better than I expected in fact give I was just basing this off a rubbing I’d made!
The spacing wasn’t perfect though, so I went back to my design and added an offset outline of a couple of tenths of a millimetre, and the next plywood test plug I cut, with a little sanding on the side, fit snug. Satisfied with that, I then went to my ash offcuts and cut a taller test plug, which still worked, and finally I did a 4th and final plug where I matched the grain of the wood as best I could to the surrounding area where it was going to sit. Again, after a little sanding, it fit perfect:
Obviously when I say fits perfect you can see I have overhangs on the top and side, but that’s deliberate: it’s much easier to level those bits with a hand router and sanding than it would be to cut it perfect at this stage. Having got a plug that matched as best I could, I glued it in, left it clamped over night, and the next day trimmed the excess off, the result of which is a nicely plugged hole:
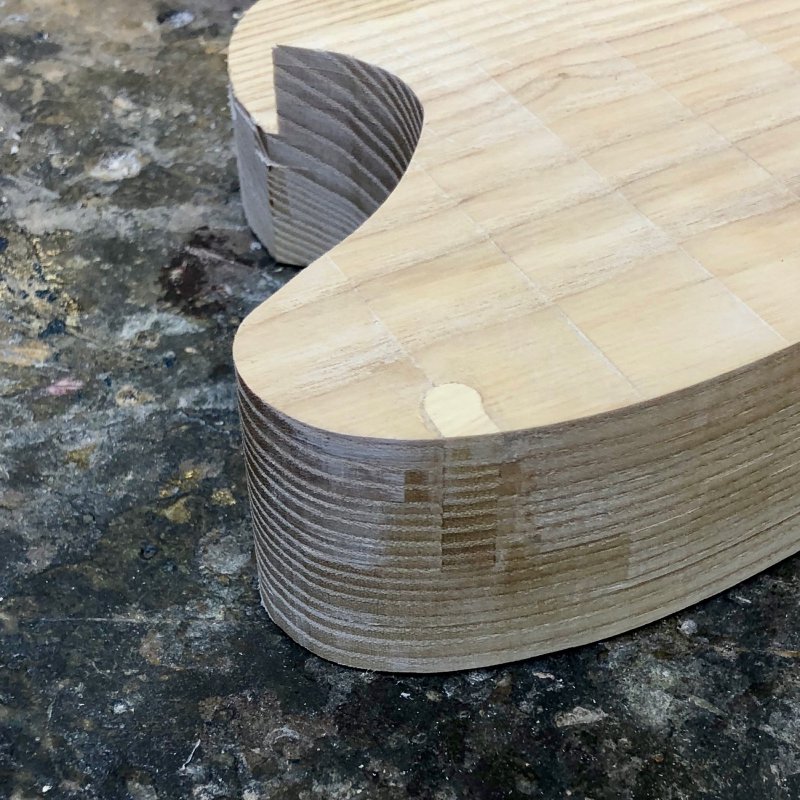
Whilst the end result is still noticeable in terms of colour at this stage, if I paint this body or even use a dark stain then you now won’t be aware that any damage was done and it had to be patched. I’m looking forward now to finishing this body off and turning it into a guitar!