A week in the shop
14 Oct 2019
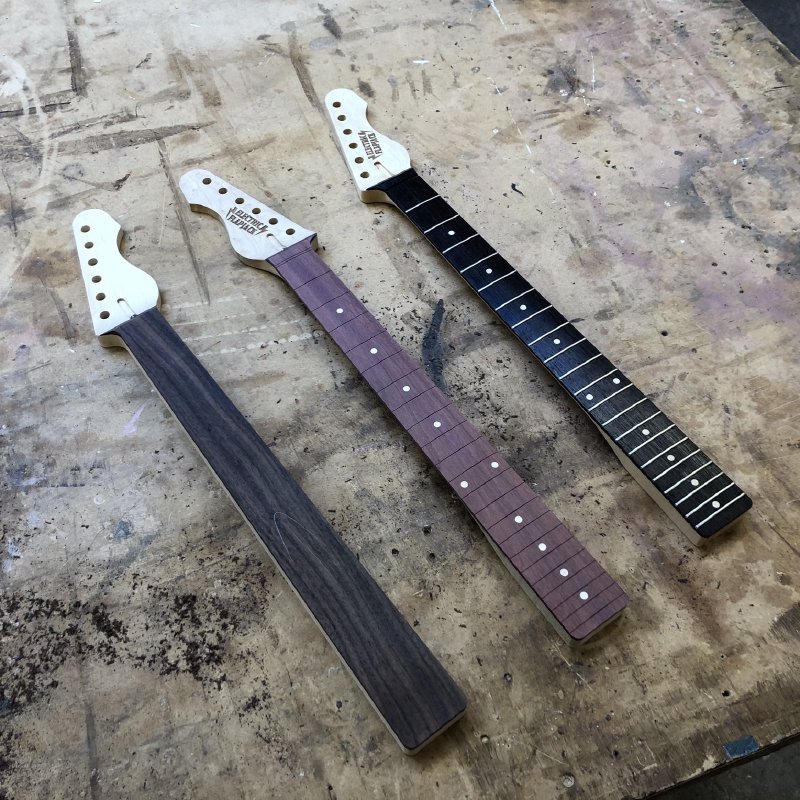
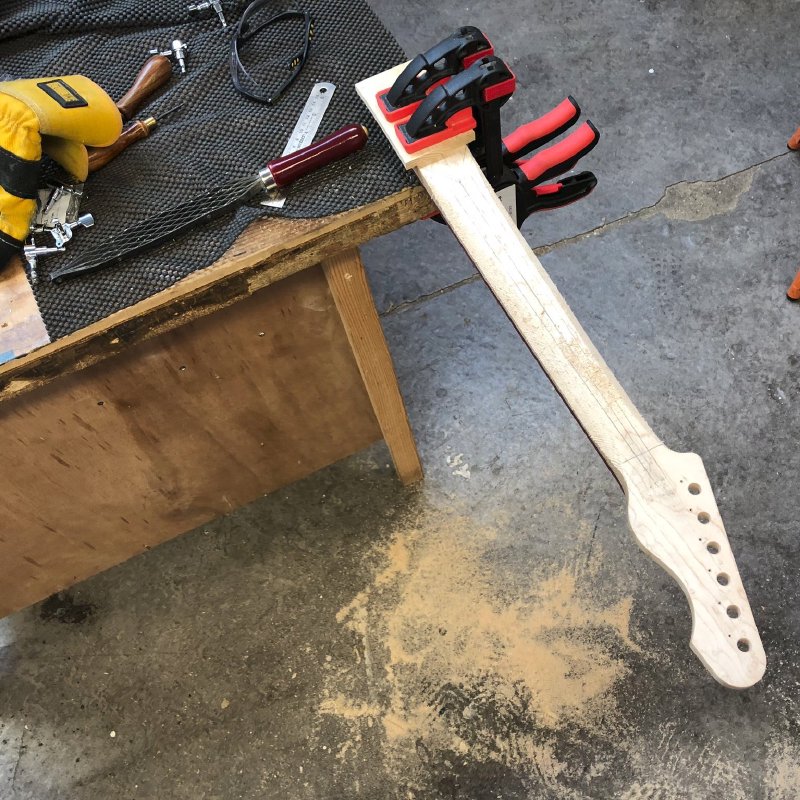
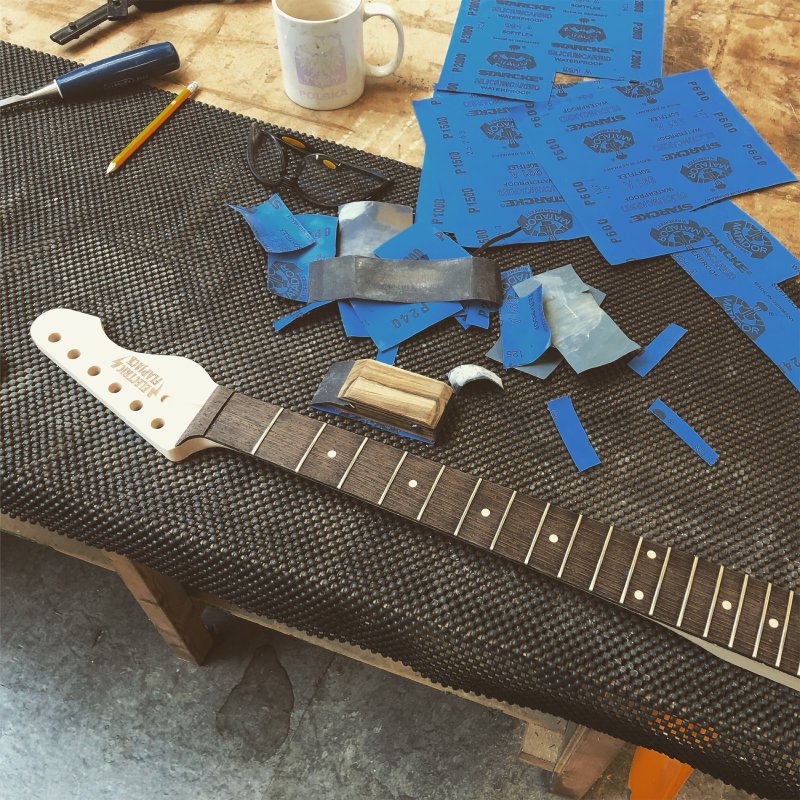
This week, as with last week, was a tail of three necks: one getting started, one in the middle of the process, and one nearly completed. Here’s how the three looked at the end of the week (spoilers!)
There was also some laser cutting for an art project as a nice distraction.
Before we dive into those though, a couple of random bits. Firstly, I mentioned a few months ago that I was being interviewed for Hackspace magazine as part of their “Meet the maker” series, and that interview is now up! Whilst it’s a nice thing to be asked to do these things, I’m not a fan of reading about myself, so you can be the judge of whether it’s a good interview or not :)
The other random bit is that at the end of this week I’m going to be exhibiting at Oggcamp, which is the UK’s main open source/open culture conference. On the face of this it’s a bit of an odd thing to do as a guitar builder: most people will be there to talk about software and hardware, and the political side of that. I’m unlikely to get any commissions from such an audience :) However, I see part of what I do with my life these days in encouraging others to try things they wouldn’t normally do, and it fits into that remit. I also know that the crowd who organise this overlaps with those who organise Liverpool Makefest, so it’s bound to be an interesting and fun event. Also, as a general rule, opportunities to get to show what you do before people are rare, at least at this stage in my career, so I tend to grab them with both hands when they come up.
I believe tickets are now sold out for Oggcamp, but if any readers want to say hello give me a shout and we can always meet in a nearby pub or such.
Right, random asides out the way, back to the building.
I continued to make progress on the second attempt at a neck for the tenth commission. Last week I’d routed out the rough shape of the neck, and this week I got it looking more like an actual bit of an instrument. The first task was to get rid of any tear marks from where it was routed. Whilst a router will generally make a nice smooth finish if you have a sharp bit, as you transition across the grain it’ll tear as you would with any bladed instrument. Thus areas up around the headstock tend to have a slight roughness to them, and always on the curved bits that are annoying to sand by hand. Thus it was onto the spindle sander:
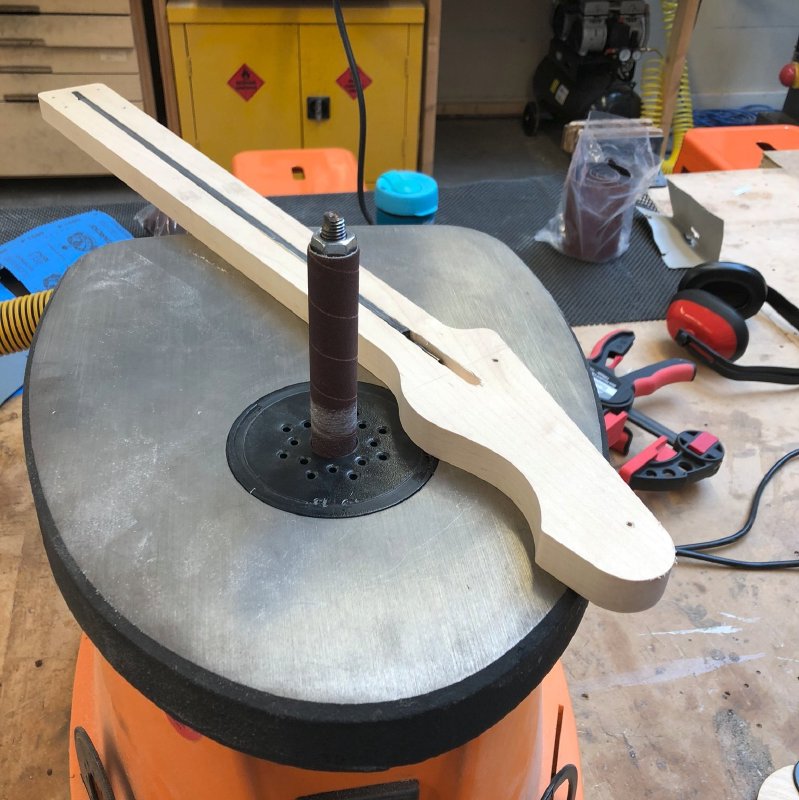
We got some 240 grit sleeves for the spindle sander, and that makes this kind of operation much less fraught. Whilst a spindle sander with an 80 grit sleeve will leave a nice finish due to the dual action of the spindle, it will happily take away a lot of material, which is great for shaping, but less for finishing. In the past I’d not done this sort of finishing work on the spindle sander for that reason, but with the new higher grit sleeves I was able to get rid of these cross grain marks simply.
Similarly, once I’d used the bandsaw to remove the headstock face I used the 80 grit to shape in the transition between the fretboard and the headstock, and the 240 grit to remove the bandsaw markings on the face of the headstock.
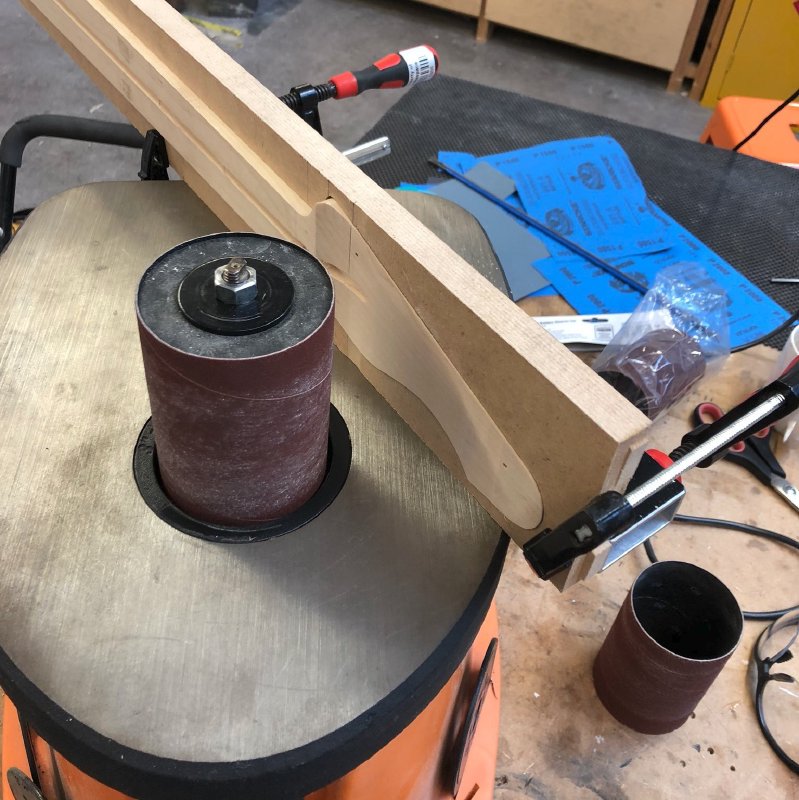
Thus I headed off the issue that caused me to ruin the previous neck for this build. Ideally I’d have some jig to let me slide things exactly onto the spindle, but the 240 grit sleeves are gentle enough I could do this by hand for now with good results.
With the headstock shaped, I then glued on the fretboard:
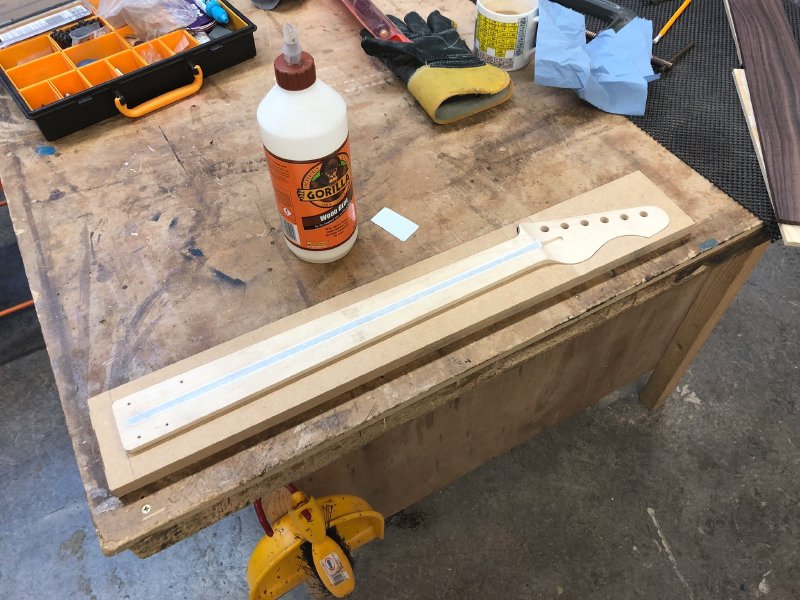
I failed to remember to take pictures of this stage, but regular readers will have seen me glue up necks before, and I didn’t really do anything different this time. I glued on an oversized bit of Indian Rosewood, clamped it securely and left it for a day, before unclamping it and trimming off the excess with the bandsaw and then getting it flush with the handrouter and spindle sander. You can see the final result for the week in the opening picture for this post.
I had hoped to do the next stage, which is laser etching the neck to add the headstock logo and the fret position guides, but on Sunday all the Makespace laser cutters were busy, so that’s how I’ll start the coming week.
The neck for the Corvette prototype hasn’t made a huge amount of progress as I worked on the other two necks mostly last week, but this week it saw more progress. First up I did the neck carve, getting a bit good bit of exercise in the process:
I’m definitely getting better at this the more I do it, which is good. I managed to get this to a good shape in a couple of hours rather than an entire afternoon.
With the back of the neck carved, the next task was to make the inlays, which as before I made myself. I’m using a maple veneer that I made using the bandsaw from some left over neck material, and then laser cutting the dots.
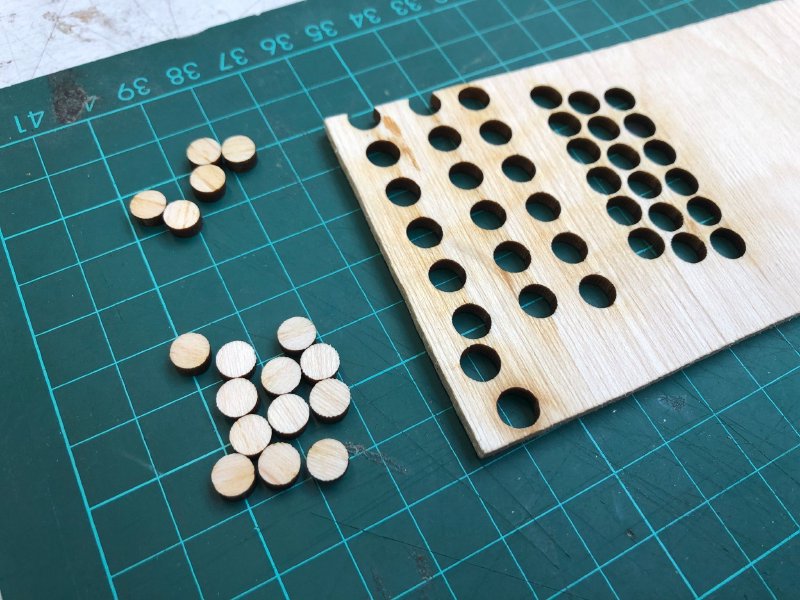
Because the laser power output varies over time as people use it and the lenses get dirty, I need to do some calibration inlays before to work out how big to make the inlays to compensate for the material vapourised in the process. If I just burned a 6mm diameter dot then I’d end up with something like a 5.8mm dot, which would then not fit snuggly into the holes I drilled in the fretboard. It took about 4 test burns before I got the magic number for the day, and I then was able to make 18 dots, of which I used ten.
Having some extras means I can reject ones where the grain in the maple shows through particularly distinctly, as I want the inlays to be quite pale overall.
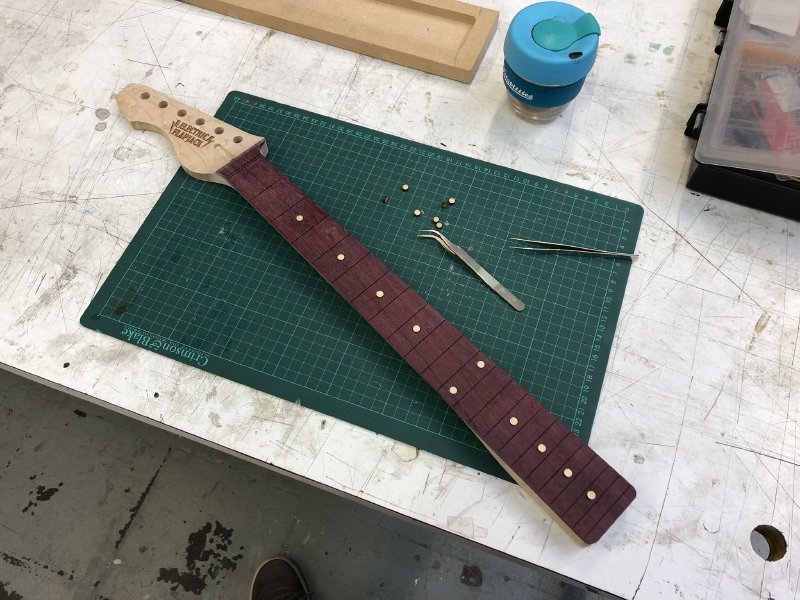
Inlays glued in, it was then back to my exercise routine as I sanded in the fretboard radius. I’ve mentioned before that purpleheart is quite a tough wood, and that was definitely apparent as it took me a couple of hours to carefully sand in the radius.
The fret saw is there because as I add the radius I need to keep recutting the fret slots so they’re an even depth across the entire radius, otherwise they’d be very shallow at the edges.
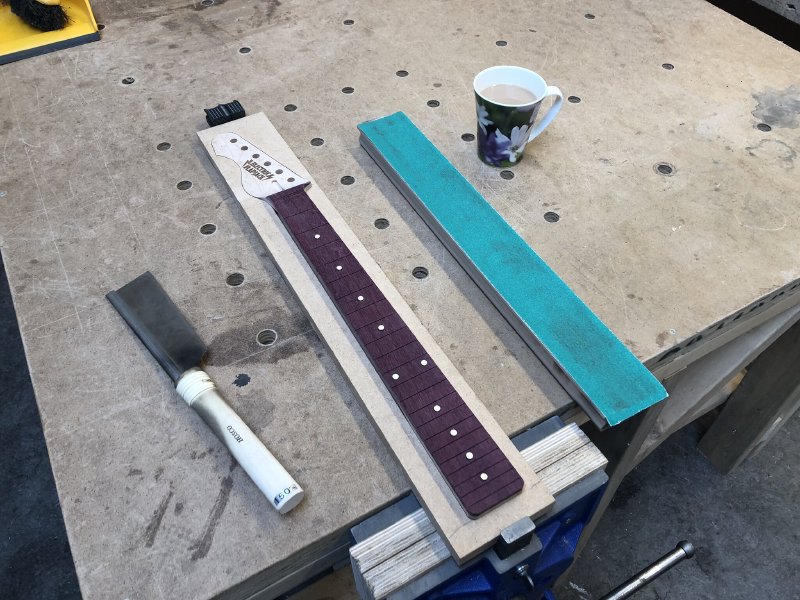
One thing that surprised me is how much the colour of the wood changed as I sanded in the radius. It went from the vivid purple you see in the above picture to a more pinky red as I sanded it. I assume the difference between the wood being finished with a blade (as it was when it was thicknessed) and finished with an abrasive (as I sanded in the radius). No doubt it’ll change yet again as I oil the wood. Just shows you can’t get too attached to how a bit of wood looks until the end of the process, as it’s always changing as you do different things to it.
With the radius now in, at some point this neck will need to be fretted, but I fear due to work commitments this one will be leapfrogged by the commission neck, so it may be a few weeks before you see this one again.
Finally, with the fretwork complete on the new neck for deluxe tele I gave it a final sand down, going all the way up to 2000 grit to get a nice silky smooth feel on the playing surface.
After that it entered the oiling cycle. One mistake I made here, which is annoying but not too bad, is used some steel wool to see how that would work when rubbing back the oil between coats. Do not use steel wool as a finishing material on anything where you’re going to see the wood (so, fine if you’re painting say, but otherwise steer clear). The issue is that fibres of the wool will get into the wood grain in places and there’s nothing you can do about that once they’re in other than sanding back aggressively and restarting,
In this case the damage was minimal, and mostly on the heel of the neck which you won’t see anyway, but it was still frustrating. Normally I would just use 2000 grit for sanding back, but paper doesn’t flex to the neck’s natural contours as well, leading to it being sometimes a bit too aggressive on the edges, which is why I tried the steel wool. But lesson learned, don’t use it.
The final thing I did this week in the workshop wasn’t guitar related, but I did some laser cutting for my friend Jonathan over at Output Arts, who needed some custom spacers made for a project they have on the go. Output arts have been doing some amazing light show work of late, so I’m excited to see how this laser cutting will be put to use.
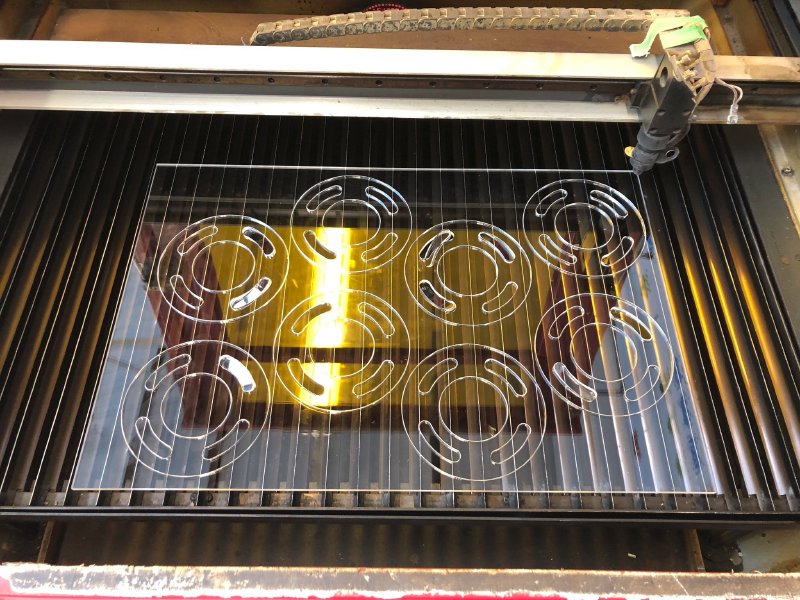
Whilst I am always happy to work on a thing for a friend, it was made all the nicer that Output Arts were happy to bill for my time so there was less of a worry about it being a distraction from other things. Even doing a simple job like this can take an hour or two, due to needing to do test burns to calibrate the laser cutter versus the material, converting file formats, etc.. In this instance Jonathan needed the part cut to fit relative to other components so I really needed to check the sizes were not going to be too big or small, so I had to spend effort making test cuts before I did the final pass.
In the end it took me about 90 minutes, and whilst it won’t make me a lot of money, the more money I can make in the workshop means the more time I get to spend here honing my skills and working on guitar related things, which is nice.