Another brief week in the shop
1 Apr 2019
Another short week in the shop, same as last week, but fewer todo items ticked off this week than last, despite being busy all the time.
As I mentioned last week I wanted to joint the two parts of the body for the next guitar, but the blade in my No 7 plane needed not just sharpening, but needed it’s cutting face entirely re-honed. The way you normally hone a blade is you put in a primary bevel at say 25˚ across the entire width/depth of the blade, and then as you use it you’ll keep refining what’s called a micro-bevel just at the tip of the cutting edge at 30˚ which is much quicker to add than redoing the entire face. Over time this micro-bevel will grow to the size of the primary bevel, at which point you need to start again. You can see pictures that explain this better here.
My blade needed a new primary bevel in it, and I knew that doing this by hand was a long and slow process, and so I took this as an opportunity to get trained on the Tormek sharpening machine at Makespace. The Tormek is basically just a spinning whetstone with a lot of jigs that let you set blades at different angles and orientations depending on whether you’re sharpening a plane blade like me, chisels, axes, knives, gouges, or whatever.
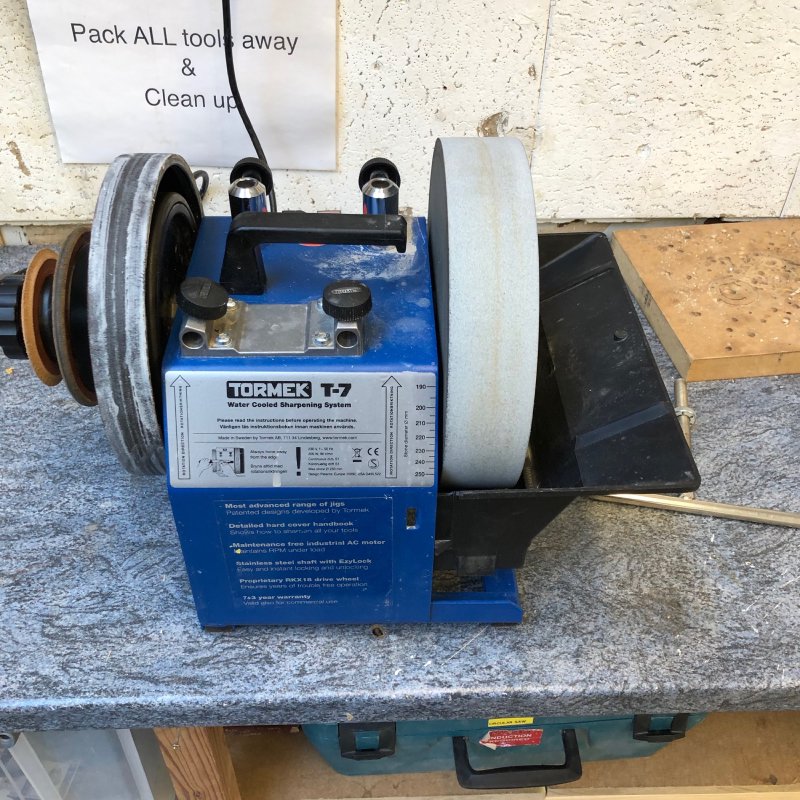
Training was relatively quick, but I did learn that putting in a primary bevel on a blade with automation is still a slow process, just less tiring than doing it manually. Having put the primary bevel back in on the Tormek I then got a diamond whetstone and a Veritas jig to put in the 30˚ micro-bevel by hand. That done I was taking nice long shaves again off the wood.
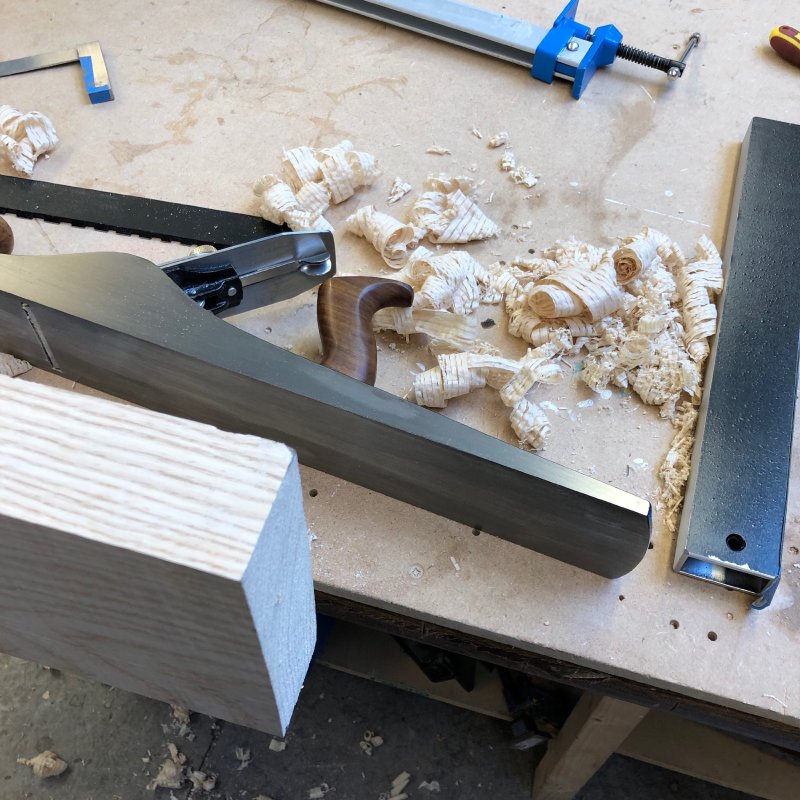
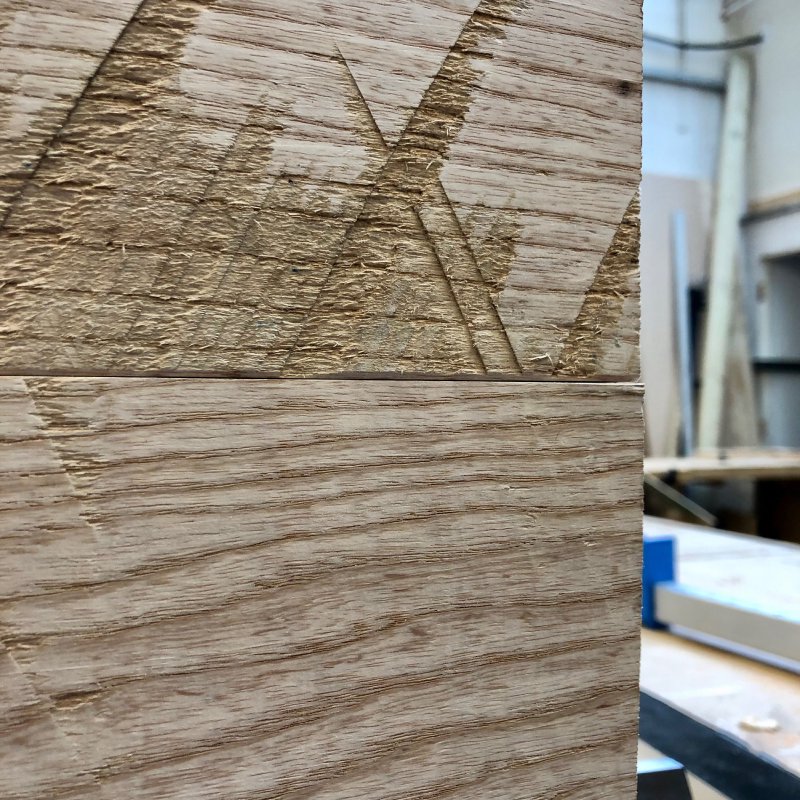
Having fixed the plane, the next problem was then my technique. Although I got the two edges straight on both axis, the two body parts weren’t lining up quite right; you can’t see it that well in the below picture, but there’s a slight gap between the parts on the right hand side for the last couple of inches. I suspect I’ve introduced a slight twist along the length on one or both of them, so although they’re straight in any measurement along the major axis, it varies as you go along.
I was tempted to keep trying to fix it, but I was getting tired and was about to slip into that perpetual “just one more go” trap where I’d just make things worse. I’m getting better at catching myself doing that these days in the workshop. I’m an impatient person by nature, and in building guitars you can’t rush certain things, such as this. If I’m honest with myself, that’s kind of why I enjoy building guitars, as it forces a discipline on me that doesn’t come naturally. So I stopped here on this guitar for the week, and next up is to find some time to watch a bunch of videos on how to deal with the twist.
I could take the blocks to my friend who has an edge planing machine, but I feel this shouldn’t be beyond me, and with a well setup plane should be a relatively quick process.
Having parked the jointing for guitar #9, I went back to guitar #8, the Recover Offset guitar. I had thought initially that I might wrap this one up this week, but again progress was slower than anticipated.
Last week the pillar drill in Makespace had a broken spring, so I’d delayed joining the body and the neck. That has since been fixed, so first task was to get drilling the pilot holes for the screws that would attach the neck to the body.
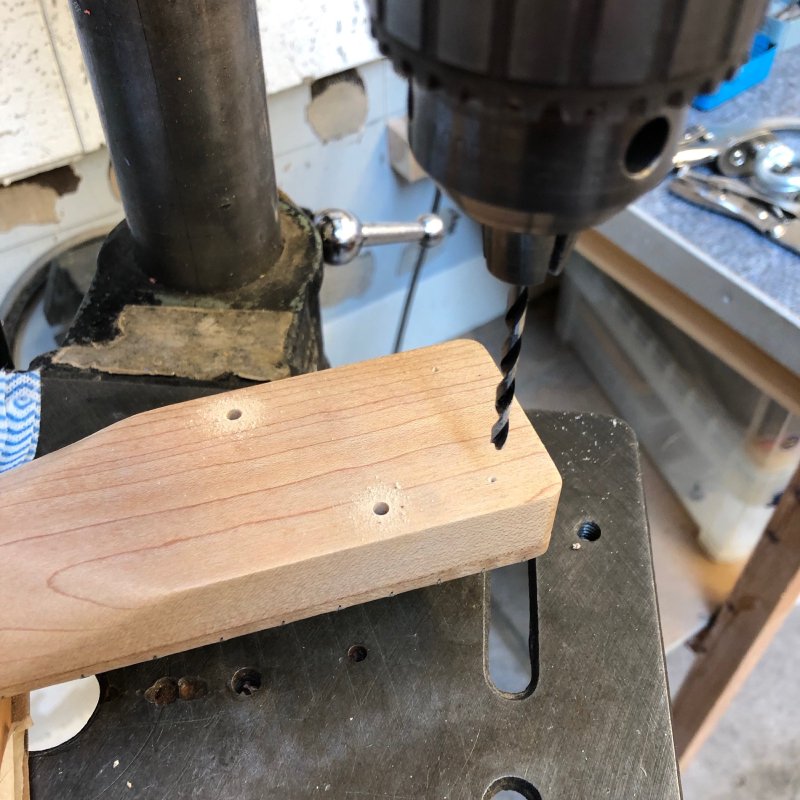
Here I’m using a brad point bit here rather than a regular drill bit: in the past I just used regular bits, but they tend to follow the grain if given the chance rather than going true, and on one early neck that caused me to have to plug and re-drill one of these neck mount holes. Now I use brad point bits which are much better at remaining true as you drill.
Having put the holes in the bottom end of the neck, I also quickly did the ones at the headstock end for the machine heads (aka tuning pegs). That all done the two parts finally became one, which is always a lovely moment in a guitar build:
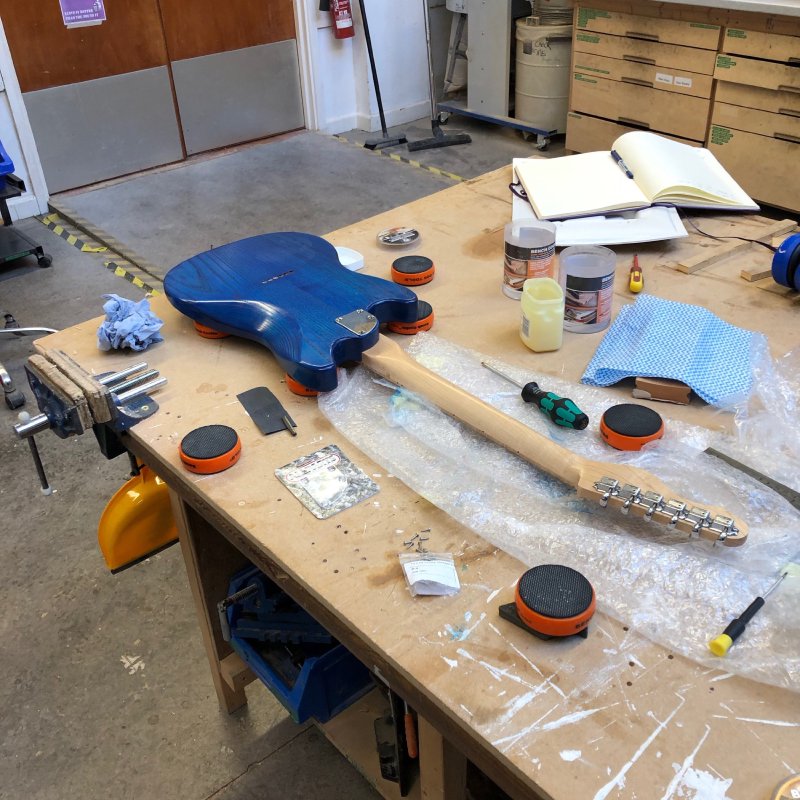
However, mounting the machine heads didn’t go so quickly: although they went on fine from the back, the other side of the headstock went less smoothly. The machine heads I was using were not the ones I’d originally designed the neck for: the supplier was out of stock when I bought them a week or so ago, and had been for a while, so I was forced to get some from another brand in the same style. However, the metal inserts that go on the front of the headstock were both slightly wider and deeper than the ones I’d designed for. As a result I had to spend a good hour or so manually reaming the holes wider and use a drill bit by hand to gently make the holes a mm deeper. It was slow, careful work given that the neck is finished, and shows why in general you should get the hardware for your build before you do the woodwork for it. In this case the neck was destined originally for another guitar (before the CNC Router damaged it), so I did things out of order and needed to adapt, but that doesn’t always work out simply.
I also had the inverse problem on the back of the guitar body, where the holes for the string ferrules were fractionally too large, so I used aluminium tape around the ferrules to make them fit snug. I was wondering why I hit this issue on this body, and I belatedly realised that the holes on the body here were drilled rather than CNC Routed, and I probably used the closest metric bit I had (9mm), rather than finding the appropriate imperial measurement (11/32”) for the ferrules which are 8.8mm. Another one to chalk up to experience.
Still, now the major hardware bits are in, and I started on fitting the nut. When I next get chance I’ll make a start on the pick guard and electronics.
Given the CNC Router issues I mentioned a couple of weeks back, for Guitar #9 I’m just going to hand route the neck and body, so I did make a start on deriving template designs from the guitar design to let me do that.
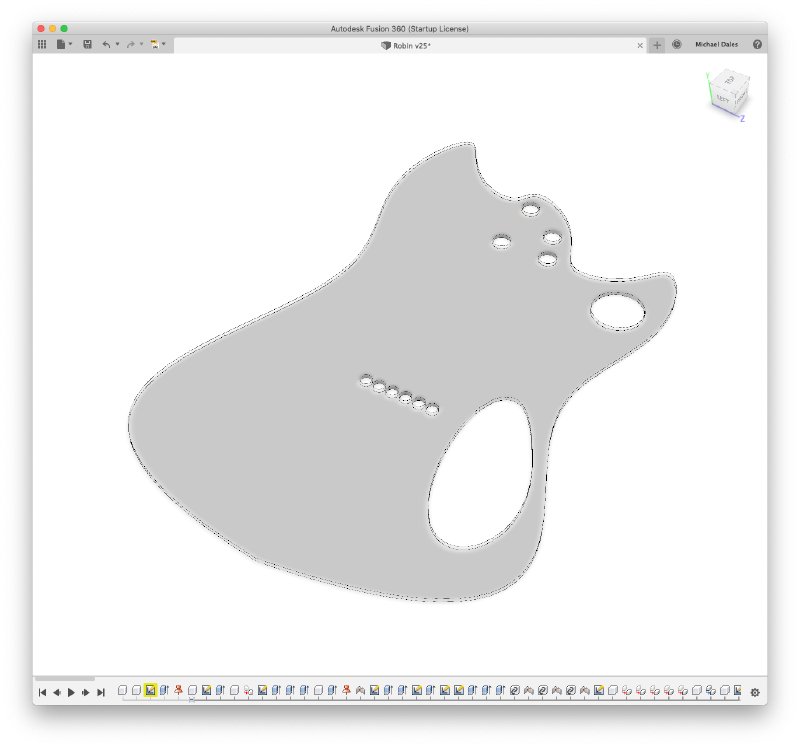
My plan is to laser cut the templates in acrylic, but I’ll need to do a little practicing with that to work out the kerf size I need allow for to ensure the body and neck join well. When you cut things on the laser cutter it will burn away a tidy width of material (the kerf), making what you get ever so fractionally smaller than what you designed. For most things this is okay, but if you want to have a nice friction fit between two parts you’ll need to think about it somewhat. I can compensate for the kerf in the tools I use to generate the laser cutter vectors, but to do that I need to measure what the kerf is with the material I’ll use on the machine I’m using with the settings I’ll use. Sort of measure, measure, measure, cut.
I did another afternoon teaching an introduction to CAD/CAM with Fusion 360 to Makespace members at the end of the week. I’d left it a few months since the last one as I felt I’d got through most the members who wanted to learn this particular approach, but we’ve had quite a few new members since then, and also it was part of a barter with the person who looks after the Tormek: I knew he wanted to learn Fusion 360, so I set this up in exchange for him teaching me on that.
People occasionally ask why I put so much effort into doing teaching/training at Makespace, and there’s a couple of reasons. Firstly, whilst I’d never want to be a teacher/academic, I do enjoy the process of helping someone learn a new skill, and then seeing what they go on to do with that. Volunteer teaching and training at Makespace is a low commitment way to do that. It’s also a chance to give back for all the learning I’ve gotten from others.
But there’s a bunch of more selfish reasons I do it, but just because they’re selfish doesn’t mean they’re bad (I think). For example, by teaching others at Makespace how to use the tool that I use for all my CAD/CAM, there’s now a greater pool of people whom I can turn to with questions when I get stuck. There wasn’t that peer group at Makespace when I started out using Fusion 360, so I made it happen. That was a conscious motivator for starting to do the teaching, and that investment of time has helped both me and others.
Similarly, I spend time trying to teach people how to better use the Makespace woodworking facilities so as to encourage people to use it more, which in turn makes it easier for me to justify championing the better upkeep of said facilities at Makespace. In a community space like Makespace we can’t buy all the kit for all the possible hobbies/crafts, we have to focus on the things that are in demand. So, if I can get people better trained on how to use tools and machines in the woodworking part of Makespace we get a sort of positive feedback loop. It just takes a little catalyst to get it started, which is what myself and my fellow workshop advocates are trying to do. Also by being involved in this way I get to guide it along the lines that align with what I’m trying to do personally. With a community space I can’t dictate what happens, but these things are inevitably guided by those that put in the effort, so I’ve chosen to be part of that group.
Basically I do it as it’s nice to do, but I also do it as I’m trying to make something better for myself by making it better for everyone, if that makes sense: a sort of “rising tide raises all boats” metaphor. If you’re frustrated about how your workshop or community space is being run, then I can strongly advocate this approach as being a win for everyone.