A week in the shop
Published 27 May 2019
I’ll start by getting one of the more exciting and unusual things out of the way from this last week: I was on a podcast! I was honoured to have been interviewed for the Liverpool Makefest Meet The Maker podcast by veteran podcaster Dan Lynch, where we talked about how I got into guitars, what it’s like working out of a maker space, and the community aspects of both those things. You can hear the podcast here.

It seems to have worked out okay, despite my habit of injecting “erm” to every other phrase :)
In the previous week I got myself refreshed on how to use the Roland Model Mill at Makespace, with the idea that I might use that to cut the pick guard for the Recovery Offset given how flakey the CNC Router has been, and I’m fed up of it eating all my nice material. I started out this week by making my own sacrificial bed for the Roland using the CNC Router, which is an odd way to start not using the CNC Router by immediately using it.
The people looking after the Roland mill at Makespace have decreed that the regular “sacrificial” bed on the model mill isn’t to be marked or damaged (which is fair enough, given it’s mostly used by the Makespace populous for shaping foam as far as I can tell), so if you want to make anything where you might cut through your material all the way you need to make your own sacrificial bed and swap that in place of the Makespace one. Being me I did a quick model of the bed in Fusion and then set about CNC routing some MDF into shape. If anyone else needs to make a bed for a Roland MX-40A then you can find the design I made in Fusion 360 here (it’s not a complex model, but might save you five minutes).
New bed made, I then set about levelling it. Material you buy (such as this MDF) isn’t perfectly flat, so once attached to the machine I used a 1” wide bit to repeatedly cut a tiny slice off the top until I’d got the entire surface even (i.e., it was now perfectly level relative to the cutting head). This is where I got my first experience of how different the power is between the CNC Router and the Roland mill. Taking anything more than a few tenths of a millimetre would cause the spindle to jam and the cutting head to stall.
Bed levelled, I then moved onto cutting some scrap acrylic to test how the mill performed with that, and whilst I made some progress, even using the recommended settings the Roland seemed to be struggling. In the end I found even taking 0.1mm with a 6mm cutter would cause things to jam on occasion, and I also (in part I imagine due to the lack of extraction on our mill) managed to get a bit encased in melted acrylic which then hardened solid by the time I removed it, rendering the bit useless.
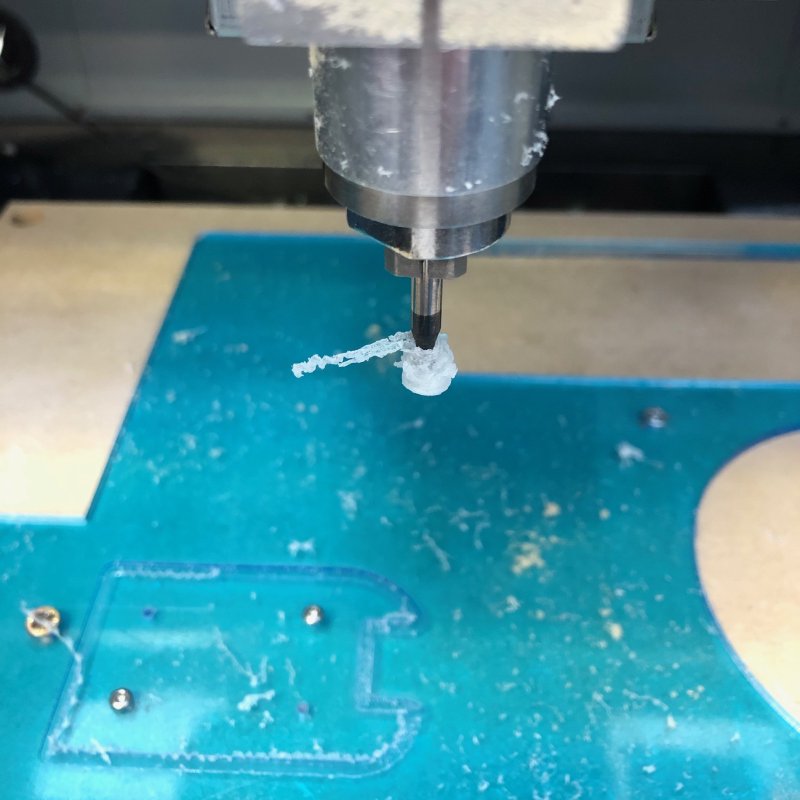
All in all, it was a sad performance. To be fair, this mill is quite old now and I imagine has had quite a bit of use, so perhaps a well serviced Roland mill might cope. It could also be I’m too used to the CNC Router and I’m approaching it wrong. But whatever the cause, it was clear that I wouldn’t be using the mill to make my pick guards right now.
Despite a setback on the Roland mill, I was determined to make progress on this guitar, so I decided to risk using the CNC Router to cut the pick guard. I’ve been very reluctant to do this as I have a very nice bit of material I want to use for this task with no easy route to a replacement; this is in part why I’ve procrastinated so long on this. However, with no other obvious option I sat down again the CNC Router and did some testing on acrylic scraps until I was happy with the finish I was getting with different feeds, speeds, and cut depths.
On major thing I noticed was that with acrylic, although I can cut small holes using a drill bit, I really needed to mill them using a tiny end mill. The reason for this is that a 2mm drill bit has quite a bit of flex in it due to its length, and as the bit touches the very smooth to surface of the acrylic it’ll slide about as it first touches the top surface as the bit flexes until the tip properly bites. This means the hole will not be perfectly aligned. If instead I bore the same 2 mm hole using a 1.5 mm end mill bit, which has a much shorter length and thus less flex in it, I get a much more precise placement of the final hole. On wood I suspect the drill bit would dig in better on contact rather than slide, but it’s something to note if you’re doing any CNC drilling that you might be better milling, even if you just mill a pilot hole before using a longer drill bit to get a deeper hole.
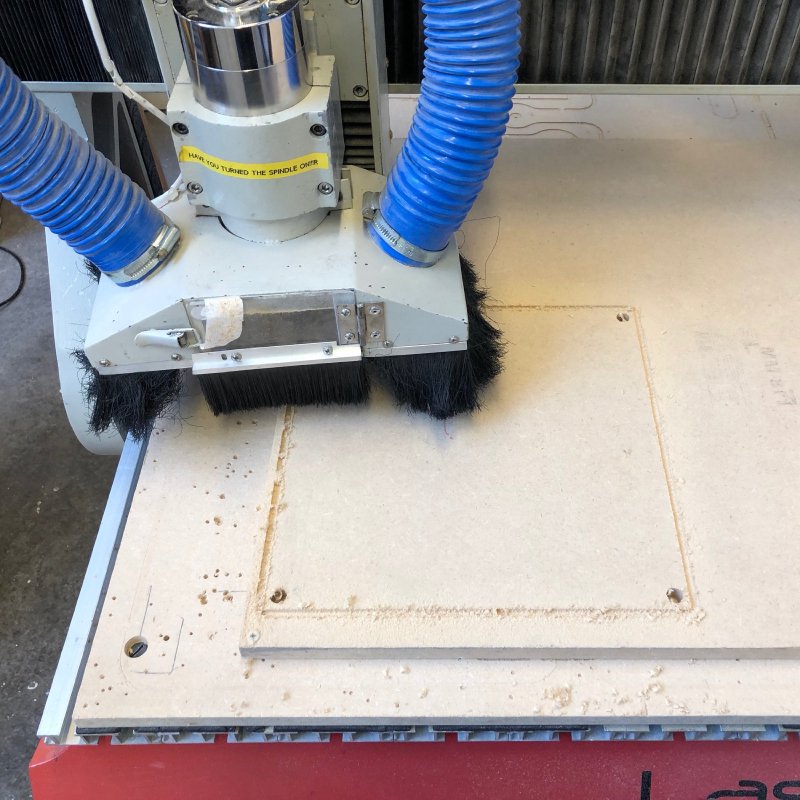
Experiments done, I then finally got to cutting the wonderful reflective/smoked pick guard material I had:

It was a bit nerve-wracking, but after an hour or so I finally had what I wanted:
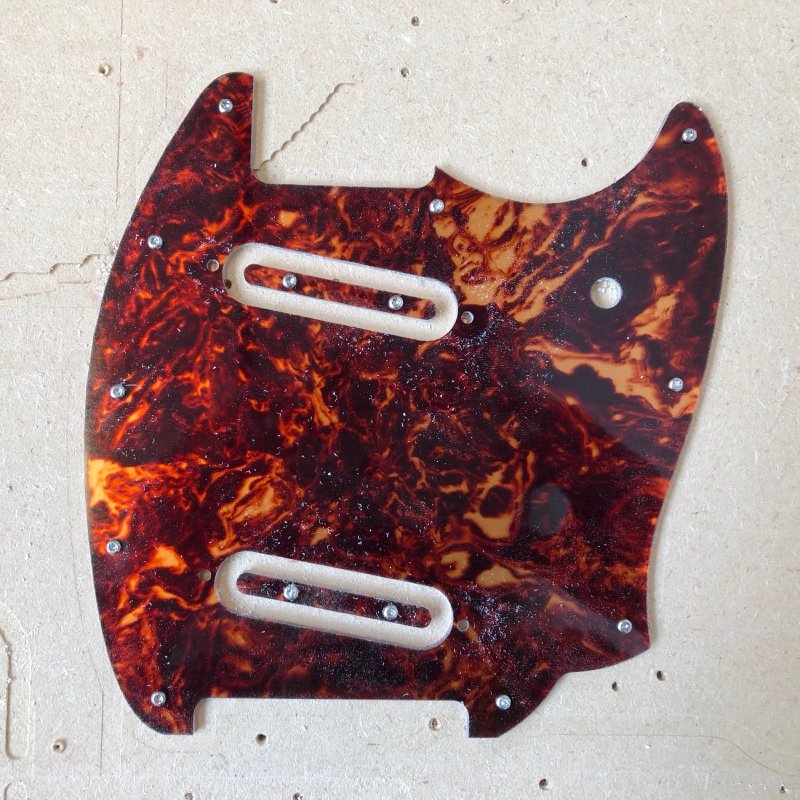
It looks amazing. Note the tiny margin I had when I screwed down the pickup hole inners to stop them moving when being cut out: that’s the joy of precision machining :)
With the pick guard put in place, the recovery offset is now looking stunning:
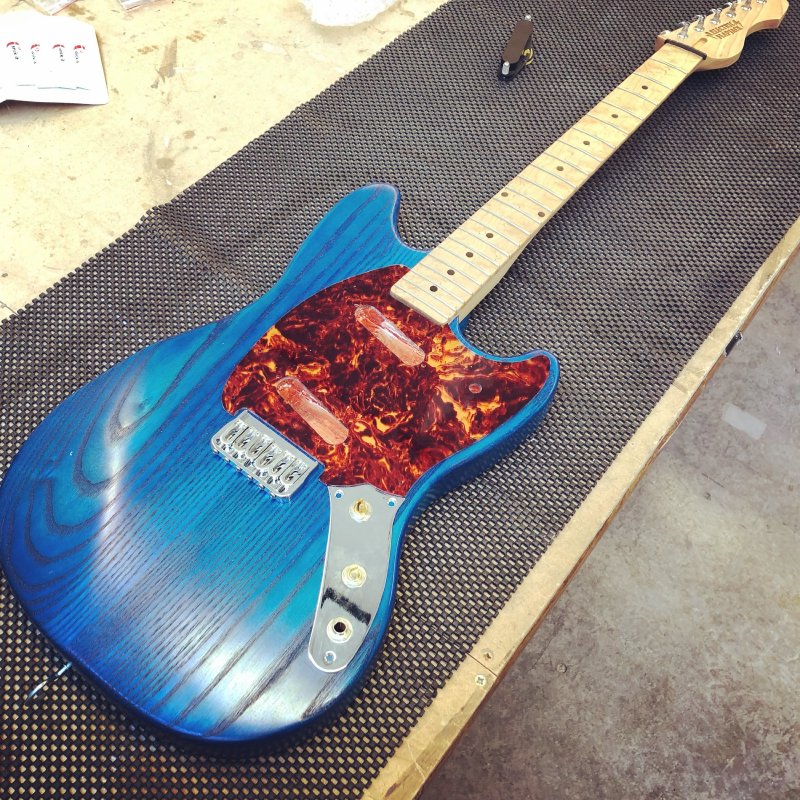
Pickguard sorted, I then set about cutting the nut to shape, and getting it strung up:
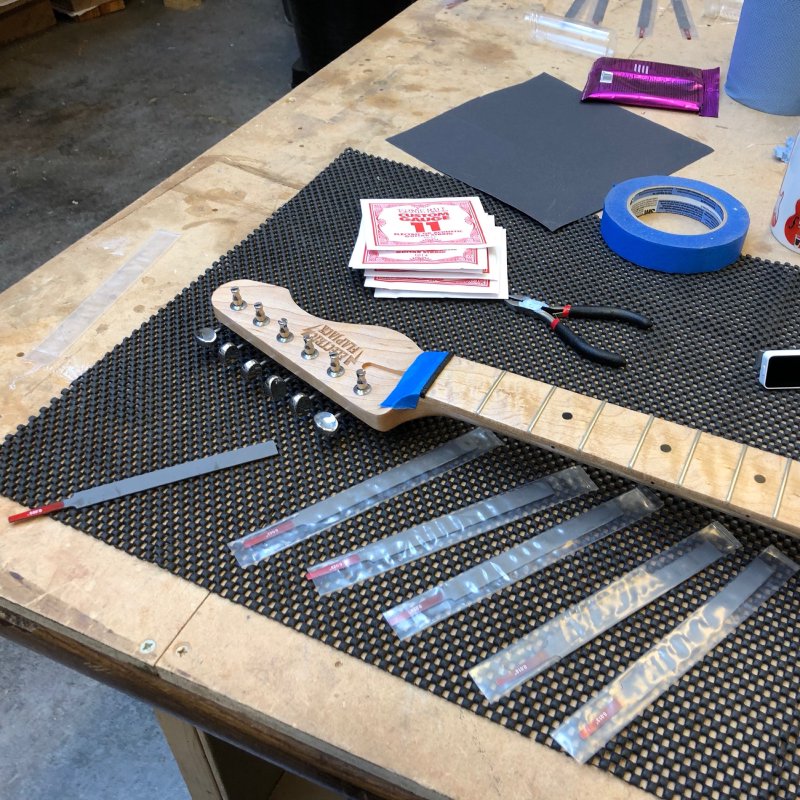
Disappointingly, with the strings on the action was a little low at the high frets, so I suspect I’ll need to lower the neck pocket a touch. Before I do that I put the guitar to one side to let the neck adjust to being under tension, and I’ll see this week what I need to do to it to get the action to feel right.
Obviously it’d have been good to find this out sooner, but as I’ve mentioned before in this blog, my earlier methodology (as it was when I started this guitar a long time ago) wasn’t suited to in progress testing, meaning I only find these things out at the end. It’s something I’m changing with the new builds I’ve started, as I hate getting to this point and having to tweak.
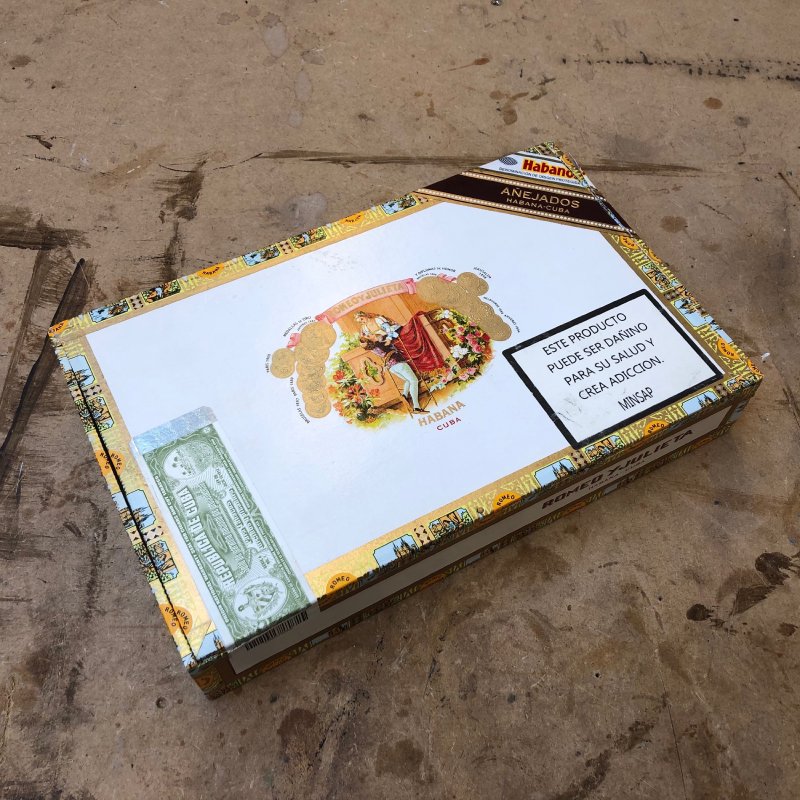
As mentioned last week, I plan on making a cigar box guitar as a bit of fun. I now have a lovely cigar box, kindly donated by Amir, which is very pretty and will make for a beautiful final instrument I think.
This week the neck wood, along with the other neck blanks for regular guitars I ordered, arrived. The neck for a cigar box guitar is essentially the main structural part of guitar itself: there is a single bit of wood that runs from the headstock, along the neck, through the body, and down to the tail of the box where the strings join. The cigar box itself is attached to this central piece to add resonance if you’re making an acoustic cigar box guitar, or for an electrical just to give it a better shape to play and somewhere to mount the electronics.
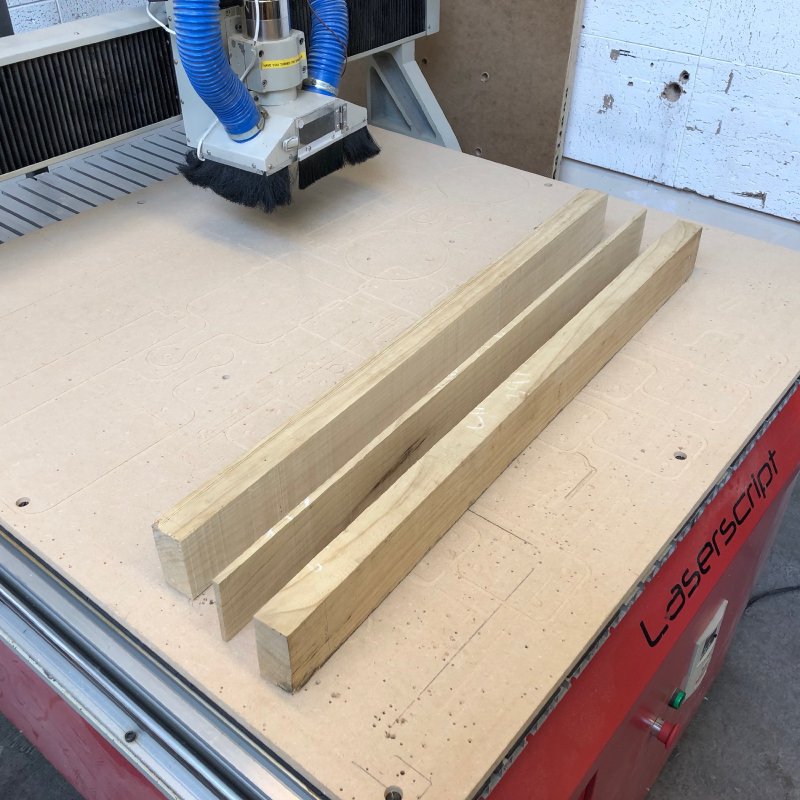
Because you need a longer bit of wood that will go for the entire length of the instrument for the neck I can’t use a regular guitar neck blank for a cigar box guitar, I needed something longer. A regular neck blank is of the order of 700mm, whereas for this I need something closer to 900mm. I managed to find a 3.5”x3.5”x36” bit of limba wood, which in theory is enough to make the necks for 4 cigar box guitars, but I’ll be happy if I get two out of it given my lack of practice in making these instruments.
To cut it down to two bits of the right width I tackled it with the workshop bandsaw. Normally I tend to view a bandsaw as a crude instrument, but this week (thanks to the help of Graeme) I’ve realised that if you have a fresh blade on the bandsaw and it’s tensioned correctly you can get quite fine cuts out of it. In this instance I was able to get quite a straight line out of it along the length of my limba, turning it into the desired thickness for two necks:
The bits are quite deep, so I think I’ll take advantage of that and go for an angled headstock on the first one rather than a flat headstock as I’d originally planned. I spent a little bit of time revising my design for this, and I think I can see how it’ll come together now.
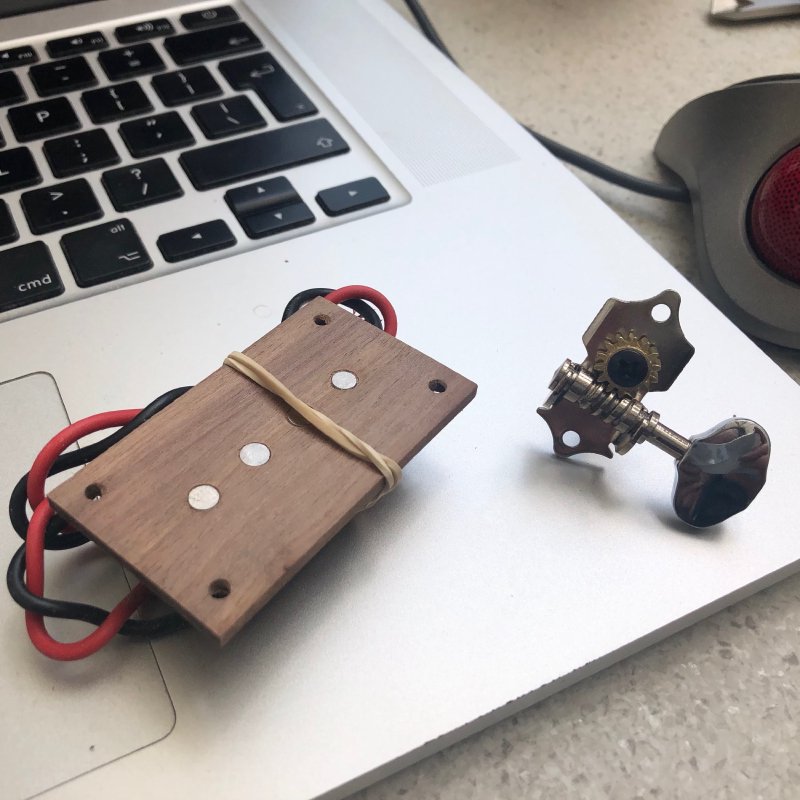
I ordered in some of the hardware bits for the cigar box guitar too this week. Whilst it was briefly tempting to wind my own pickups for this one, I have too many projects on the go as it is, so I opted to buy one from Coney Custom that would suit a four string build and has a nice wood housing. I also found some cheap open back tuners on eBay that I thought looked the part.
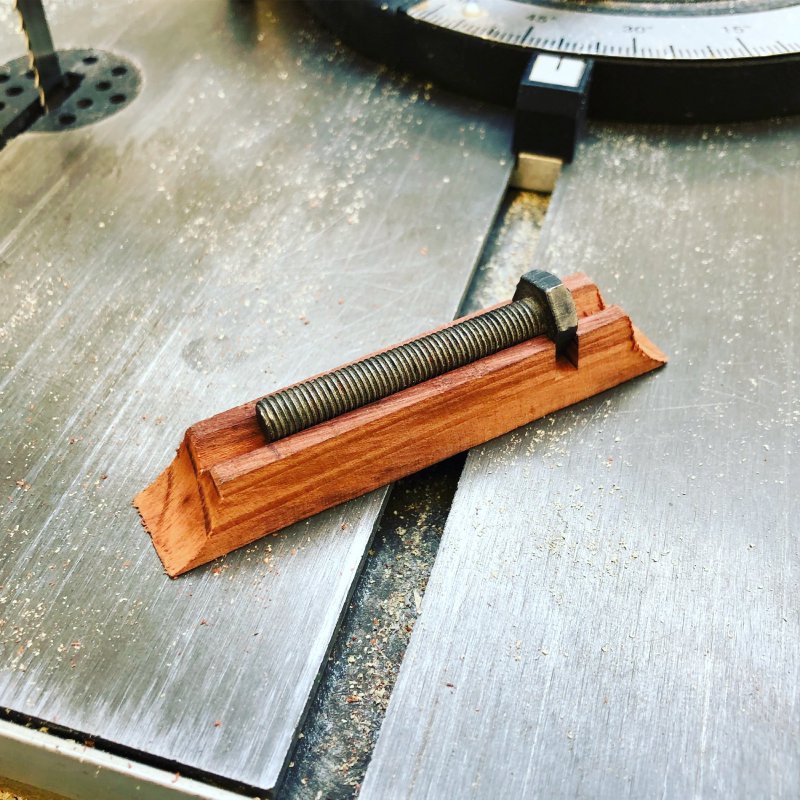
Whilst browsing around for parts I spotted a bridge I liked, but given it was out of stock, I decided to try make my own in the same style. To make it more fun (it was a Friday afternoon after all) I decided to do so by hand using whatever I found in the workshop there and then. Thus I went into the workshop and found a bolt to use as the string guide and half a pen blank in the wood turning supplies to use as the base for the bridge. Then I used the combination of the hand router to cut the two grooves for the bolt to sit in, and then bandsaw, spindle sander and belt sander to get the final shape down, I ended up with this:
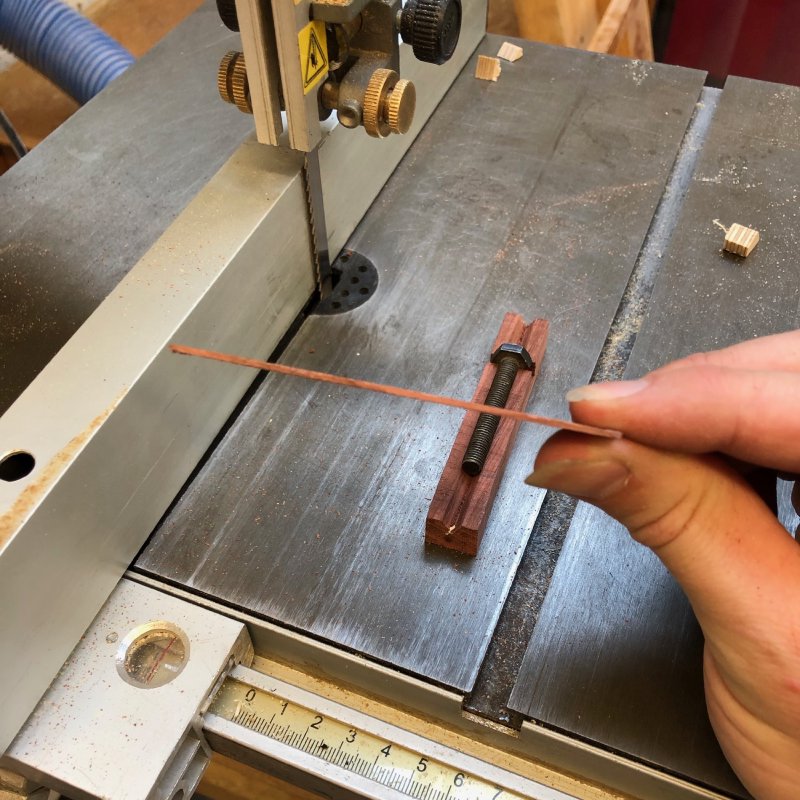
I’m quite pleased with the results, and it was nice to make something essentially on a whim without resorting to CAD or such as I’m usually given to. Again, I was particularly impressed with the cuts I got off the freshly setup bandsaw. It was able to take off wafer thin slices to let me tweak the height of the bridge:
Next week I’ll hopefully get started on shaping the neck.