A week in the shop
24 Jun 2019
Tags: cigar box, corvette, health and safety, woodwork
It’s been a busy week, with lots of building progress, so a fun set of things to write about. But first, let’s do the health and safety bit:
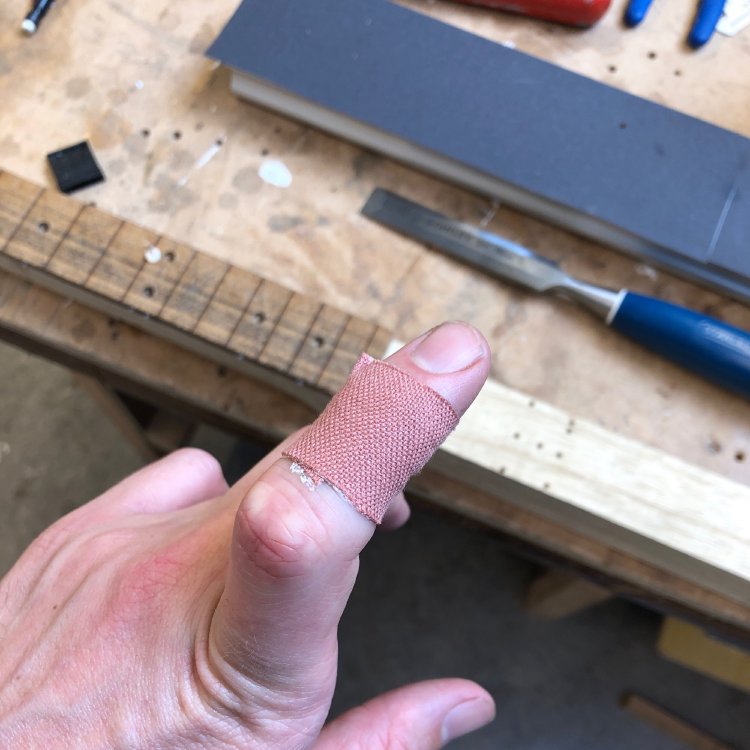
Working in a workshop is safe if you’re careful, but I had one of those lapses whilst rushing due to being tired and paid the price. It was near the end of the day, and I was meant to be meeting friends for dinner, so trying to get things done, and I couldn’t find the right tool for tool for the job (some sharp side cutters) and so used my chisel instead to cut the side dot inlays on the cigar box guitar neck. Not an unreasonable tool, but I wasn’t set up for this: I hadn’t clamped the neck, so I was steadying it with my left hand, and chiseling with my right, and the material gave way quicker than I was expecting, and ouch. The plaster above looks innocent enough, but I managed quite a deep cut there, enough to give me a bit of a scare.
Chisels are quite sharp if well maintained (as mine are), so at least it was a nice clean cut, and luckily not too deep. But ultimately the fault was mine: when using a chisel you want one hand on the handle and the other hand behind the blade guiding it, and you secure your workpiece in a vice or with a clamp. You definitely shouldn’t have your hand in front of the blade. It’s easy to forget these things when flustered or in a rush, but that’s when accidents like this happen.
I still earn most of my money from typing (as a software contractor) so this incident unnerved me quite a bit. So please do be careful out there when building your own things. A nice sharp chisel is a wonderful tool, but needs to be treated with respect (as do most things in the workshop). I’m generally quite good about workshop safety, using PPE, etc., but it just takes one small lapse and you have an injury.
My penance has been I’ve not played guitar all week, and had to spend my daily practice slot reading up on music theory and doing audio interval training.
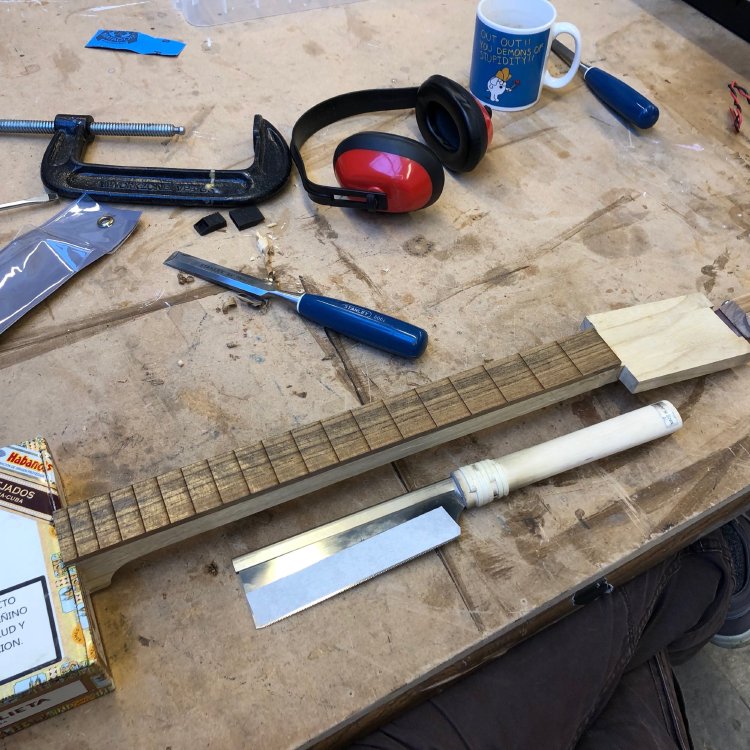
The cigar box has come along leaps and bounds. At the end of last week I’d laser etched the fret-slot guides into the fretboard and clamped it for gluing, so at the start of the week I came in and unclamped it and started to trim the fretboard flush with the rest of the neck. The majority of the overhang I removed using the bandsaw, which left me with just a couple of millimetres of fretboard wood to get rid of, along with the glue that had seeped out when I clamped things down.
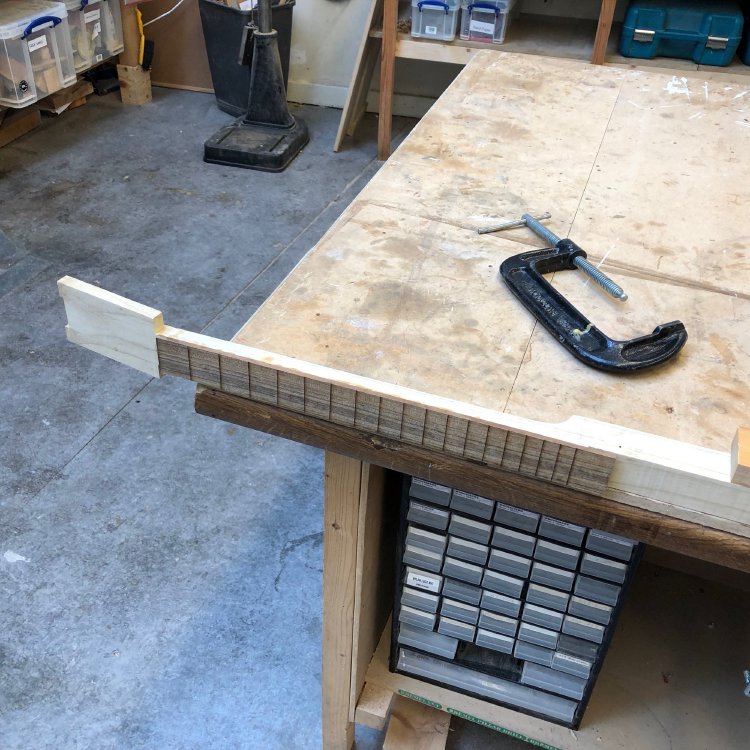
Normally I’d use a hand router with a follow bit to get the fretboard flush, but this neck doesn’t have a flat underside preventing me from that route (ho-ho), so I instead went unpowered and broke out the No 4 hand plane and my chisels. Now that Makespace has a set of well maintained tools, doing it this way was much simpler and satisfying, and not much slower, so a technique I’ll perhaps return to in the future for this job.
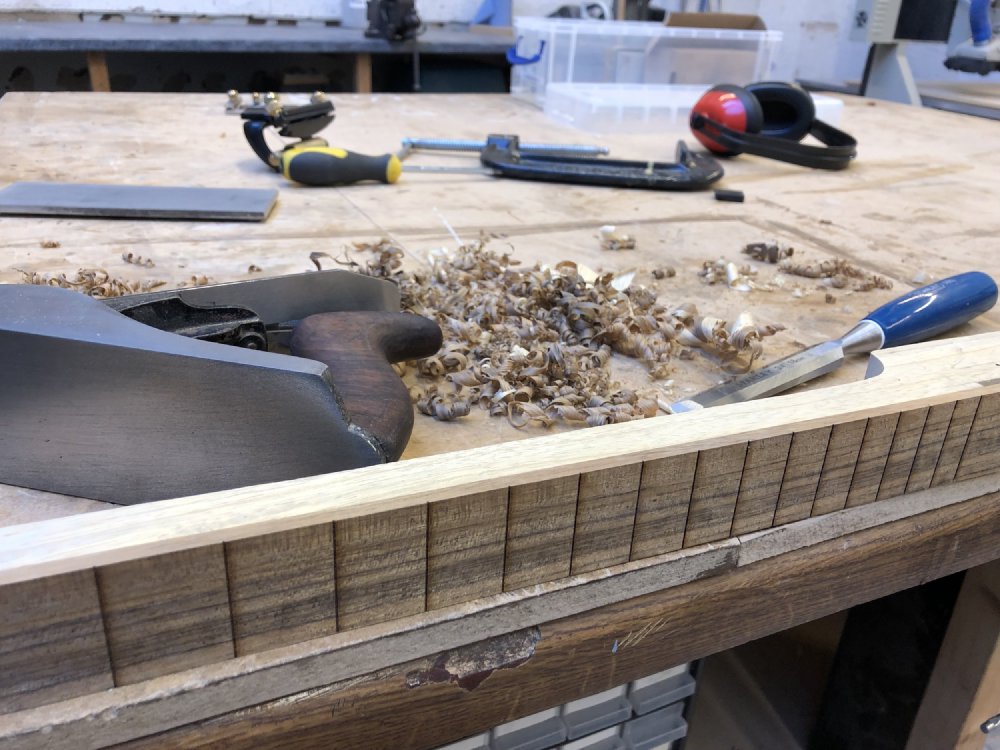
It also reminded me of how good wood glue is: I’m always amazed that it’ll hold on shavings like this:
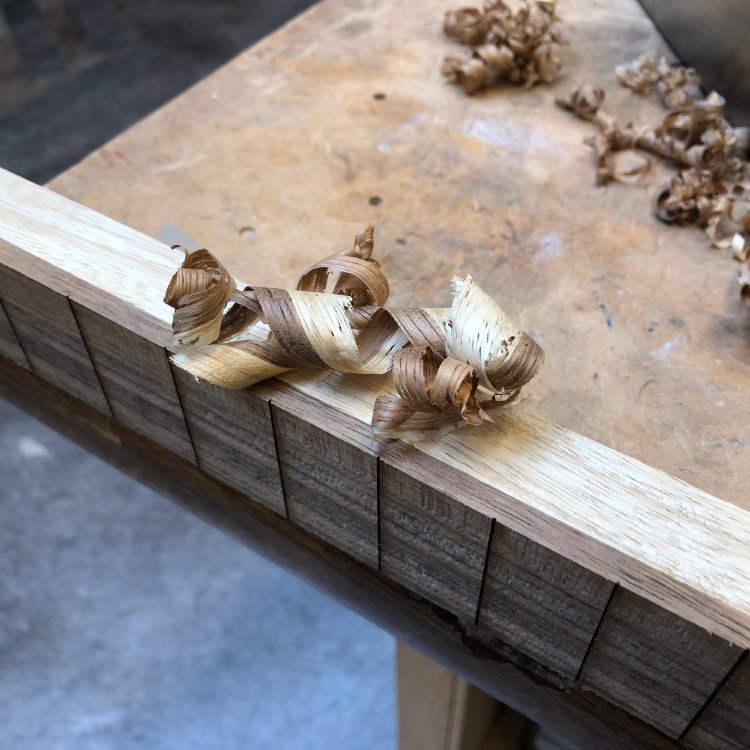
Because of the shape of the headstock protrudes beyond the sides of the neck I couldn’t plane all the way to the end of the fretboard, so the last little bit I got down with my chisels. For this you want a sharp broad chisel, taking little shavings off repeated rather than doing big chunks, but it’s still fairly fast work.
I could have glued the wings on the headstock after I’d added the fretboard and just used the plane for everything at this stage, but then I’d not have been able to plane the headstock face flat as I did last week (as the fretboard lip would be in the way); sometimes there just isn’t a perfect ordering, and you have to pick the approach with the least compromises.
With the fretboard now nice and flush, I next set about cutting the slots to roughly the correct depth. I say roughly, as I did this before radiusing the fretboard (which would remove the laser etched guides I made), so I have to do another pass later on to get the final depth post radius.
Before radiusing I also added the inlays to both the side of the fretboard and the face. Normally I’d insert the side dots along the glue line between the fretboard and the neck, which is very unforgiving in terms of accuracy: it’s really obvious if you’re out of alignment even slightly. Given that on this build I had gone with a deeper fretboard than usual, for a change I did the inlays purely in the fretboard side for a change. I’m not sure it’s actually any less forgiving than doing them along the seam given how close you are to it, but it’s interesting in that it’s potentially also something one could do before gluing the fretboard on, giving you more flexibility in your assembly order.
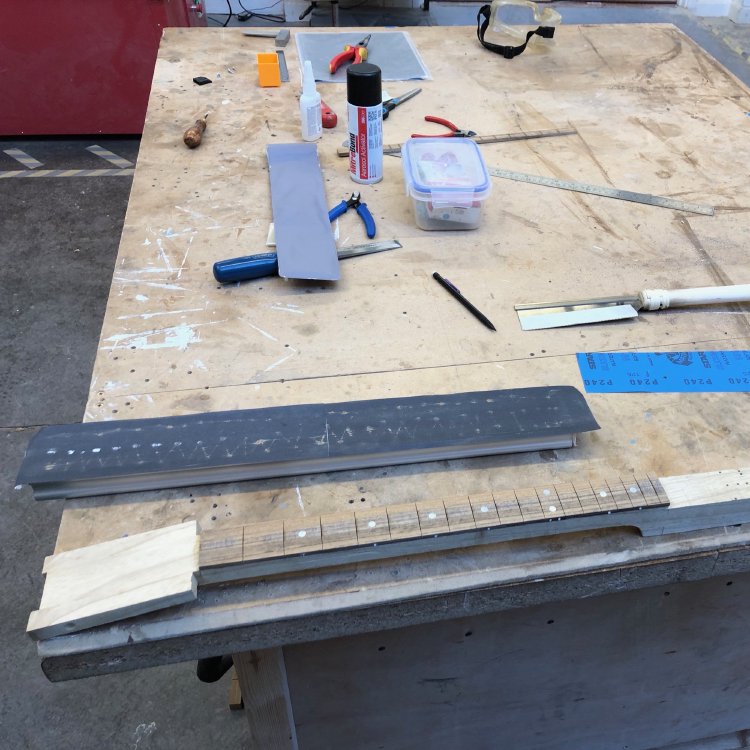
Inlays done, I then used my new long radius sanding block to put the 9.5” radius on the fretboard. On a cigar box guitar you technically don’t need to radius the fretboard, as the fretboard is very narrow and the strings are set to have a high action to allow for slide playing, but I had an ulterior motive here as you’ll see shortly. The longer sanding block was a step up from the 6” one I normally use, as it was much easier to keep it aligned with the neck rather than skewing to one side as you push along the neck.
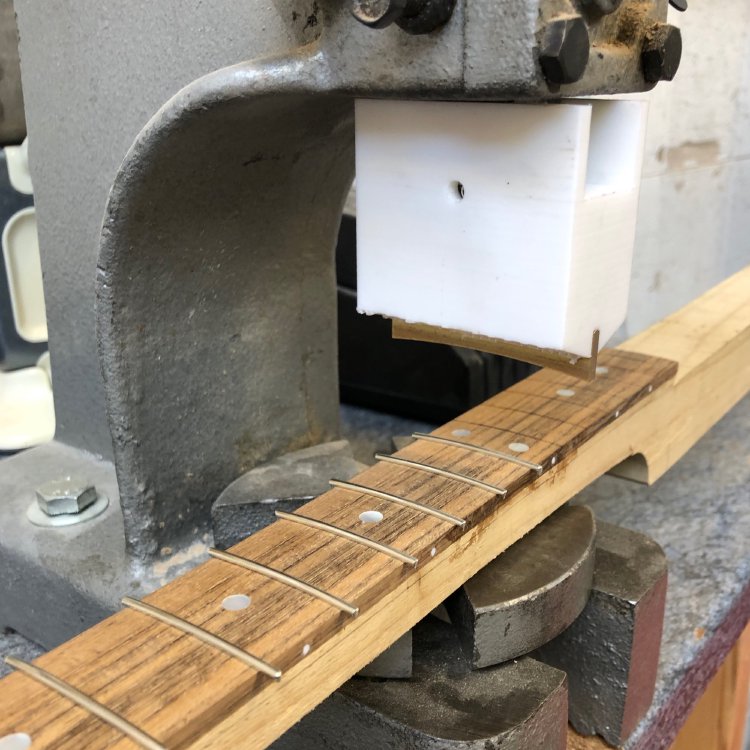
With the fretboard radiused and the fret slots recut to ensure the edges were deep enough, it was time to put in the frets. Normally I hammer home the frets into the slots, but I wanted to see if an alternative approach might be easier. To this end I got to use the fret press I made myself a while back for the first time. The press consists of a 9.5” radius bit, which is why I had to radius the fretboard even though it wasn’t technically necessary for this guitar, which is then connected to an arbor press via a 3D printed jig I made.
The other trick I used this time that I’d not done before was to use a small V shaped file to widen the top of the slot to make it easier to get the frets home, which I can definitely recommend. I try to avoid using glue with my frets, so as to make it easier to replace the frets down the line should the wear out, and to do this I cut a very tight slot, which makes the frets hard to get started in the slot. This slight widening makes getting them to start easier, and doesn’t come close to where the fret tangs start to grip.
The press worked, and was less stress and hassle than just hammering the frets home, but wasn’t stress free itself. If you don’t get the frets suitably started before pressing them then they will just fall over as you push down, or worse they’ll go in at an angle which you really don’t want. I was also hoping the resultant frets would be closer to level than when I hammer them home, but you still do need to level them (or you would on a real guitar, for a cigar box guitar with very high action this was good enough). But as I say, it as less hassle overall, and you get a much more consistent fit this way off the bat, so I’ll definitely use this method again in future.
The other tip I’d give you here is not to cut the fretwork too short when cutting it off the reel. There’s a real temptation to be as efficient as possible to get as many frets out of a reel of wire as possible, but when you cut the wire you will inevitably distort the shape as your cutters compress into the material, and this makes it harder to get the frets in. I forgot to bring in my second reel on this particular day, so was trying to eek out as many frets as possible from this short strip I had, and in the end made life harder for myself as a result.
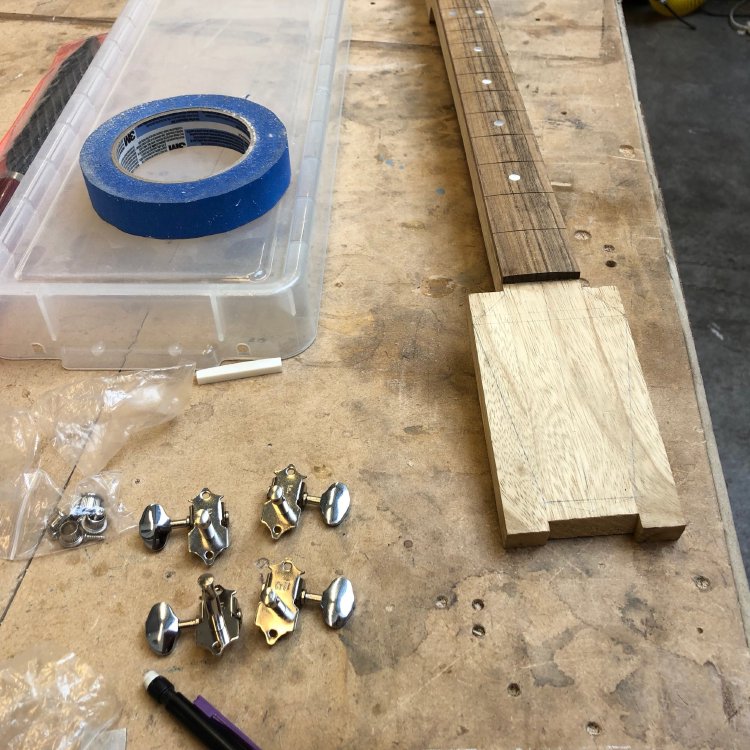
Whilst I’d made the bridge for the strings a couple of weeks ago, I hadn’t yet figured out how I’d attach the strings to the heel of the neck. I considered running the strings through the heel end of the neck, using ferrules to secure them on the back and guide them on the front, but that seemed a little professional for a cigar box, particularly given I’d made the bridge out of a bolt I found in the workshop; I wanted to continue that rough and ready feel. In the end I searched for some nicely styled hinges on eBay, and found some ornate ones meant for a dolls house that seemed to fit the bill stylistically, and almost exactly were the right size. With a couple of extra holes drilled in on one side to hold the strings, it seems perfect.
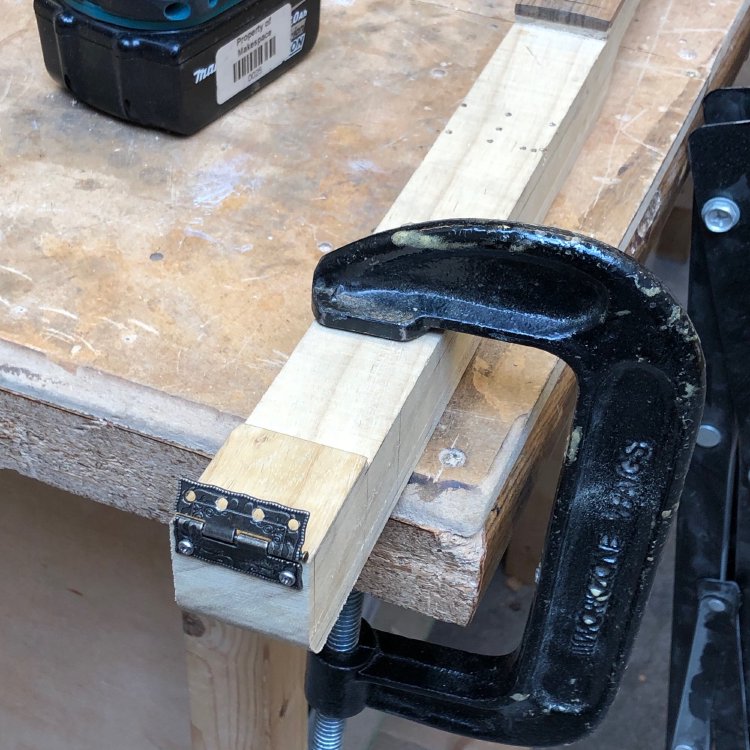
I’m quite pleased that it adds to the hand made look of the instrument. This means the only bits I did build myself on this guitar are the tuning pegs.
With the front of the neck completed, I could now start to shape the rest of it, both carving the back of the neck and shaping the headstock. To shape the neck I carved it as I normally would using a mixture of rasps, but I was a little more conservative on how much material to leave: this neck doesn’t have a truss rod, so I wanted to leave as much wood on as I comfortably could to ensure it has enough strength to withstand the string pull.
The headstock design I did freehand, which was a fun experience. I sat down with the tuners and a pencil and ruler and just started to rough out where I wanted things.
I then used a combination of bandsaw and spindle sander to get the shape, and the pillar drill to make the holes for the tuners, and suddenly it’s starting to look close to finished…

I did in fact manage to get it strung up and tuned, though in my excitement forgot to take any pictures! Still, it’s got a little bit to go yet: I still need to do the electronics, and the wood needs a proper sanding down and finishing oil applied, and the fret ends need dressing as they’re still rough from trimming. That said, I was impressed with how good it sounds acoustically, given this particular cigar box has a cardboard lid, which I didn’t expect to be so resonant.
My main goal here was to have something that was roughly done in time next weekend’s Liverpool Makefest, so mission accomplished!
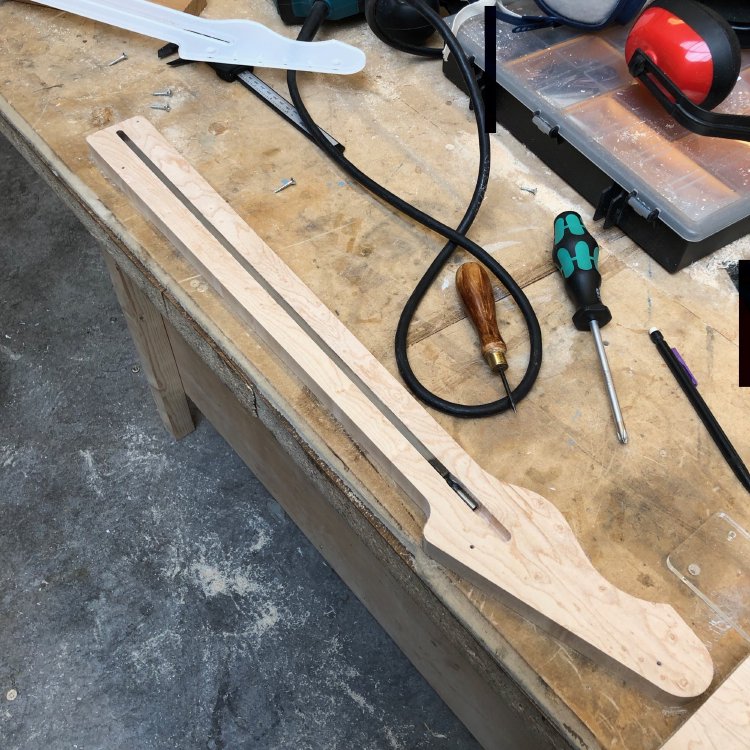
Despite having a lot of fun learning new techniques and going freehand with the cigar box guitar, I did return to the corvette guitar I started last month, and now that we have a thicknesser to let me trim wood down to size, I set about making the neck using a laser cut template.
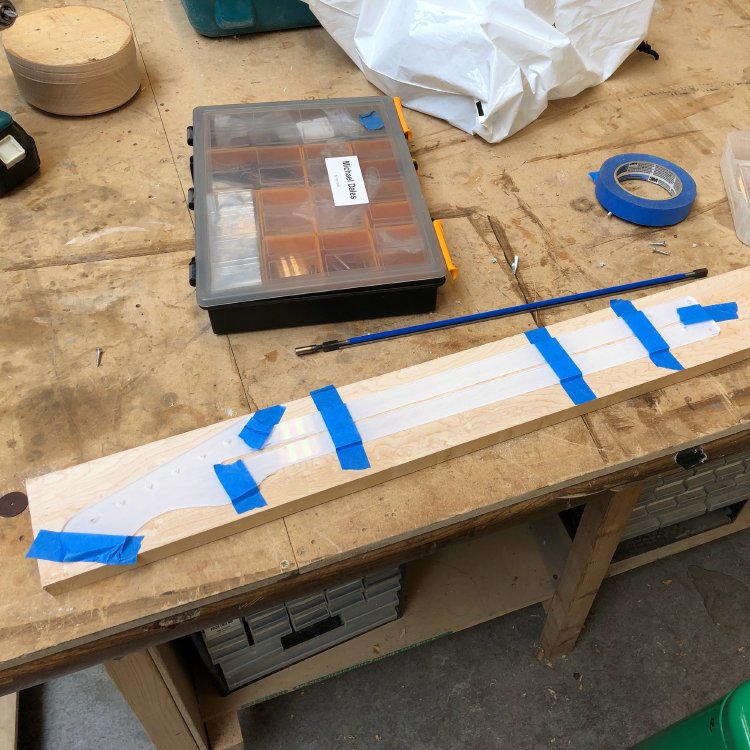
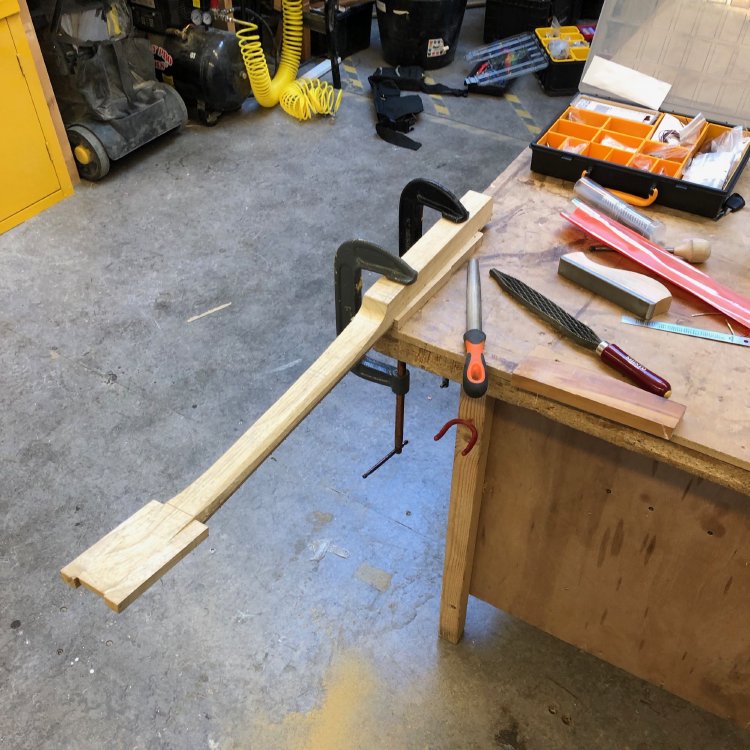
First step was to screw the template to the neck (masking tape really isn’t enough to withstand a hand router ;), and once secured I then used the bandsaw to get rid of most of the material, leaving just a few millimetres material to remove with the hand router. I then carefully followed the template around using the hand router to get the neck profile cut.
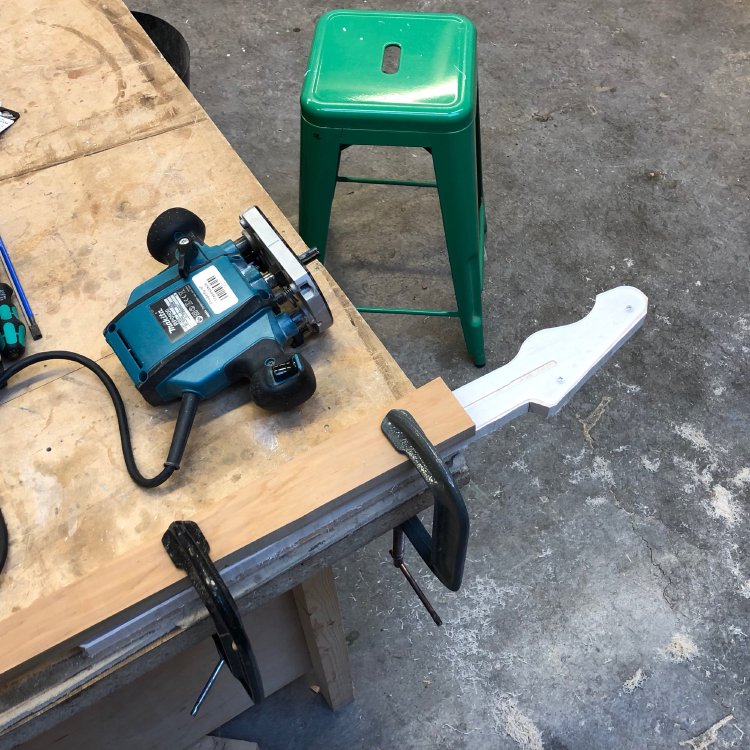
Whilst I’ve cut many profiles using templates and a hand router before, a new stage here for me was also cutting the truss rod slot using the hand router (normally I’ve made my necks using the CNC Router). Thanks to a recommendation from Matt at Fidelity Guitars I’d acquired a 1/4” follow router bit that is just the right width for the slot. I was a little tricky to get everything to the right depth, but in the end I managed to get a spot on fit. I did a long time ago make a very complicated jig for doing the truss rod slots with a hand router, but this smaller follow bit turns out to be quite workable.
The next step for this neck is to make a jig to hold the neck straight along its length when I use tools like the bandsaw and the spindle sander to get the headstock to the right thickness and add the transition curve. I also need to drill the tuner holes.
And that’s it, other than to remind you all yet again that I’ll be at Liverpool Central Library this coming Saturday (29th June) taking part in Liverpool Makefest again, showing how guitars are made and trying to inspire people to try making things themselves. if you’re in the area, please do stop by and say hello!