A week in the shop
Published 13 Aug 2019
Tags: band-saw, mac timber, spindle-sander
I know, I know, these notes are late: I got a mental block on trying to go into detail on some issues I hit whilst making the pilot neck that I describe below, and wasn’t in the right (write) frame of mind, so kept putting these notes off. In the end it got silly, so I’ve pulled that section out from here and I’ll write that up in its own post in due course. I’m not a natural writer, so the weeknotes discipline does occasionally bog down like this. But shorter notes are better than no notes, so let’s get to it.
The week started with that new toy fun: I got to use the new Makespace bandsaw! [DISCLAIMER: bandsaws are not toys…] I was looking forward to this because the old bandsaw (pictured here on the left, with the new bandsaw on the right) did not have either the throat clearance nor power to do the sorts of cuts I want to do when building necks in a more manual way.
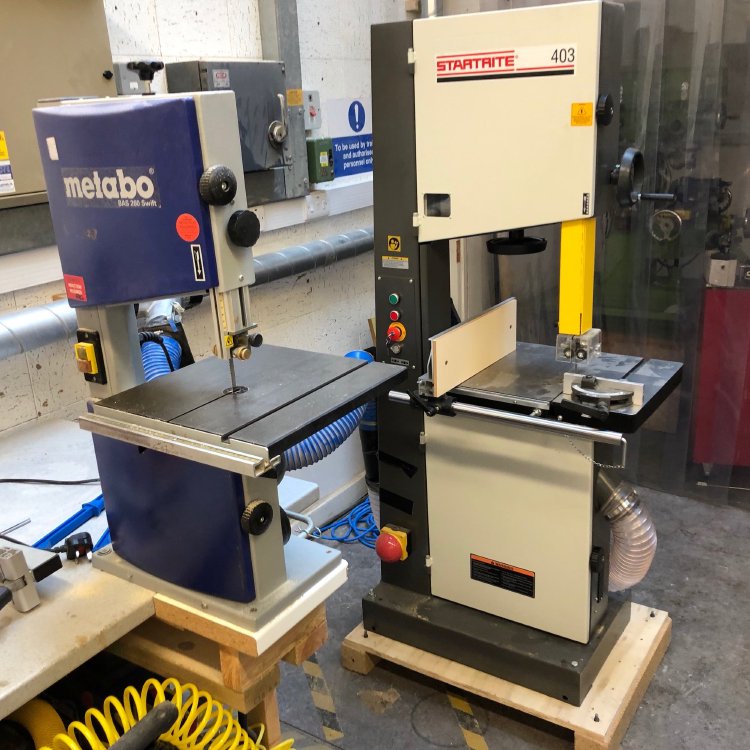
In the past I’ve used the CNC router on all my necks (which also tells you it’s been a good while since I cut a new neck), but in my post-CNC router workflow I need to be able to cut the headstock face on the bandsaw. This being the first time we’d used the bandsaw for precision work like this, Graeme and I spent some time making sure the bed was properly perpendicular to the blade, and then getting the fence (the whiteish board you can see in the above picture on the bed of the new bandsaw that is used as a vertical reference) to be parallel to the blade. This took a little time, but is worth it: as I’ve said before here, there’s a tendency to see a bandsaw as a crude bulk-cutting tool, but if it’s properly set up a bandsaw can be a precision instrument.
Once we were happy with the alignment, I tried doing the initial shaping of the neck headstock on my first neck to use this new approach. This involved two cuts: the first is just marking where the start of the transition from headstock face to fretboard happens:

Then a second longer cut removes the material from the tip of the headstock to that point, revealing the face of the headstock:
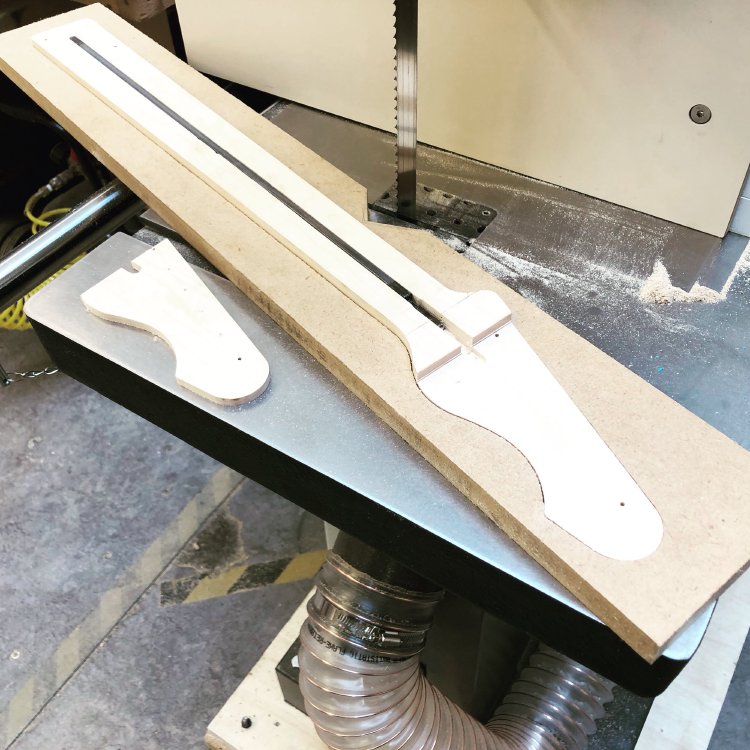
The new bandsaw made light work of this, and thanks to all the set up effort that had gone in, it was precise: I was aiming fo 12mm thick and I got 12.0 on the callipers, so spot on.
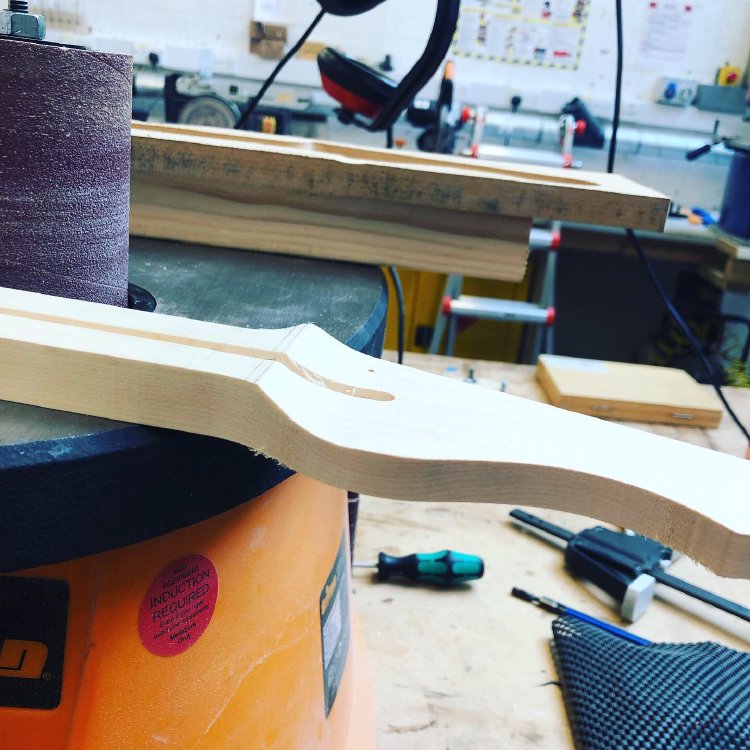
Whilst I was very happy with how the neck looked post band-saw, that step from headstock face to fretboard needs to be rounded out. That I did with the spindle sander.
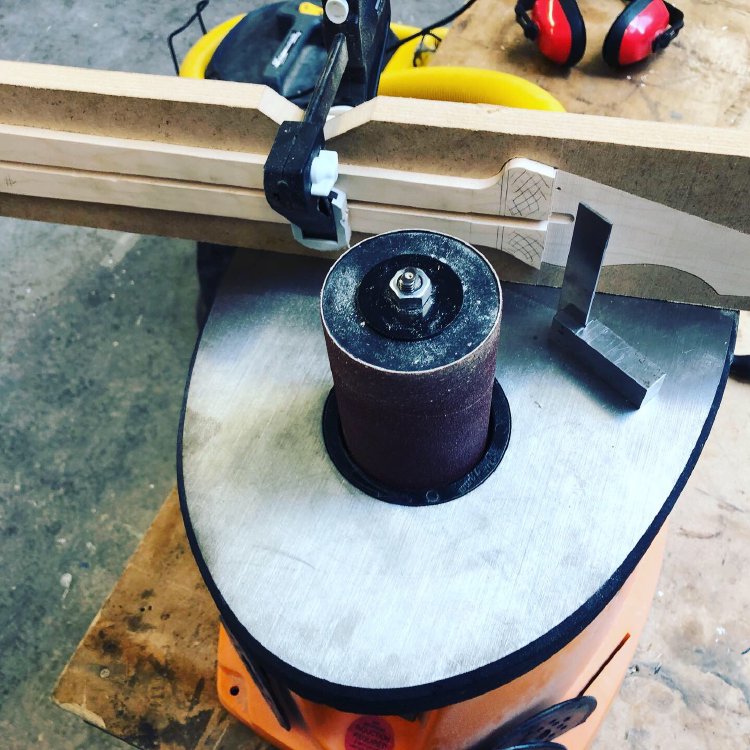
Again, I took time to get myself set up here, and did a few test pieces first using scrap. I found that for some reason when I apply what I feel is even force on the material into the spindle I always end up with more being removed at the bottom than the top, so I have to watch for that and compensate if necessary by pushing harder on the top. I’m not sure why this is, the spindle itself is quite rigid, so I doubt it’s flexing under the pressure. Still, this is why you test on scrap first, and the final results were again pretty spot on.
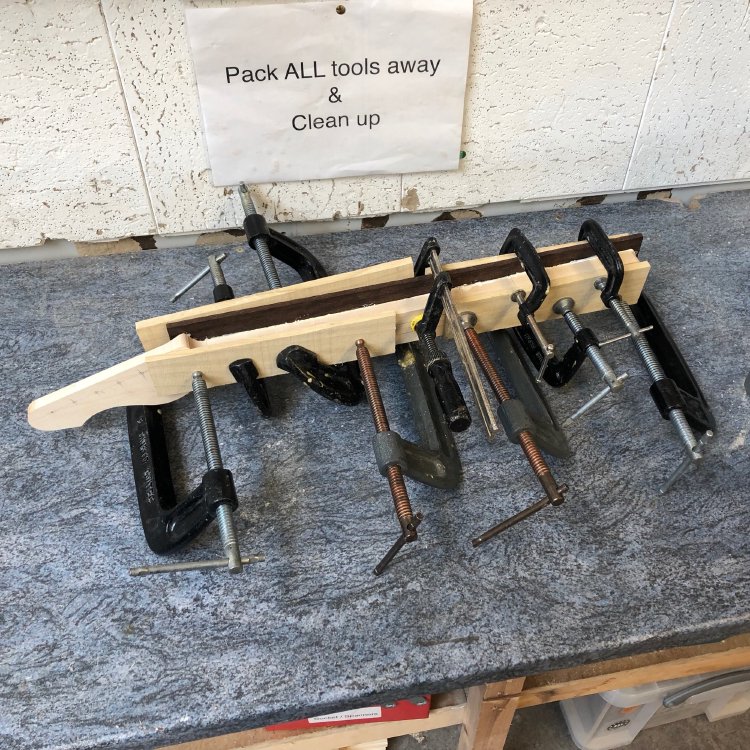
The final step this week on this pilot neck for my new process was to glue on the fretboard.
This is the aforementioned by that didn’t go according to plan unfortunately, but that spills into this week (as I’m now writing these notes for last week after some time in the shop this week), and I think needs it’s own little post. As it is, I now have an order to make for some more wood and repeat the process. Whilst frustrating, I know what I did wrong here, and so it’s just one to chalk up to experience. However, I will still finish the neck roughly here, as I want to check I can get the fretboard transition to be seamless, so there’s still value in this neck even though it’s not going to end up on a guitar.
The other thing I was able to do on the new bandsaw was cut out the body that I found the old bandsaw struggling with last week. The new bandsaw made very quick work of this, slicing through the thicker bit of ash like butter. The downside, if one is being picky, is that the new bandsaw has a thicker blade, so you can’t do as tight turns as I could on the old bandsaw. This means I can’t quite carve out as much wood from the curves on the body with the new bandsaw as I could on the old one, leaving me more to remove with the hand-router. But given the old bandsaw couldn’t really cope, I’m obviously better off with he new bandsaw, but it’s worth understanding that every tool has trade-offs.
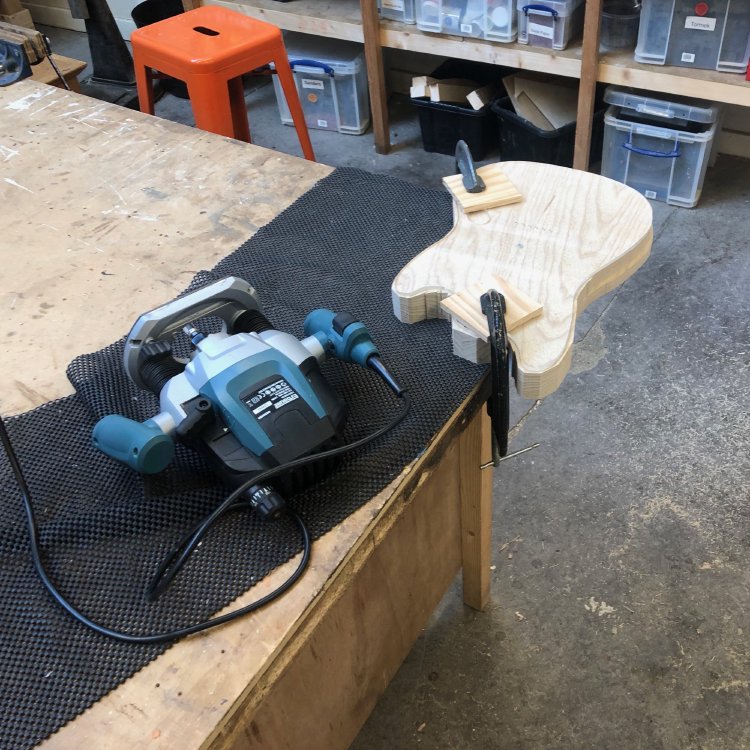
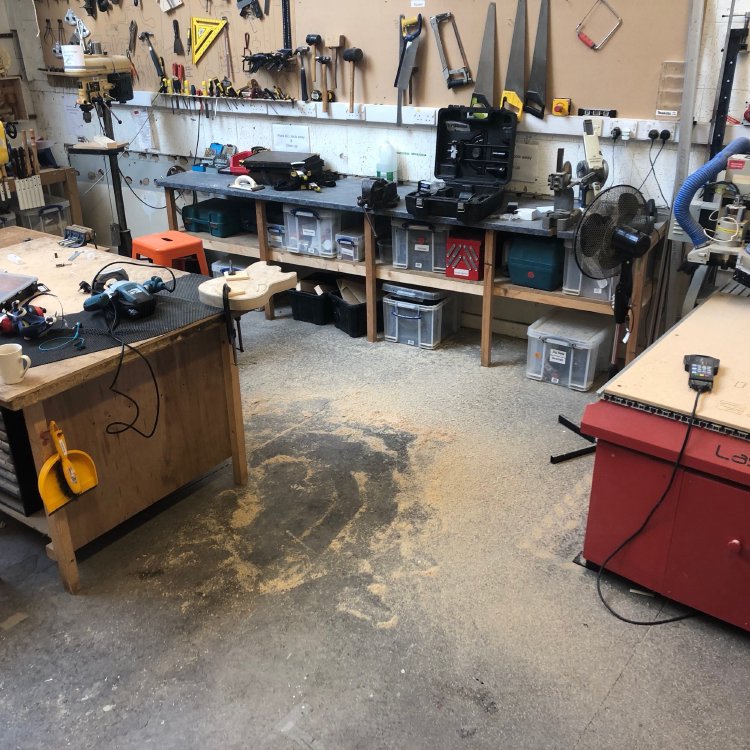
As you can see below though, all the extra material to remove with the hand router meant I had quite a mess to sweep up afterwards :)
With the body routed out, I then ran it through the thicknesser to get it to the right depth, and then used the spindle sander to get rid of any machine marks or grain tearing from the hand router. I did make a template to route out the neck pocket, but because I’d used all the clamps in gluing the neck at the time I had to defer routing the neck pocket to the next week.

Here’s a picture of all three bodies I’ve got going on right now, which is a nice thing (to me at least) to see - a little bit of a production line.
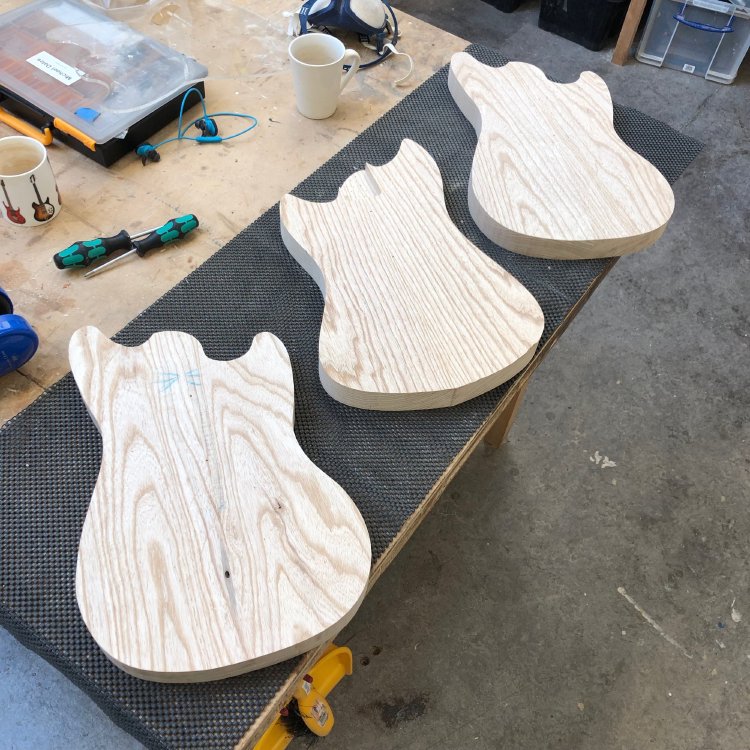
Last week I talked about how light the body for guitar #6 is, I did a quick comparison, and can confirm that the other two bodies are currently 2.2 kilograms compared to 1.8 for #6. Now, all these will come down, as there’s still quite a bit of material to remove for the comfort carves and the electronics cavities, however, it does just go to show how much lighter that particular bit of swamp ash is.
For guitar #10, the client and I were unsure of what colour scheme to go for at the time the build was specified, but I’m at the point where I need to start commissioning pickups from House of Tone for this build, and for that I need to know the colour of the pickup covers, and so I took one of the larger offcuts from the body and stained it green, and then set him pictures of the stained wood with a series of pick-guard materials.
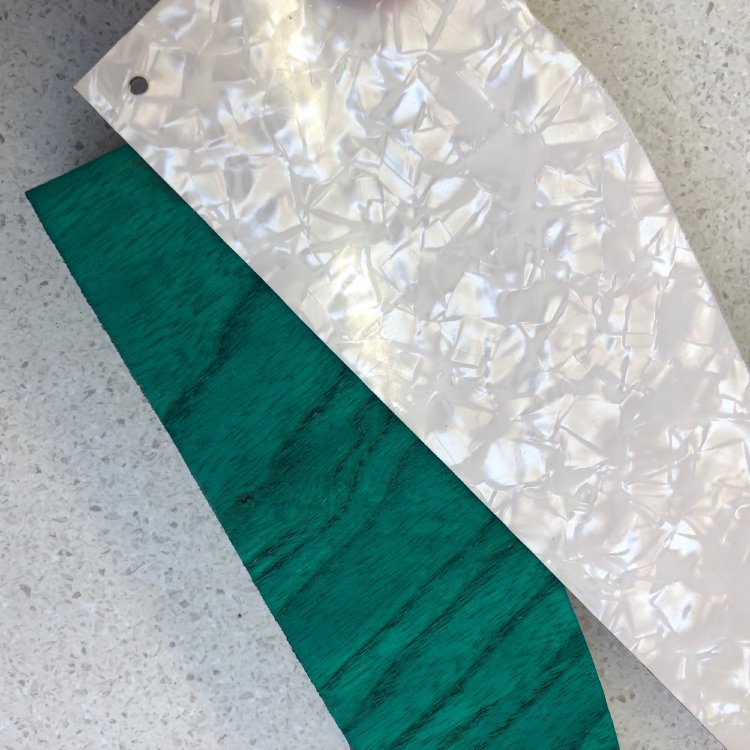
In the end we both liked the above option, so I can now get ordering pick guard material, pickups, etc.
Makespace has some interns at the moment trying to improve its public visibility, and as part of that I was interviewed as part of a series of meet the makers. I’ve not managed to bring myself to read what nonsense I spouted, so do let me know if I sound sane or not if you read it :)
To end the week fellow Makespace regular Jonathan and I went on a wood safari, heading up to MAC Timber near Peterborough who had an open day. MAC Timber specialise in locally grown hardwoods, and I wanted to see it they had anything that might be good for guitar building. Whilst I’ve been very happy with the service I get from my regular supplier, Exotic Hardwoods UK Ltd, it’s always nice to see what other options are out there.
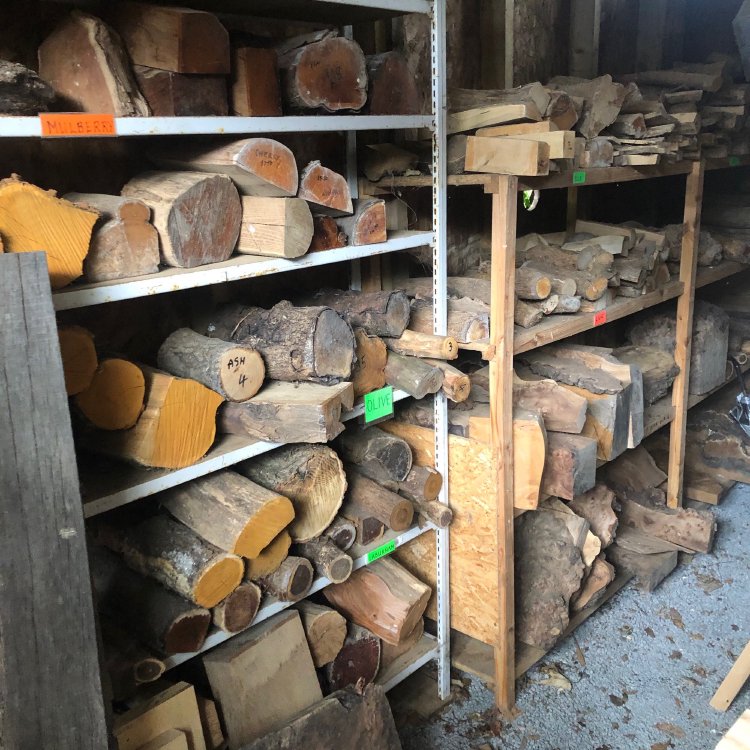
MAC Timber are a relatively small outfit compared to other timberyards I’ve visited, but they had a very nice selection of woods, just nothing quite to the dimensions and weights that I normally look for, catering more for furniture making and turning. Jonathan had better luck than me: he makes these lovely laser etched maps of Cambridge on unique bits of wood, and MAC Timber had some lovely knotted and burled bits of oak he fell in love with.

In the end I did pick up a wonderfully light bit of poplar I can use to make a guitar body with, but it’s not something they normally stock, so not a thing I can use on a regular basis.
Mostly the trip once again revealed how ignorant I am of woodwork the moment I go out of the narrow path I’ve trodden to date. I really would like to follow the path taken by local luthier Jamie at Swannell Guitars who is trying to use locally sourced and sustainable woods for his beautiful acoustic guitars. For solid body electric guitars I need to understand a bit more about the density and strength requirements and then perhaps take another visit to MAC Timber to quiz them over what might be appropriate for my needs.