A week out the shop
22 Sep 2019
As predicted last week, not a very busy week shop wise. Most of the week was taken either catching up with delayed contract work due to the laptop death the previous week, doing a backup restore to a borrowed laptop so I can get working, or beefing up my IT infrastructure given the death of one of the backup systems I use the previous week. You have to remember when you run a small solo business that all these overhead tasks like accounts, IT infrastructure, etc. are down to you, and whilst they seem like a distraction, you have to sort them out one way or another (by dealing with it yourself or by paying someone else to do it).
The other thing I did this week that kept me out of the workshop was take part in the Global Climate Strike on Friday. Now, I’m self employed, so technically I wasn’t striking, but at the same time, this makes taking half a day out to support the local children in their campaign for climate justice something with an obvious financial cost to me: when I was out with them I wasn’t either writing software at an hourly rate or in the workshop finishing the commissions so I could get paid.

However, I think that this is an expense worth making. Whilst I think this one action won’t have any direct consequences, perhaps as part of a bigger movement it will, and I need to do something. I don’t have kids, but my sister does and I fear for their future as things currently stand. In an engineering projec, when there is any form of crisis, I always try and cut through all the noise and spot the next actionable thing I can do to move things forward, even if it’s just a little bit, rather than being frozen in panic. With the climate crisis it’s hard to see what an individual can do, so this strike also appealed as it was at least an action I could take, to help give more voice to the children’s protests, beyond just hope someone will fix it.
Whilst the turn out in Cambridge was modest compared to reports I later read in other places, I do also appreciate that the fact I have the power to decide to spend my time in this way is a privilege in of itself. I know people who would have liked to join the march through Cambridge but could not get out of work without risk to their employment, and this also makes me want to take part given I have that luxury.
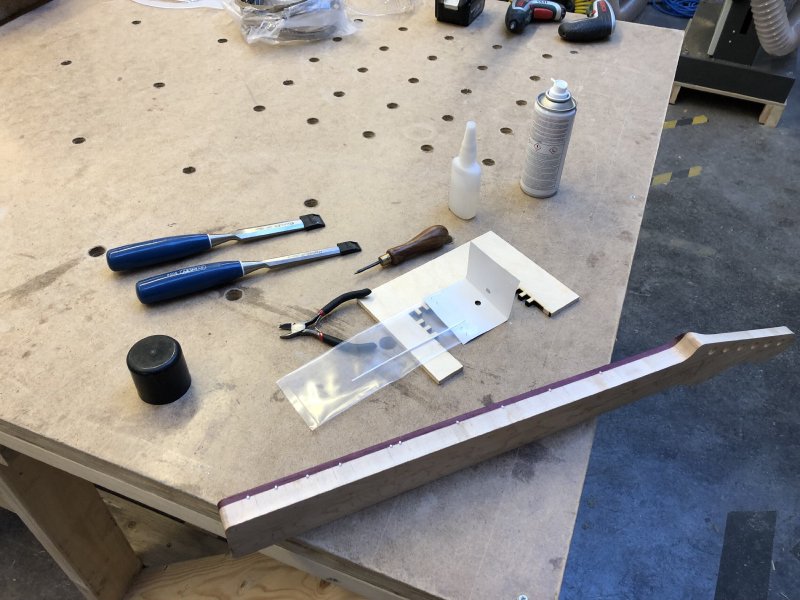
The main achievement I did do this week in the workshop was moving the neck for guitar #10 along. This involved taking the lovely indian rosewood fretboard blank I had and gluing it on:
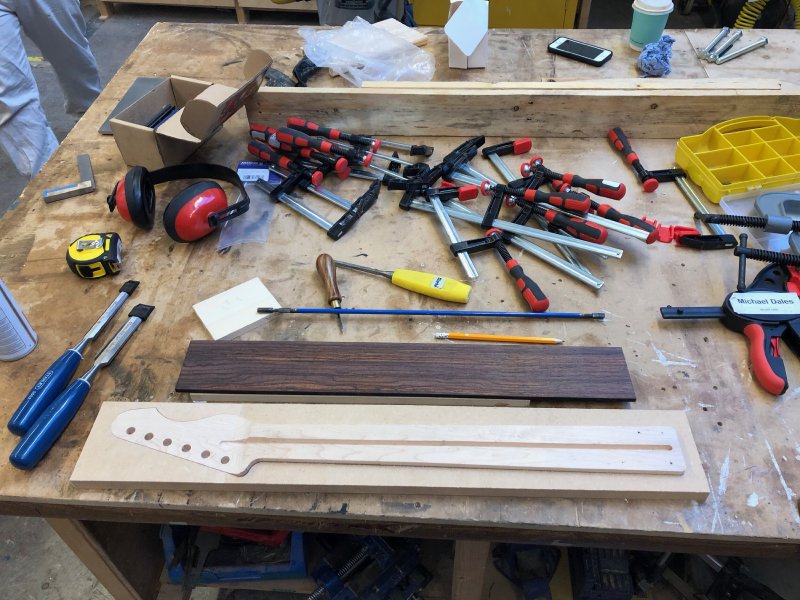
Gluing the fretboard on isn’t a straight case of just whacking some glue in there and hoping for the best: it took me a good hour to go from this stage to where things were being left to glue.
Firstly, I did a dry clamping, to let me check that the neck and the fretboard material will form a nice fit together: this will show if say the truss-rod is slightly proud or the wood has twisted/warped at all. In this case I found that the fretboard material had curved slightly since being thicknessed, and that it fitted on way round better than the other. I then marked this on with pencil so I’d not get confused later. Once I understand any physical constraints, I then pay attention to the texture of the fretboard wood itself in detail, trying to make sure that I get the best of the wood to remain behind when I trim things flush after gluing. In this case there was a slight knot in the wood that I wanted to make sure was removed when I trimmed things, and I also wanted to try maximise the colour variance of this particular piece of wood, as it has a nice mix of orangey brown and more traditional brown textures.
Once I’ve worked out the position, and done another dry clamping to convince myself all is good, I then put the fretboard to one side, and I put some masking tape over the truss-rod, with a little border of a couple of mm or so, and then apply glue to the main part of the neck. The masking tape will stop the truss rod cavity filling up with glue, preventing it from getting stuck in one position. I then use a spatula to ensure a good even spread of glue over the neck (I say spatula, I use a cut in half blank credit card bit of plastic, which I bought off amazon in bulk for not much money).
With the glue evenly spread, I remove the masking tape, and apply the fretboard, making note of my pencil markings to remind me where to put it. I then put some sacrificial wood on top of the fretboard, and use my MDF jig on the bottom, so as not to mark the neck with the clamps. All in all, it’s not a fast process here. If you rush this you’ll either risk ending up with an annoying bit of wood, or you’ll find gaps between the neck and the fretboard after gluing, both of which are expensive to deal with.
24 hours later I removed the clamps, after which I started to trim the fretboard. Firstly I use the bandsaw to remove most of the excess, both on the three sides that aren’t the headstock, and then on the bit over the headstock face itself. I then run around it carefully with a hand router to get the remaining sides flush.
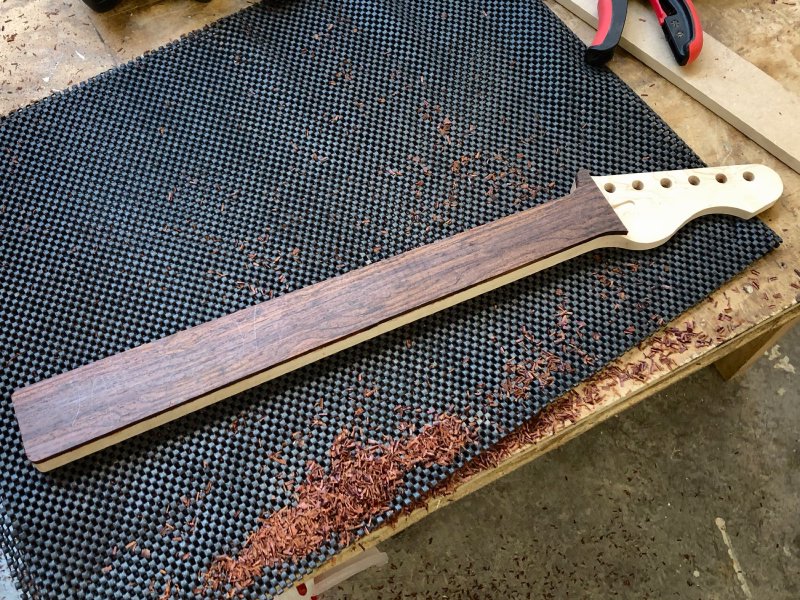
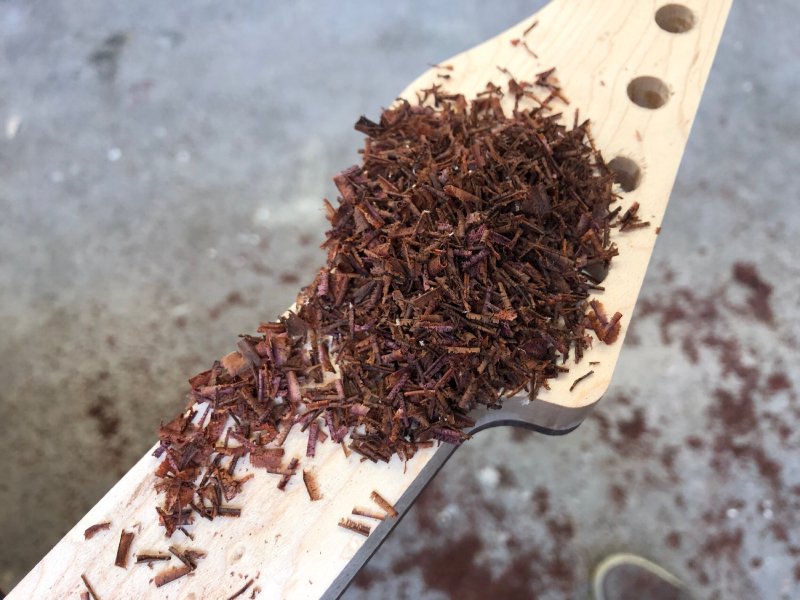
The shavings you get from this look beautiful and smell amazing :)
All that remains on the shaping now is to get the side of the headstock transition done, which I’ll do early next week with the spindle sander, and after that it’s onto the laser cutter for making and the detail work to begin.
After gluing the fretboard for guitar #10 and waiting for that to set, I took a quick look again at the neck for Corvette, and did both the side inlays and cut most of the fret slots.
My top tip for side inlays (or I guess any time you use dowels) is to get yourself a set of engineering drill bits: these come in tenth of a millimetre increments. Although I buy dowel that is notionally 2mm in diameter, each one I buy has a little variance, so I will start with a 2mm drill bit and then got up and down until I can just fit the dowel into the drilled hole, but not have to fight it to do so. With a regular drill bit set I was finding I’d often have to struggle using the 2mm bit (also, if you measure a 2mm bit in a regular drill set you’ll find that size isn’t spot on either), but typically I find with this dowel I’m using a 2.1mm drill bit is a perfectly snug fit, which is just what you want.
That was unfortunately it guitar wise, at least directly. A few weeks ago I talked about the importance of community, and I did spend some time this week helping another of the communities I’m lucky to be part of: that of the local luthiers. At the weekend I did spend a bit of time helping Matt at Fidelity Guitars with some CNC Routing of templates that were too big for his CNC Router.
One of the nice things about the local luthier community in Cambridge is that none of us quite has the complete set of tools we need for every eventuality, but we can always depend on the others to provide a helping hand. Thus why I’m very happy to spend a couple of hours helping Matt out, given he’s generously helped me in the past and knowing that in the future it’ll be me needing a hand with something.