Getting back into the workshop
Published 21 Jun 2021
Another set of catch-up notes, but on a different topic from the last couple of weeks: this time we have some notes from actually being in the workshop again! Or I should say, back in a workshop again, as it’s not the same one I was in last time I wrote about workshop activities here: my workbench has a new home.
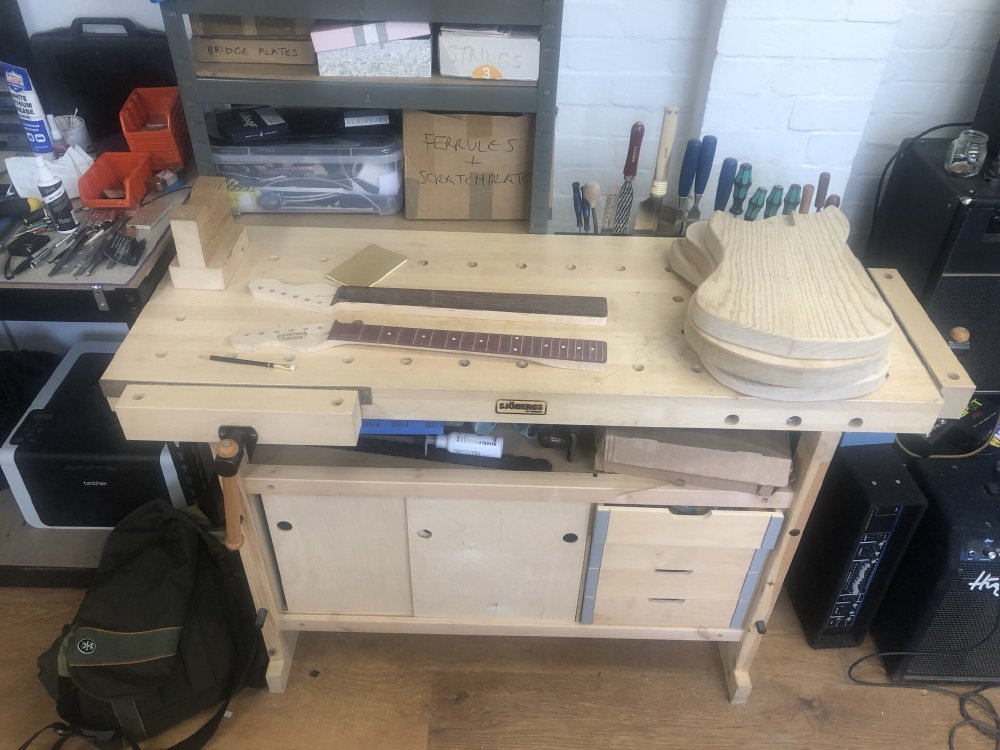
In the start of 2020 I moved into the workshop of local electric guitar builder Fidelity Guitars, ran by my friend Matt. Matt was working out a barn on a farm in the fenlands, but at the start of this year his landlord said they wanted the barn back as a barn, so Matt was forced to look otherwhere for space. He teamed up with local acoustic guitar builder Jamie of Swannell Guitars who was also looking for new space, and together they now have a shared workshop that they’ve set up as a dedicated guitar building space: there’s a dust free room for fine work, a larger room with the heavy gear in for making dust (with extraction), another small room with the CNC gear in, and dedicated storage space for guitars in progress. Thankfully for me, there’s still some room for my little workbench:
So I now have a place to get building again, in a space run by two talented builders. Hopefully we provide a nice complementary set of skills: an experienced traditional acoustic guitar builder, an experienced electric guitar build using more modern techniques, and me brining a bit of more experimental near term techniques. To say I’m excited to get back into the workshop again is an understatement!
The first visit to the workshop I just spent it trying to remember what I had in progress before the end of last year, and do a little stock check to see what I might need to order in to let me wrap those up.
I had three guitars with significant progress on them before the last lockdown, and I’d like to try wrap them up quickly so I can move on to my new hybrid guitar design I’ve been talking about here the last couple of weeks. That is, of course, easier said than done, but it gives me a clear motivation not to get too distracted by side quests whilst I progress them. One of the builds was just a learning piece, so I might just park that one if it seems to be too much of a distraction. We’ll see.
I also took a little time to work out what tools there were in the new workshop that I could use, and if there were any gaps I might need to fill, or change my technique to suit what there is. The main thing that I rely on that isn’t there is a sturdy large pillar drill; there is a small pillar drill, but I suspect at some point I’ll want to get a more robust model with a larger clearance to make it easier to drill out the bridge string holes in particular. Matt tends to do all the significant drilling on his guitars on the CNC, whereas I tend to do that by hand (using templates), which is why that’s not been a priority to Matt. But for now I’ll try get by with what’s there, particularly as the new hybrid guitar approach means I might not need such a large drill.
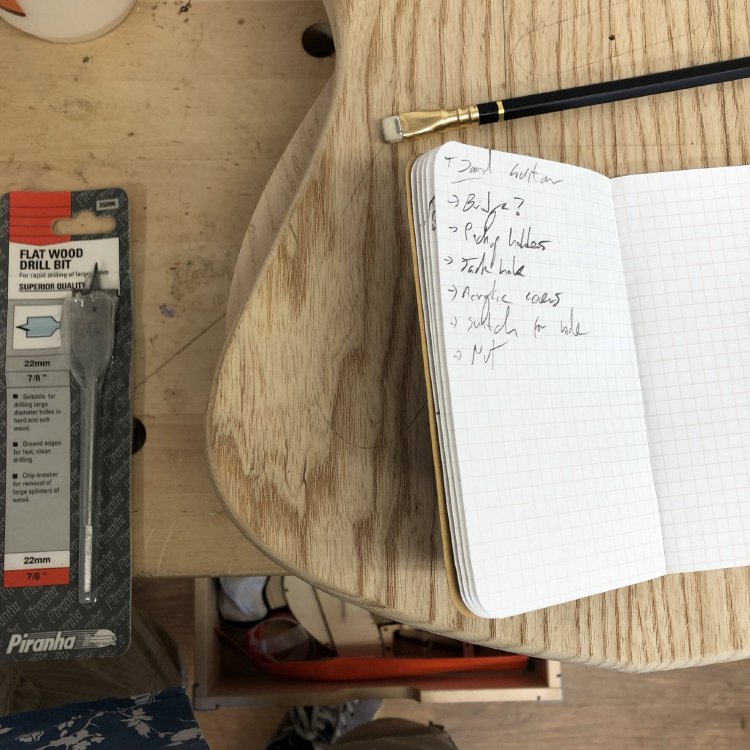
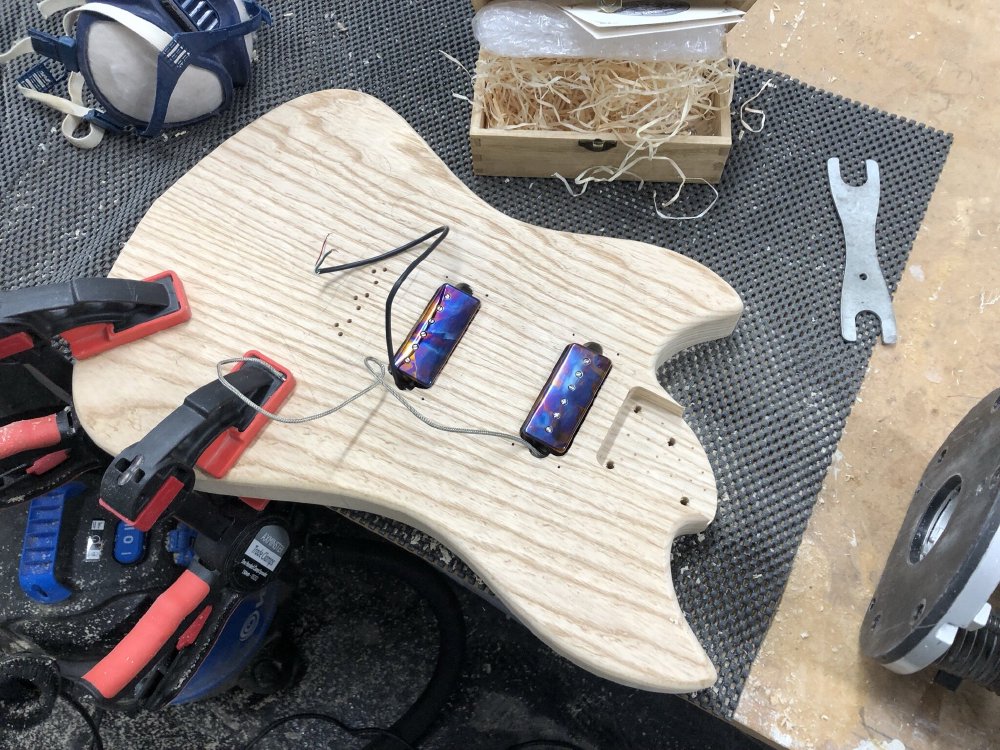
Having done all the prep on that first day in the shop, and ordered a few bit and pieces I saw that I needed, on my next visit to the workshop I was able to just get on with building, which was wonderful: my first time making dust in half a year. I concentrated on the corvette build, which is the one currently closest to completion:
I need to get better at not leaving snack bar wrappers in the shot :) But it’s important to keep both hydrated and your blood sugar levels topped up when in the workshop!
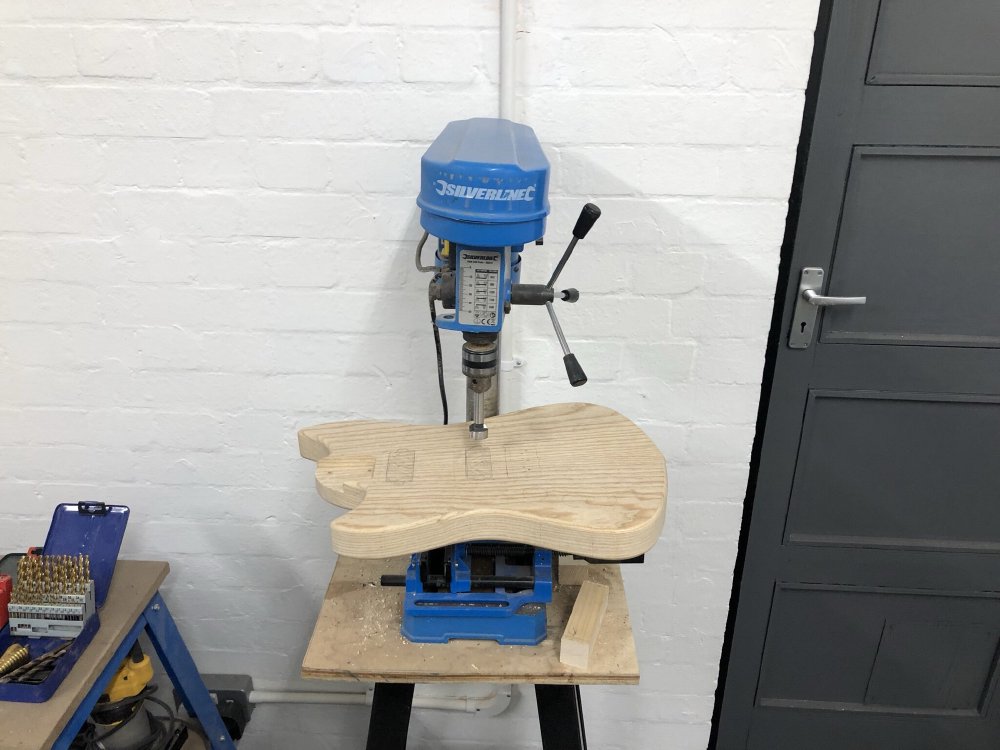
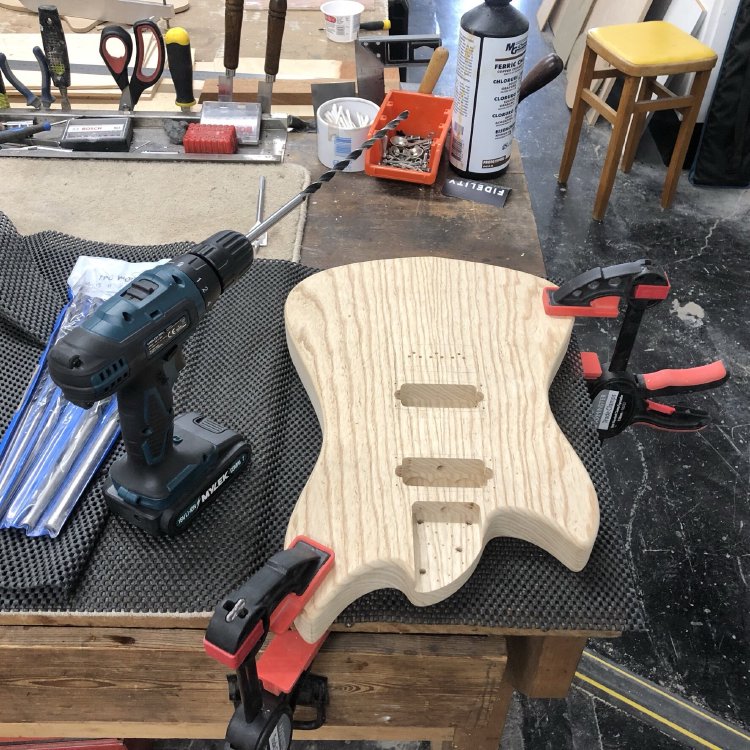
The first task was to finish putting holes into the body: whilst the control cavities were routed out on the rear, I still needed to route out the pickup cavities, then a bunch of drilling: several long holes to let me route the wiring between all the cavities, holes for the controls to be mounted on the front, the hole for the cable jack, and the pilot holes for the strap pins.
I started with the pickup cavities. Whilst these are being cut using a hand-router with a template, a router is a finishing tool, so I first removed move of the material using a Forstner bit on the aforementioned pillar drill. I suspect I was pushing the pillar drill to its limits with this kind of task, but it did get there!
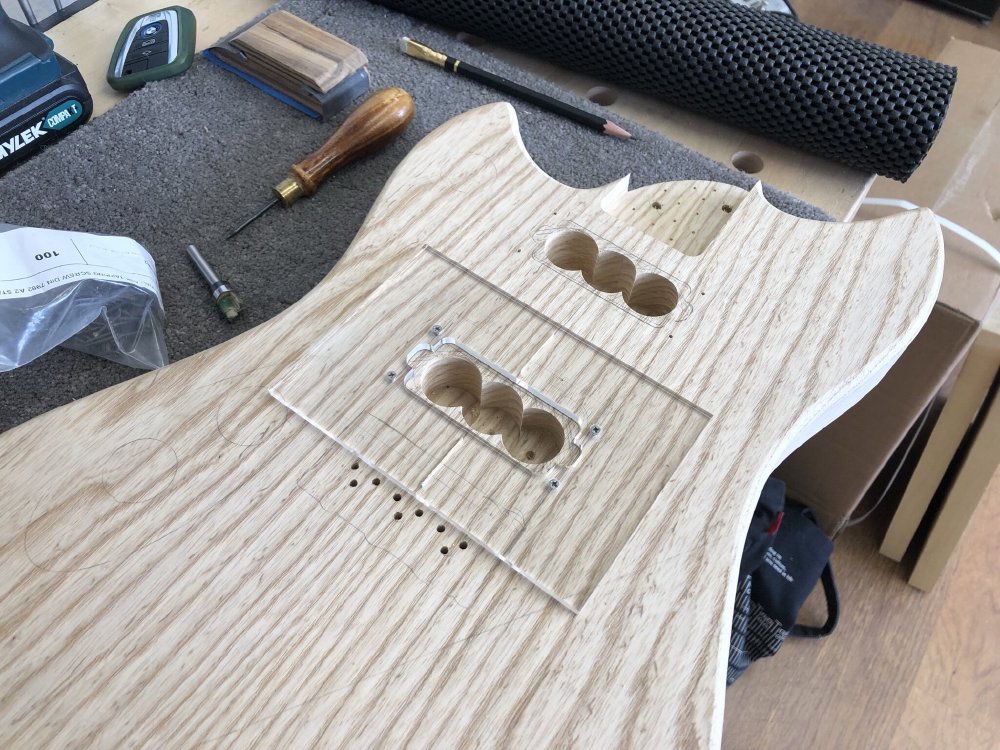
The next task was to mount the template I laser cut for routing out the cavities proper:
A quick digression into this topic: in previous guitar builds I’d used the Fender style approach of having the pickups mounted to a scratch-plate, as exemplified by The Clydesdale build I made a couple of years ago:

You can see here that all the electronics are mounted on two parts: the plastic scratch-plate (or pick-guard, I realise I use both terms inconsistently, apologies), and the metal control place. There’s a number of advantages to this style of construction: the scratch-plate is designed to protect the wood from being worn down as you play of course, but from a building perspective it is also quite nice. For instance, you can route out everything from the front in a single pass, making the body build much simpler. You can also route out the channels for the wires, rather than drilling them, as they’re also hidden. You can also make the cavities for the pickups larger than needed to accommodate other pickup styles in the future.
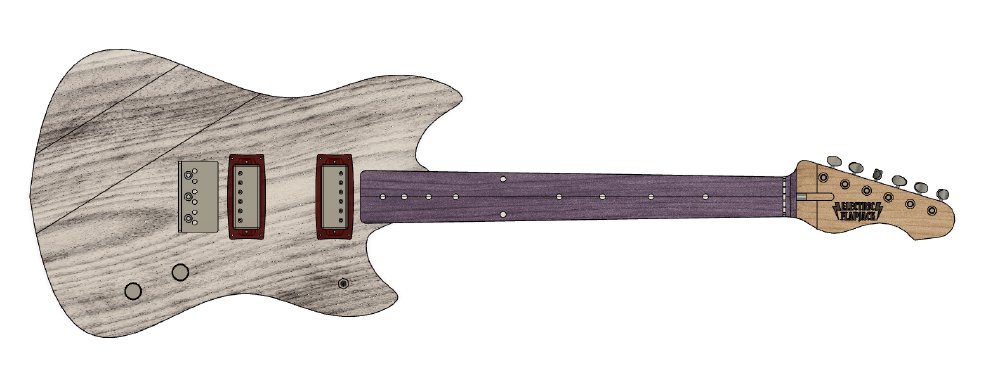
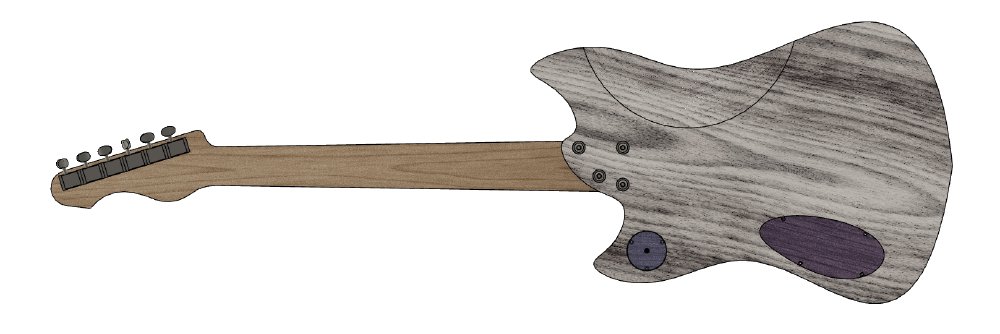
However, these build time advantages come at the cost of ease of maintenance: if you want to do any work on the electronics all the strings have to come off, which is quite frustrating. Add to this that it also obscures quite a bit of the wood where I tend to do natural finishes, I felt that on my first guitar where the design is all mine I wanted to move to a more Gibson style design for how the electronics are mounted, with rear access control cavities and small pickup mount rings:
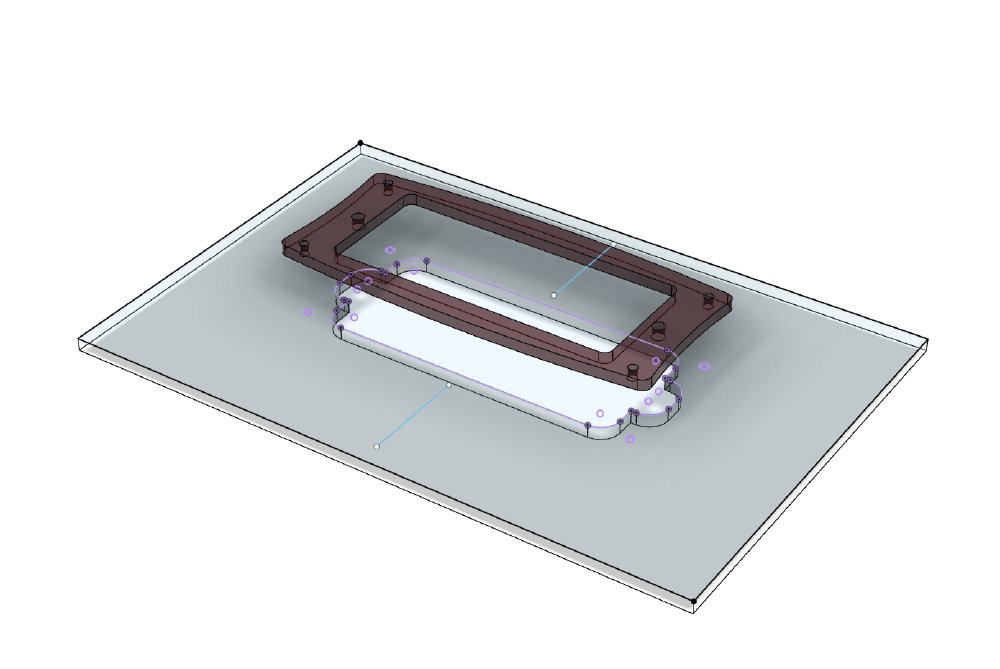
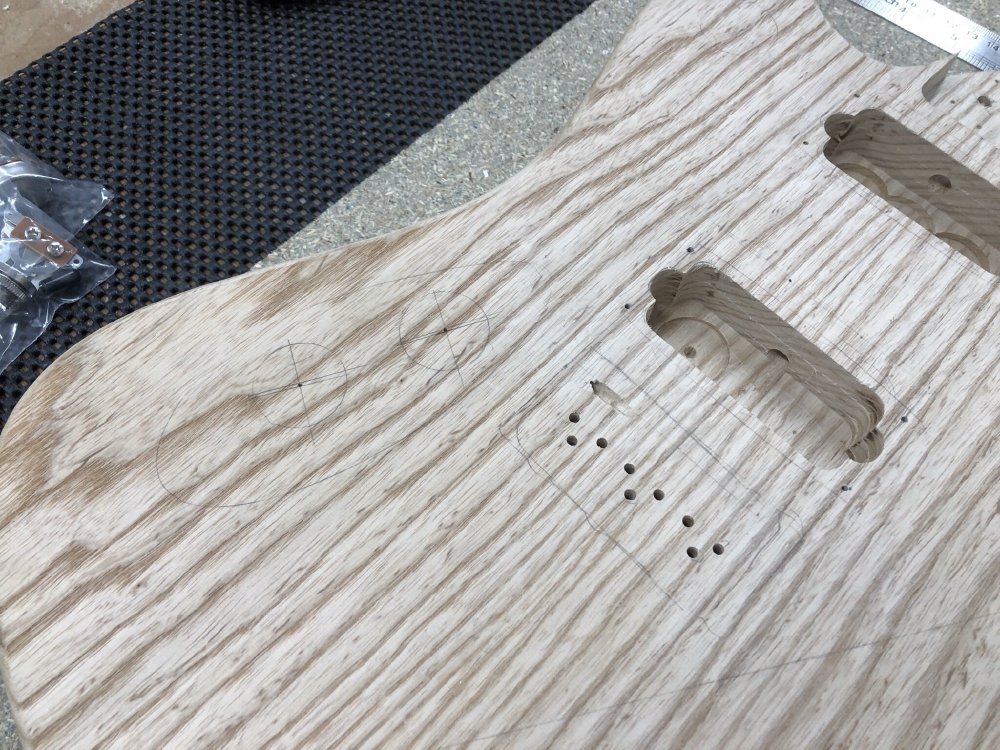
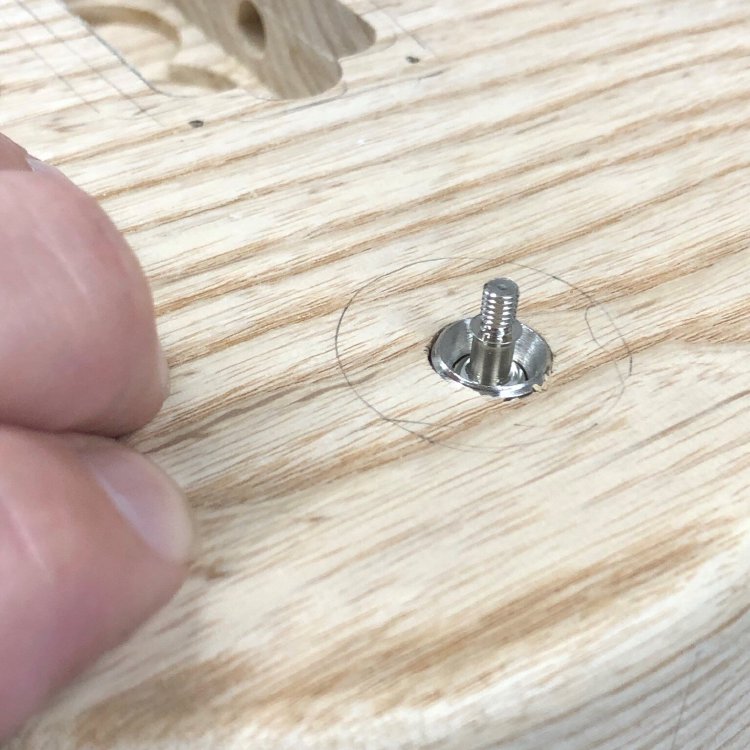
However, this means I have much less room to play with when making the cavities for the pickups, and indeed for how to mount my routing template. To make this somewhat less fraught I designed my template at the same time I designed my pickup mounts so that I can use the same screw holes on the front of the body to both mount the routing template and then later mount the pickups with:
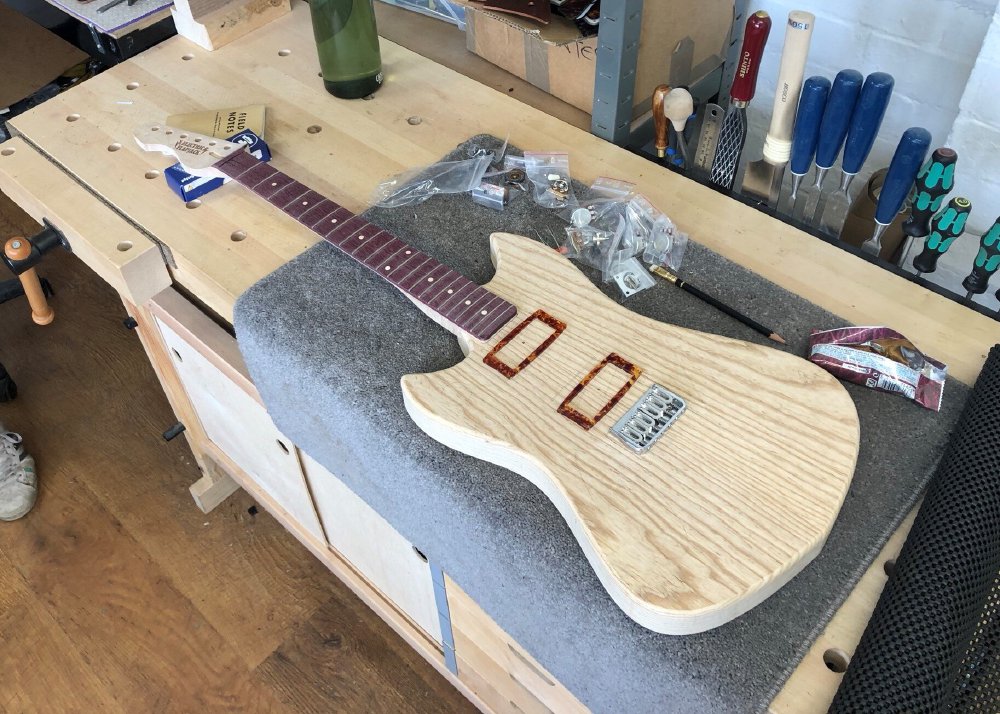
The plan worked well, and routing out the cavities was a breeze:

As ever my template is transparent with a marked centre-line on the underside to help me line up the template with the centre line on the body itself. The results were some nice neat cavities for the wonderful burnt chrome pickups made for me by Matthew over at House of Tone Pickups in Chester.
Cavities done, it was time to break out the VERY LONG DRILL BITS:
These extra-long bits let me drill the holes between the pickup cavities on the front and the control cavities on the rear to run the electronics wires through.
I always find these a bit stressful as you can’t see if you’ve got the angles right as you try to drill from front to back across the guitar body. In theory, it’s all good as I put these into the CAD model to make sure it was possible and that the drill bits would have clearance, but it’s another thing to then execute that without being able to take a real life section view :) Still, they all worked in the end - yay for CAD model prep.
The rest of it went swimmingly, except I’d not drilled out the cavity for the pickup selector switch deep enough when I did it last year:
So it was back onto the pillar drill with my biggest Forstner bit (the same one I’d used originally) to carefully make the cavity 5mm deeper. Because the pillar drill doesn’t have an accurate stop on it, I had to do this a mm or less at a time until I got there, each time being very careful to only cut the hole deeper and not wider! But patience got me there in the end:
In retrospect I should probably have used the hand router with a follow bit and an appropriately set depth stop, but still, we got there in the end.
At this point I was still one hole short, which the jack hole still to drill, but I could feel my attention was flagging as the day wore on, and there’s no point trying to push on with things like this when you know you’re not at your most attentive, so that remains to be done next time.
But even though I didn’t quite get to where I had planned, it was a productive time in the new workshop. It was great to be making some actual build progress again after so long, and it was good to have a work in progress I could just get stuck into. Hopefully the world will not conspire to keep me out of the workshop again and thus long may this continue!