A Week in the Shop
15 Apr 2023
Tags: 3D printing, amp, esp32, fret work, motor, pickups, staining
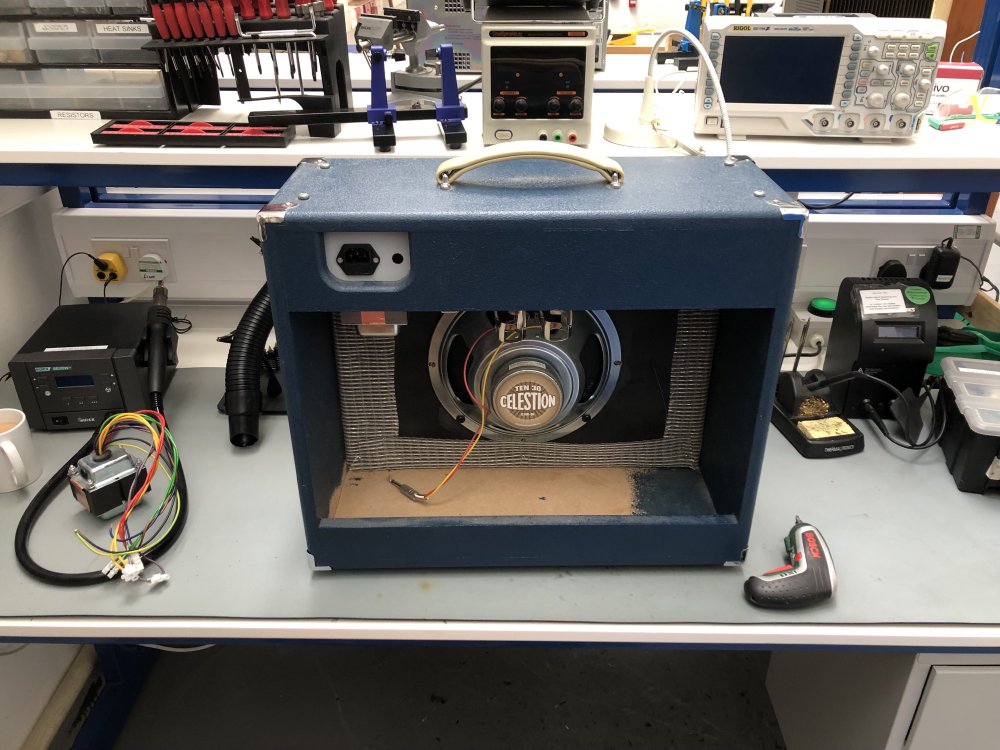
The Practice Practice Amp Lives Again
I look forward to finding the original amp diagrams I made for my practice practice amp I made a few years ago. They’re not the kind of thing I think I would have thrown out, but I can’t for the life of me find where I filed them, so this week I had to draw them out again based on looking at online amp building guides and the photos I have of the workshop from back then 🤦🏼 - all of which I suspect means they’ll turn up next week now I don’t need them. It’s slightly complicated by the fact that I didn’t just copy a single Fender amp design, I fused two of the early ones (the 5F1 and 5F2A designs) to give me a little more flexibility in sounds the amp would make - in particular the original Fender Champ had no tone control, which I wanted to add, and thus borrowed from the Princeton. Anyway, I got there in the end, such that I felt I understood my amp’s circuit enough to be comfortable wiring up something at mains power again.
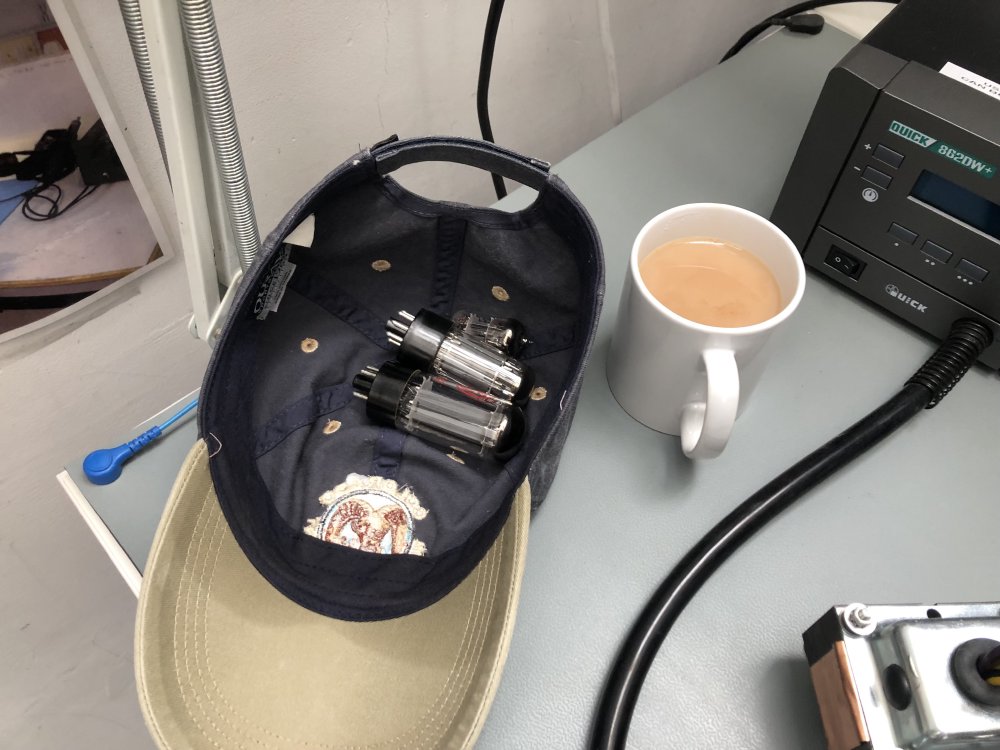
But with a hat full of valves and a fresh cup of tea, where can you go wrong?
I also found a use for those weighty Machinery’s Handbook tomes that were kicking around the maker space…

My aim for the day was just to connect everything up and get a sound again, in particularly as the wiring for the replacement transformer, which in theory was a drop in replacement, wasn’t quite the same as the last one, so I just wanted to know it was going to work and not start a fire (observing rule #0 of making: don’t be on fire). Thus I just connected things up with terminal blocks rather than cutting all the overly long wires from the transformer to length and soldering them directly. Even this, for me, was quite slot work, as given the voltages involved I was double checking everything as I went with the documentation, verifying with a multimeter, etc. But in the end, I got to the magic turning on moment:

As a precaution, when I originally made this amp, the maker space got an isolated power supply, which is what you see me plugged into here: if I have a short or such then the isolated PSU will shut me off, rather than having to rely on the workshop breakers. A good precaution, but thankfully not needed, as there was nothing wrong, and it powered up fine. A little more paranoid checking that things were correctly set, I plugged in, and made a proper nuisance of myself in the space for five minutes on the grounds of “testing” :)

Any project where a guitar is your test gear is a good project :) I left it there for the day, this being my Sunday morning excursion, but next time I go back in I’ll now trim the wires and solder things in properly rather than have all that excess wire from the transformer filling up the chassis.
Verkstaden
In a week of what felt like mostly non-traditional luthiery (see above and below), it was nice to spend the better part of a day just getting on with a neck build for Verkstaden.
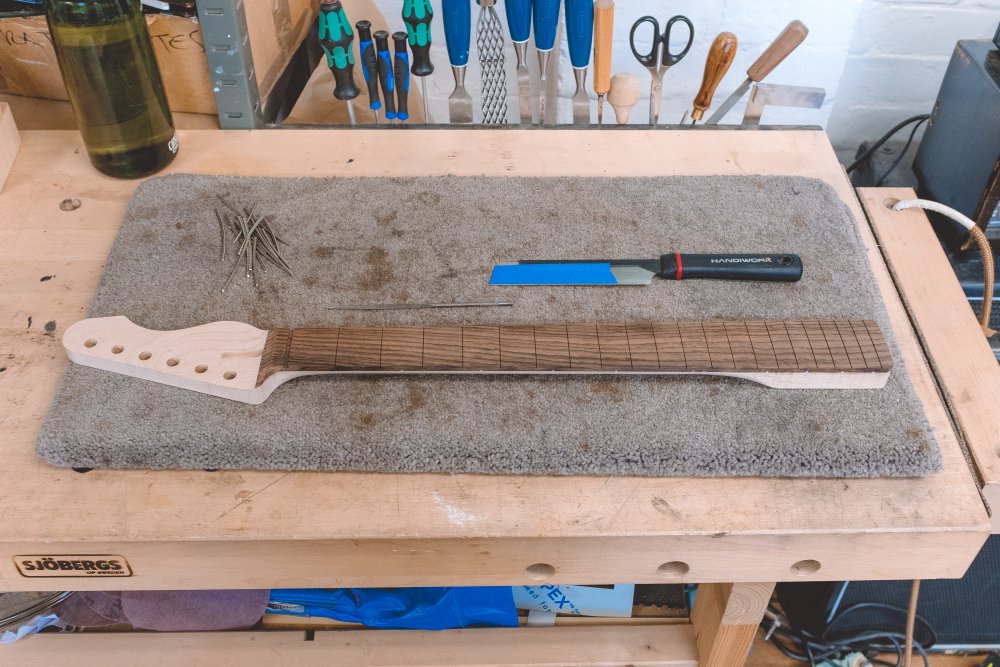
I started this neck a while ago, and it’s the last holdover of me trying to make life harder for myself by going for a very narrow fret-slot to avoid using glue, which in practice meant the frets were a struggle to seat properly, and then thus level. So the first job was to widen the fret-slots fractionally from the 0.3mm I’d originally cut to closer to 0.5mm. Once that was done I then used a small triangular profile file to open up the top of the slot slightly to help guide the frets home.
With this done, it was then time to get the arbour-press out, and press the frets in:
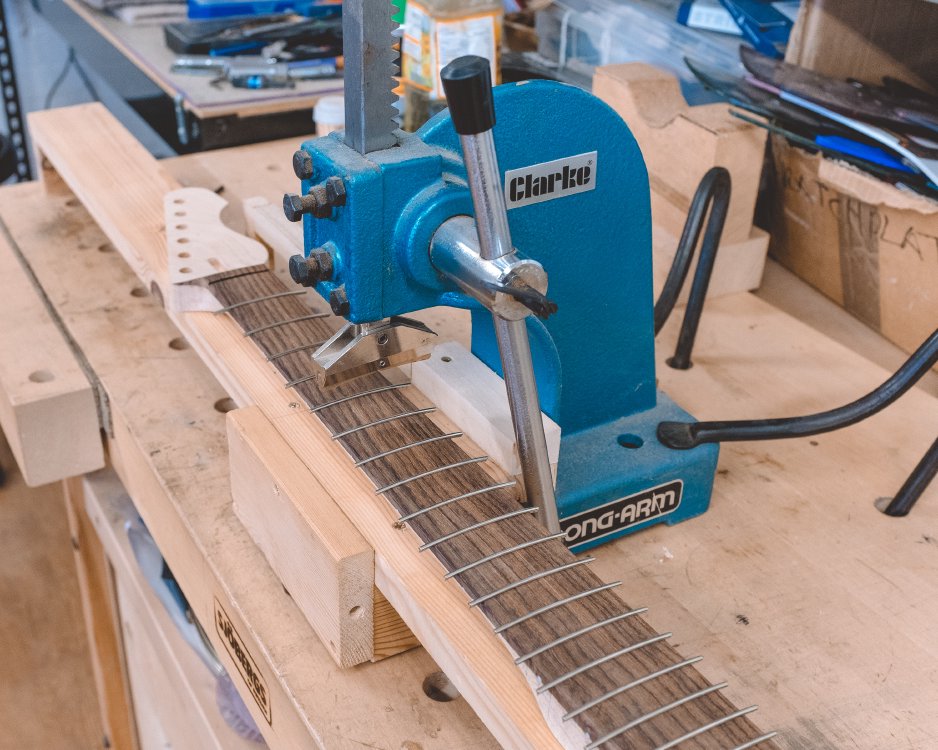
I’m a big advocate of not needing the fancy tools to do jobs where possible, and I’ve done my fair share of necks where I hammered the frets in, but I can’t recommend getting an arbour-press for inserting frets enough if you’re going to be doing it often and you can stretch to it. But only does it help you get the frets in faster, but it’s also much more consistent in the end result, as you have a uniform pressure over the entire fret as it’s seated. Not only that, all frets get roughly the same pressure, so when it comes to levelling the frets there’s so much less work to do. It really is a tool that makes all stages of the fretting process downstream easier.
I’ve seen people apply a little glue to the frets before they’re inserted, and I remember doing this for a couple of my earlier neck builds, but now I follow the lead of my workshop mates and use some high-wicking superglue dabbed at the ends of the frets. This has the added benefit that if your fret-slots aren’t spot on it’ll plug the gap that you’d otherwise have left.
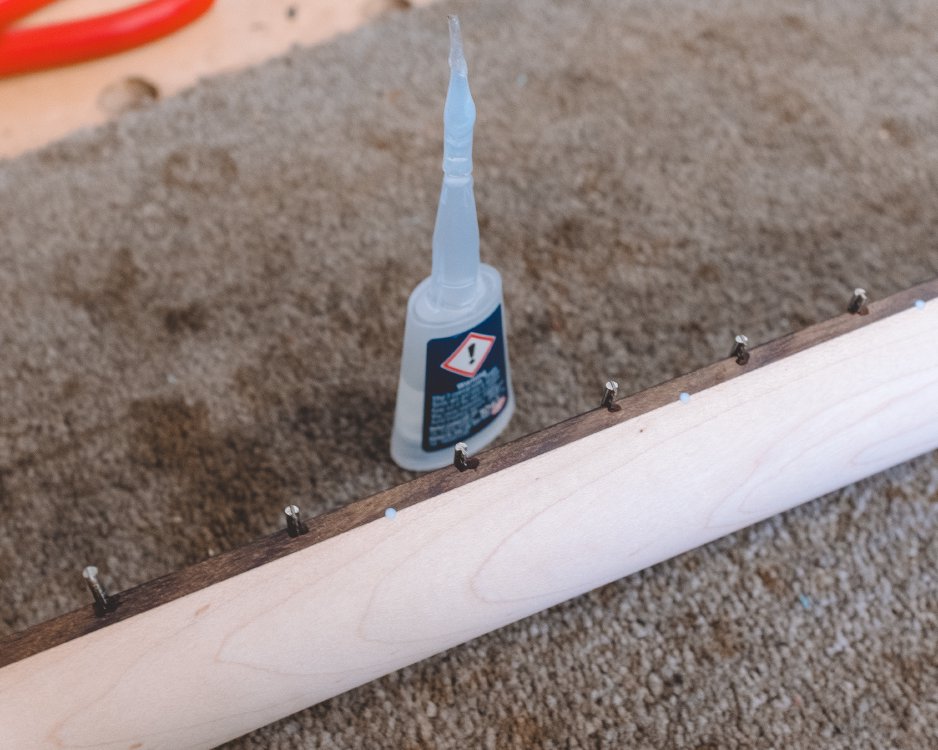
One the glue has dried you’ll find there’s some left on the surface, and if it’s been particularly annoying (thankfully it wasn’t this time for me, but it has been in the past) it may have run over onto the fretboard itself, but don’t panic about this. Most of the stuff on the side will come of as you sand the fret-ends flush with the fretboard, and the rest (on both the sides and any on the fretboard face) you can carefully remove with a razor blade, using it a bit like a tiny chisel.
With the frets home and the glue dried, it’s now time to get those frets levelled:
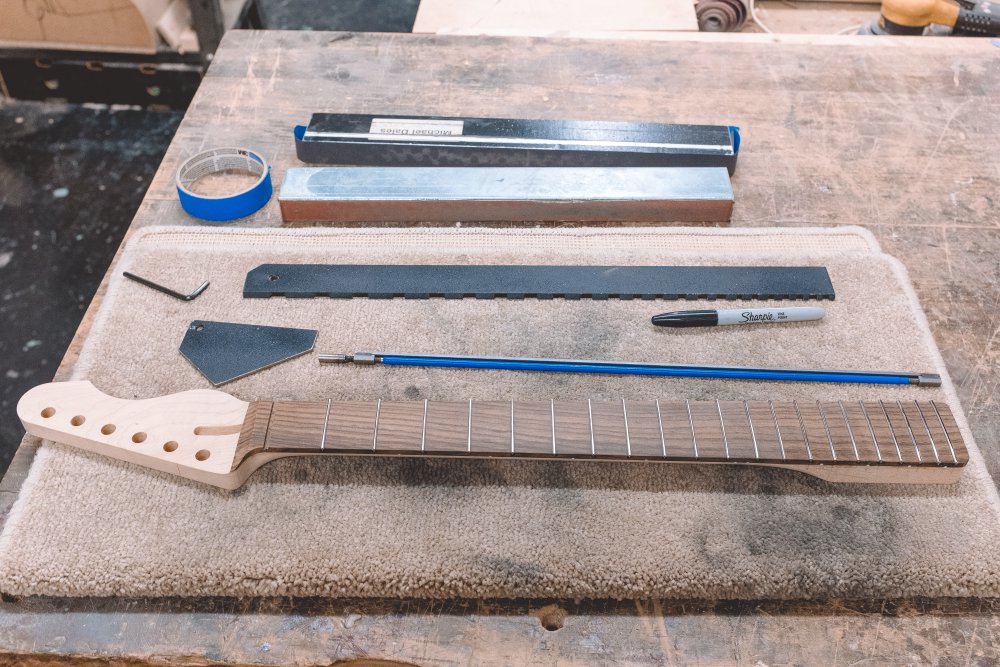
The observant might notice that I have a spare truss-rod out on the workbench here - that’s the blue bar you see on the workbench. There is another one just like it running along the middle of the guitar neck just under the fretboard, both giving it extra strength, but also allowing you to adjust the bowing of the neck, which (looking at the neck as you do here) will go concaved along its length with string tension, but also convexed after you’ve put the frets.
Before you level the frets, you want to try and dial out as much of that convex as you can by adjusting the truss-rod. But here we come to what is one of my great luthiery shames: I can never remember which way to adjust a truss-rod for a desired outcome, and so the easiest thing for me to do in the workshop is just grab one of the yet to be used ones and adjust it and watch what happens to remind myself. All these years you’d have thought this would have sunk in.
The main tool I use for levelling the frets these days is just a sanding bar: that is just a straight metal bar with some high grit sandpaper on it. I used to use a file first (which I still use on the fret ends), but because the arbour-press does such a good job of getting the frets close to done, I don’t need to start off so strong.
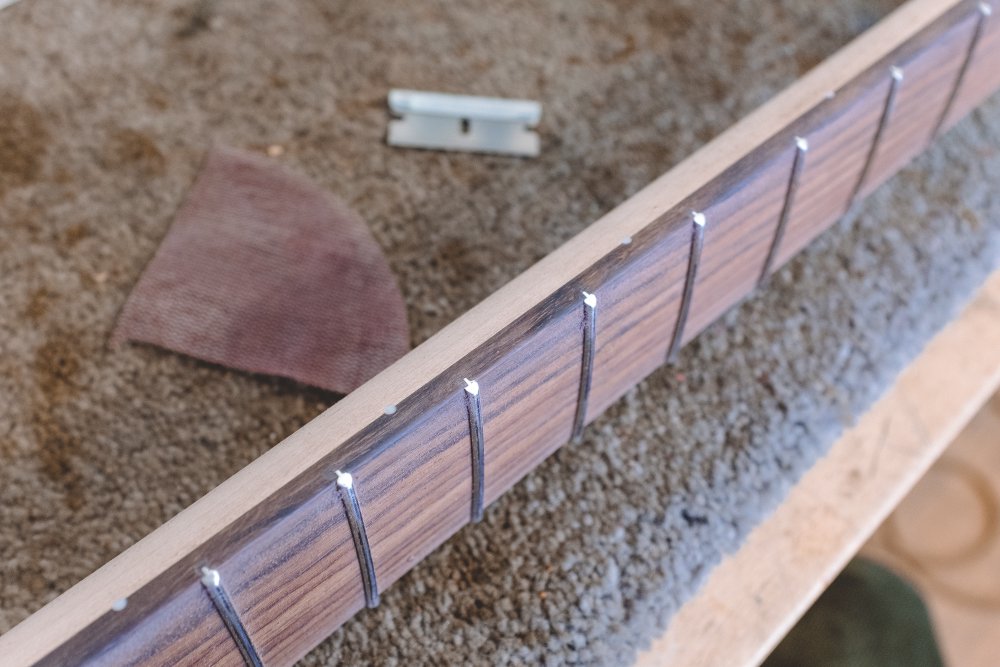
The other trick I employ that I was taught by workshop-mate Matt is to level off the top half of the neck flat, but put a slight subtle taper into the later half, which you do by adding a couple of layers of masking tape on the 12 fret when you’re doing frets 13 and up:

The idea being with this is that a neck under string tention is not actually straight, you always want a little bowing in there, and so the top end of the neck will magically get some extra room as you press the string down to help it avoid hitting the next fret up and buzzing, but as you get to the bottom of the neck that doesn’t happen so much, and this helps avoid fret-buzz at the dusty end of the neck.
Once the frets are all levelled, I then next do the side of the neck, filing down the fret ends and using the sanding bar to both first get the frets perfectly flush with the neck edge, and to add a slight bevel to the frets.
At this stage I’m always trying to ensure that I don’t lose the rounded edge of the fretboard, as sanding the side will tend to put a harsh edge back in that you can feel whilst playing, so I’m always trying to reinforce that round over I put on the fretboard before I started.
With that done, it’s onto rounding the fret ends themselves. Last week I made a comment about how I was looking at the Harley Benton guitar to see where a budget guitar has to make compromises versus one that has afforded more effort, and one of the key places that shows up is in the dressing of the fret ends. The more time you spend on this, and the more practiced the person doing it is, the less you’ll notice the frets under your hands as you move up and down the neck. I have a ways to go until I’m at the level of my workshop-mates, but I’m getting there - my aim is to get roughly quarter-spherical fret ends, and the tutelage of my workshop makes is playing off, I’m quite pleased with how this latest one is going:

Alas, I ran out of time after doing just 8 or so fret-ends - it’s a slow process. But the reward for the time spent on fret work is really key to making a great instrument: the frets are the instrument. I’m not a patient man by nature, but fret-work requires patience, and when I’ve tried to rush it in the past the results are its had to be redone. These days though I now have learned to enjoy the practice, taking time to shape each fret and get it just so.
3D printing struggles
After a string of successes using the new Formlabs Form 3 printer at the local maker space, finally reality caught up with me, and I’ve had a week of failed prints. Some of these are down to my failure to drive the PreForm software correctly - it wasn’t obvious to me that you could auto-align the print orientation, so I was trying to do it by hand and ended up with steps in the otherwise smooth top surface of my control, I had one pickup rubbish whilst in the IPA bath from some other print that had shed parts in there, which then ruined the finish, and then there was this mess:
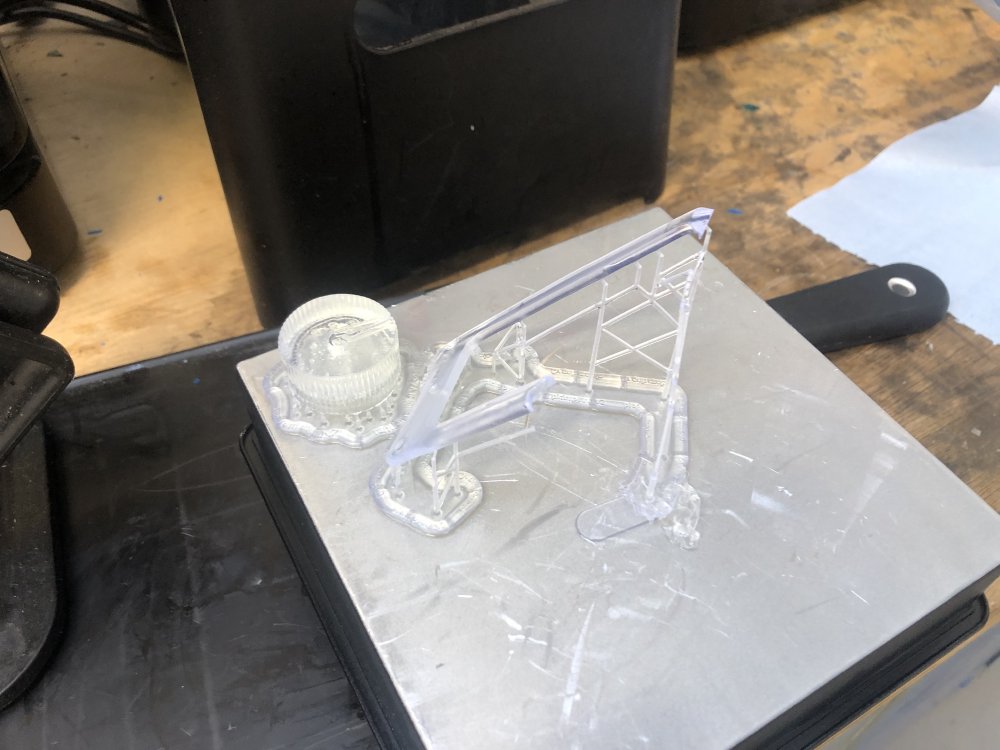
I thought I’d try 3D-printing a pickup mounting ring, as I thought it could look quite cool in dyed clear resin, and it’d let me round over the top edges compared to how my usual laser cut ones turn out, but the printer decided it’d have none of it and a chunk of my print just failed to appear. Given this was a four hour print, I was pretty annoyed to have waited around for the print only to get this.
Still, it’s enough to let me see the technique has promise, even if the printer clearly has its off weeks. I’d had a good run of successes with both the Markforged and the Form 3 printers at the maker space, that it’s been a while since I had to order things from Shapeways just for prototyping purposes. This was a little reminder that 3D-printing is always somewhat imperfect when you do it yourself.
More colour testing
The last couple of weeks I’ve been testing out various wood stains, and nothing was making me that happy yet. Here’s the collection I’ve built of up test pieces so far:
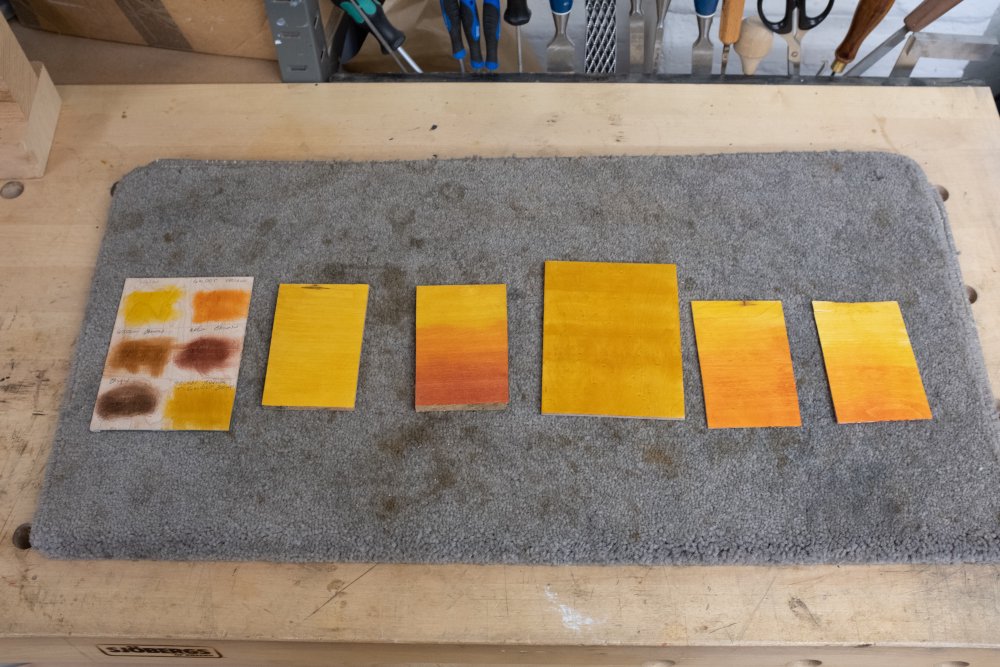
It dawned on me that I’d not yet tried adding oil over them, to simulate a finishing layer on top of the stains, which I know from previous experience that it makes the flat looking stains get more depth to them, and so juding the stains alone probably wasn’t that useful. So over the course of a day in the workshop I applied a couple of coats of oil finish to my sample sheets:
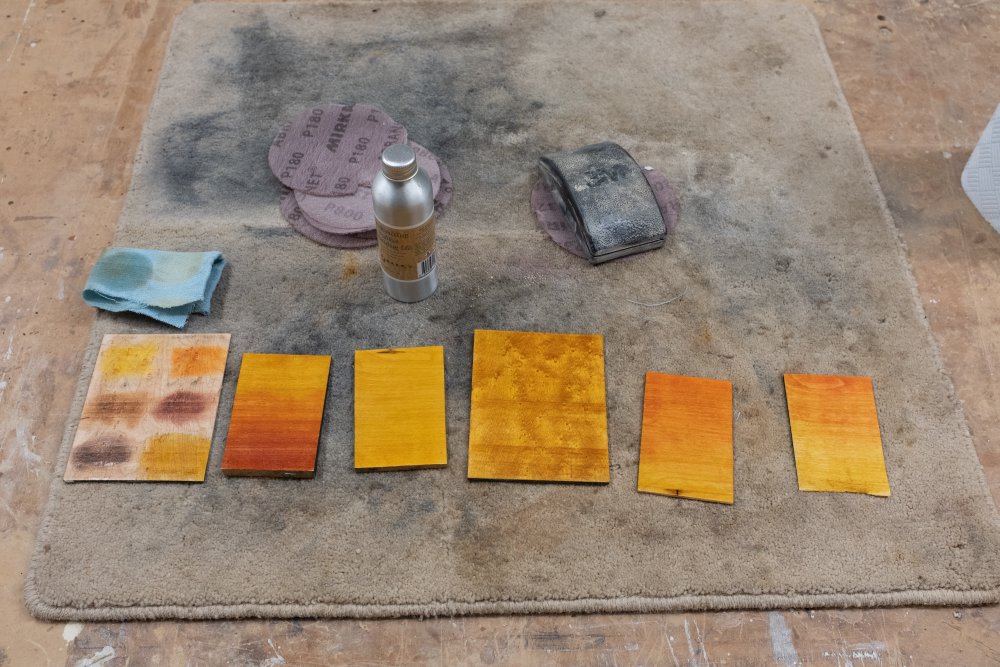
As ever with photos, it’s hard to see the impact, but it has actually made me appreciate the straight yellow sample a bit more (third from left in the second photo there), and it’s helped made the birds-eye maple that was a yellow and brown mix (fourth from left) have more depth to it. Still not sure I have a winner, but I’ll see what it’s like next week once it’s had time to dry more.
Pickup winder
Still slowly chipping away at this. You’d think that give my day job is tech, and I used to work in hardware as well as software that this would be water off a duck’s back, but it’s all stuff I’ve mostly downgraded to vague memories as it’s been over a decade since I did hardware work professionally. Anyway, after a bunch of fighting with this particular ESP32 board, I finally got the stepper motor to be driven by my code:
The little strip of LEDs are there purely to let me debug the signals I was sending to the stepper motor, slowing everything down to 1 RPM let me see what was (or as was more the case, wasn’t) happening. Never underestimate the utility of blinking lights. Note I have the motor working, I need to get some buttons and a potentiometer in there to let me start/stop it and control the speed. With that, and a display of wind count, we’re pretty close to minimal functionality of a pickup winding machine.
I did at least learn how stepper motors work now, thanks to this simple guide I found on youtube:
Misc
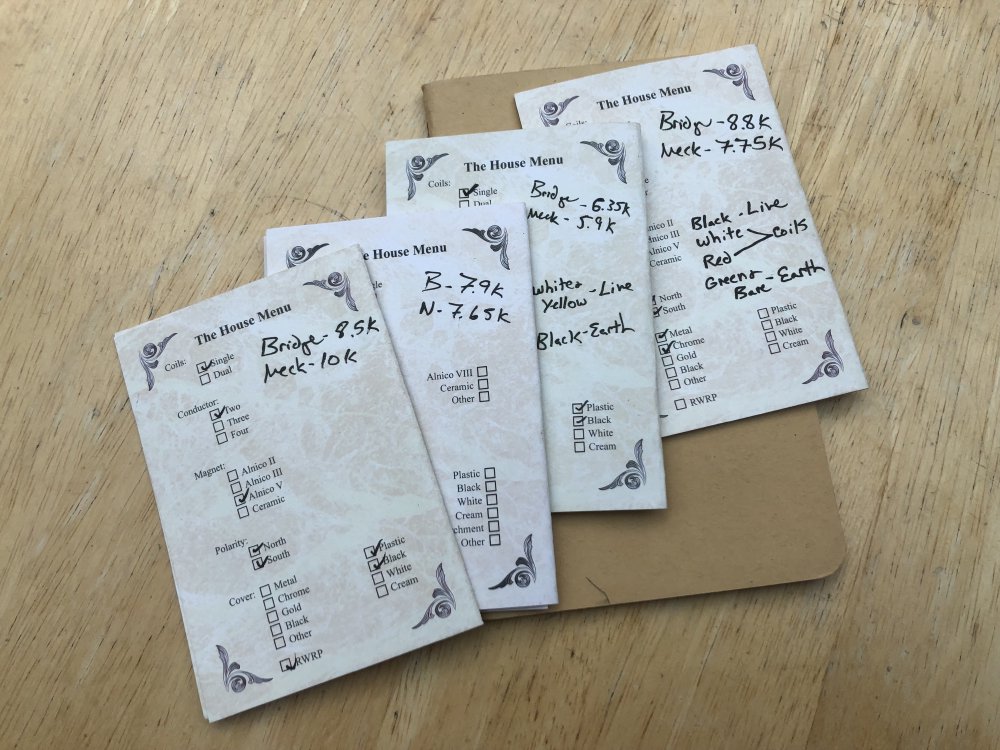
Whilst tearing apart all my various storage locations to try find my original amp circuit diagrams, I did make two nice discoveries. Firstly, I found the bundle of cards from House of Tone pickups with details of all the sets of pickups they’ve wound for me so far. I’ve been slowly building up a database of details for past builds, and so this was quite a nice find.
Not quite a nice as finding something even better from House of Tone: a full pickup set that I’d forgotten about!
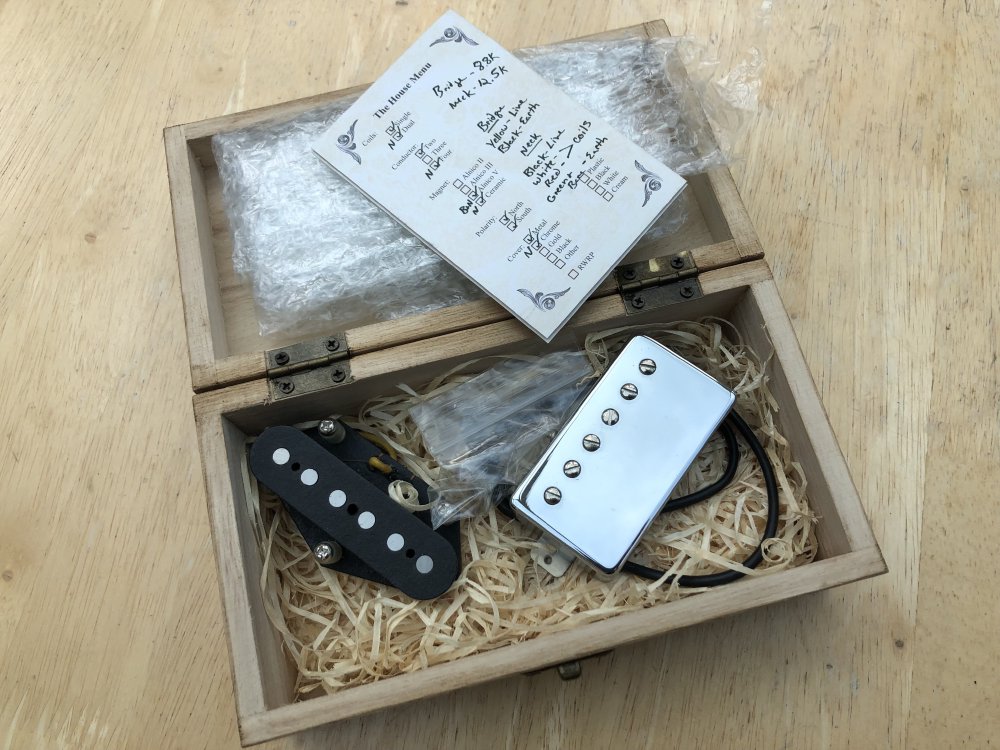
These were originally specified for the corvette build, before it turned out that the body style didn’t suit the larger pickups and associated bridge plate, so we ended up with a mini humbucker and mini P90 in that build. I’d totally forgotten about these, so I’ll need to find them a new home, as Matthew’s pickups shouldn’t go to waste! They look quite hot, so I imagine they’re not going to be for a very traditional vintage sounding build, but something more modern and rockier - I imagine they’ll suit a Dalarna build quite well - if anyone fancies putting their name to that early let me know, and you’ll get a chance to influence it before I build a stock guitar.