A Week in the Shop
22 Oct 2023
Tags: delfinen, finishing, fretwork, hästen, oiling, painting, staining, verkstaden
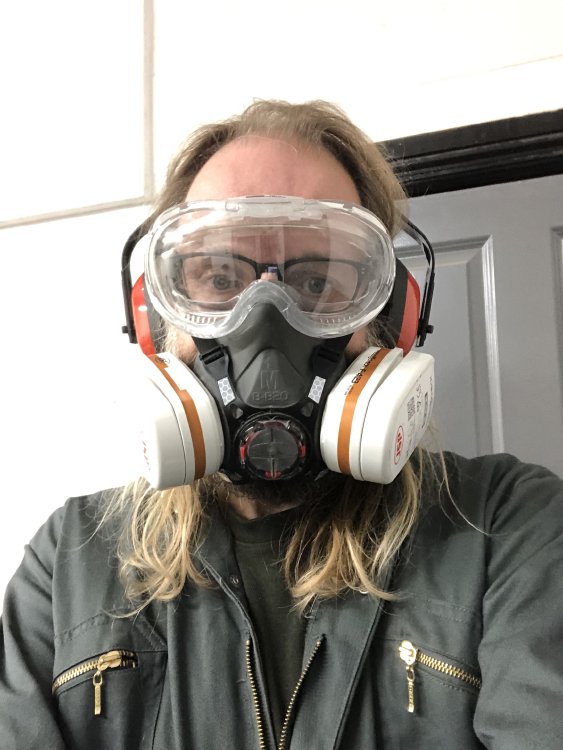
Winter is finally here, and the workshop is starting to get cold, so it’s now the season of long-johns, fleeces, and woolly hats as additional PPE. Thankfully this weekend the sun was out despite the chill, so it made for a nice ride out to the workshop, albeit I was wearing all the layers to do so :)
This week’s notes are long, as I ended up doing work on all three active guitar builds, and on the body and neck of each one. It was definitely a week of me slightly cursing past Michael’s eagerness to try new things rather than building any two guitars the same, resulting in each of the guitars taking longer than I’d expected as I’m doing things I’ve never done before, and learning as I go. But despite my cursing, I’m super pleased with where these guitars are going, so it’s worth the extra effort to push myself into new domains.
Delfinen
In last week’s notes I documented having to re-do the orange stain I’d applied to Delfinen, as some surface glue spots had only shown up after I applied the original coat of stain, a consequence of me trying binding on a guitar for the first time. At the end of those notes, having re-done the the stain finish, I wrote:
It’s not perfect, which pains me a little, but it’s good enough for now, particularly given this guitar is a prototype model rather than for a client. It’s at the stage where if this is the first thing you notice about the guitar then I’ve had more significant failings as a guitar builder, and I’ll learn to get better at binding in future builds.
With the intent that it wasn’t quite what I wanted, but it was good enough and it was time to accept that and move on. Alas, little did I know that I was about to do it all again at least one more time.
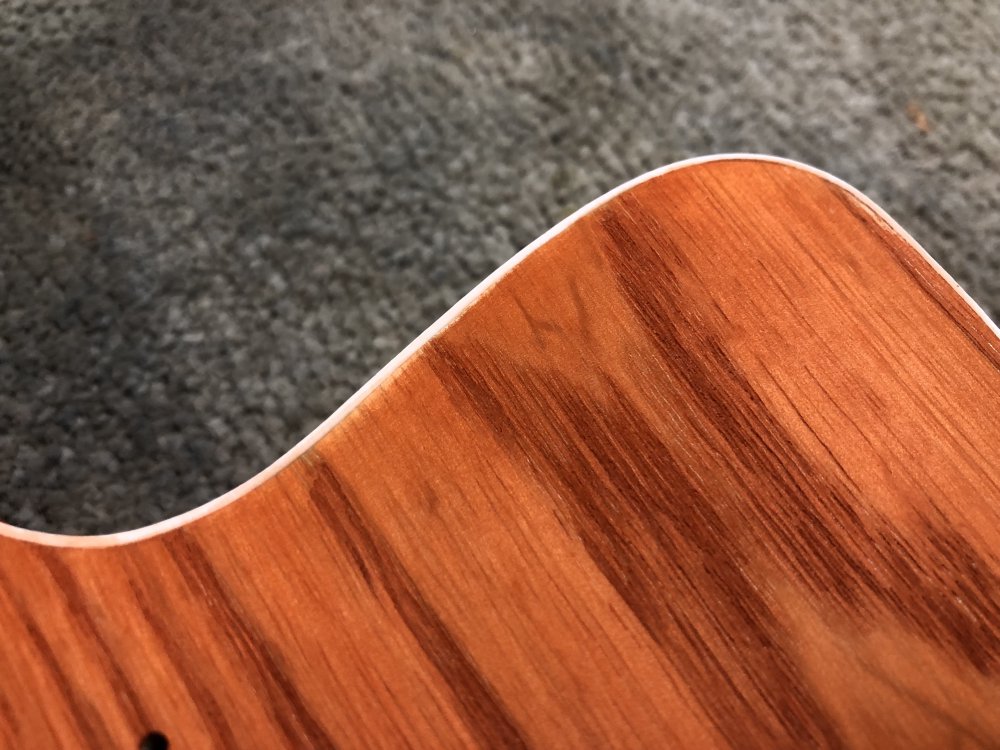
Firstly, when I got back into the workshop it was clear that after drying properly the stain hadn’t soaked in as well as it looked just after I applied the stain last week, for example along the top edge that’s been troubling me:
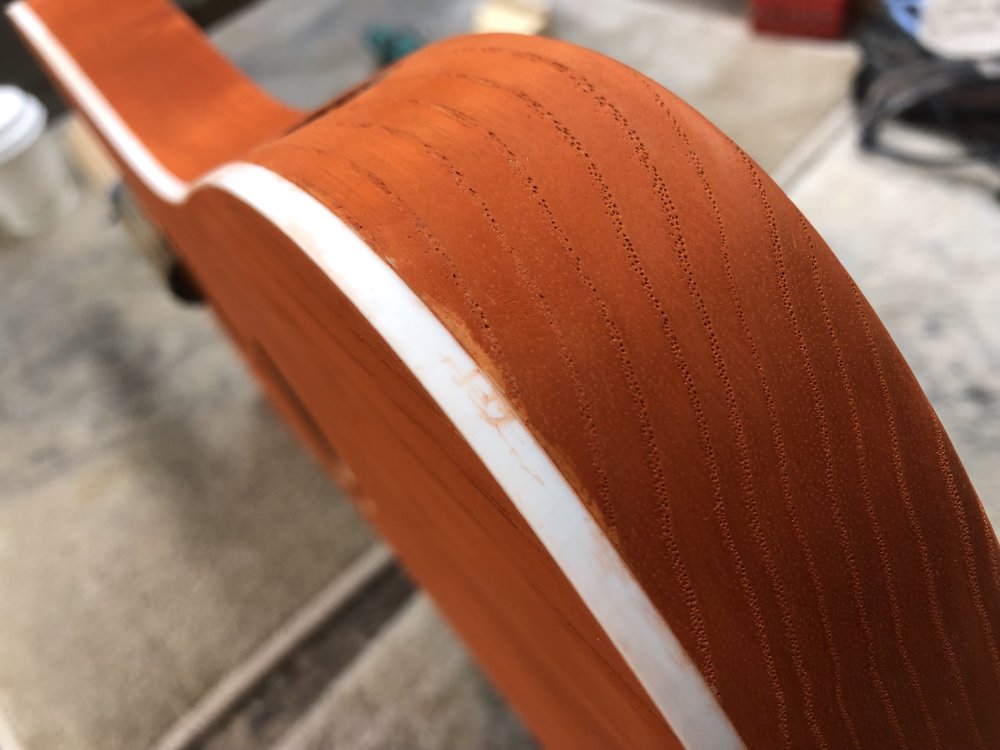
and again on the side here:
But in addition to those, which would just require spot fixes, I found another thing I’d missed in earlier checks: there were two marks, one on the front, and one on the back, from where the blank had originally been thicknessed. I’d been chatting to workshop-mate Jamie about how last week I’d removed a scratch that I’d not spotted until after staining, and he pointed out that the light in the main workshop isn’t great for that, and so he holds his work pieces up to a lamp at a shallow angle to try catch any shadows that might cast, and low and behold when he demonstrated that with this body we spotted the two body-length lines that are the mark of a notched thicknesser blade. It’s sufficiently hard to see that I couldn’t get a photo of it with the stain on, but you can see it here once I started to sand the mark out:
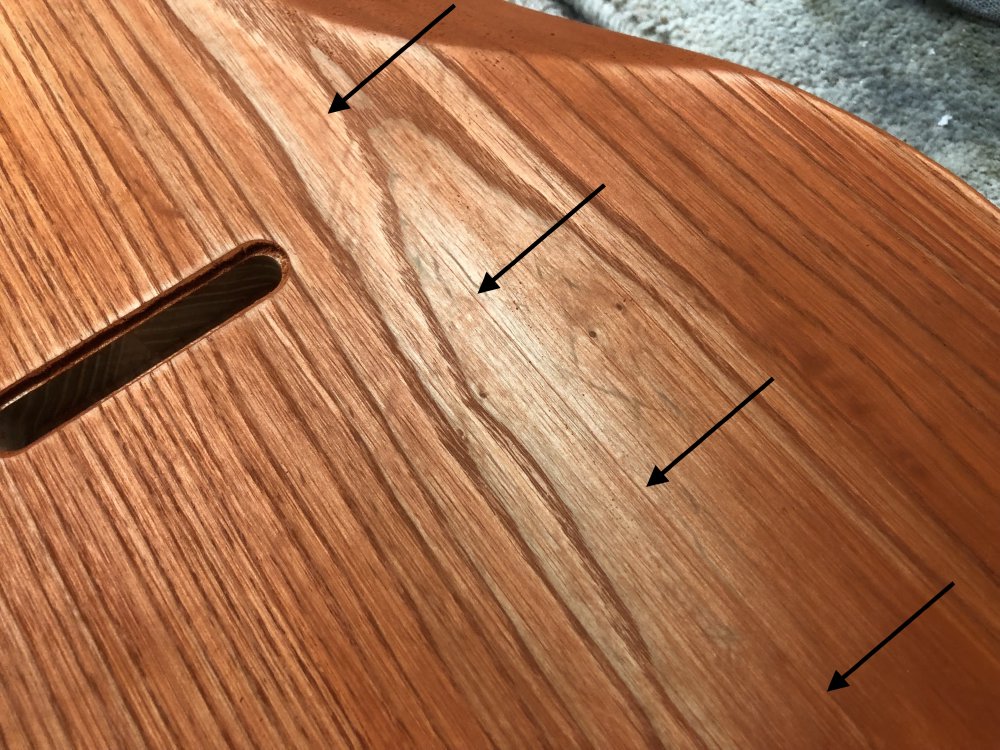
You can see that straight line there that runs the length of the body. This will be from when I levelled the blank in the planer-thicknesser, which has a very wide blade that effectively planes the top of your workpiece as it passes through, but if you have a notch in the blade there will be a line from where it didn’t quite plane off enough all the way along. Unsurprisingly I have the same scratch on the front and the back, which means I need to remove it from both sides.
So, this meant it was back to sanding again:
At least now I am better armed on how to spot scratches like this, and I’ve learned a lesson on trusting the light in the main workshop area as being sufficient for this task. A lesson that it turns out I learned too late, as we’ll see when I get to Verkstaden, but I’m getting ahead of myself.
The problem with doing work like this is you risk causing other issues. In particular, after I was done and (literally) dusted, I spotted that having to sand out that body length mark had caused me to loosen the binding along one edge, leaving a very small gap 🤦🏼
This means more glue, which means more glue removal: it was fixing things like this that were a large part of why I had to re-do the stain the first time around! But there was nothing much I could do about it at this point: I had to use some watered down superglue (to help it wick into the gap), let it dry, and then go back over it trying to ensure I got rid of the glue!
Once I’d left it to dry and done my clean up job, I decided to just stain that area and see if I’d won - this is me learning now not to just stain the whole thing if I’ve been doing fixes: just stain the area you’ve fixed (I had also done the damp cloth check first).
It looks a little pale in that photo around the edge, but that’s where I was wiping the stain off the binding and had wiped some off the top too.
I did a bunch of other minor fixing at this stage also: in particular there was a mark in the wood, a natural feature, that I wasn’t keep on that the repeated sanding had started to remove, so I decided to go with it and work that out to be less noticeable too. By the end of the day I had re-stained the top:
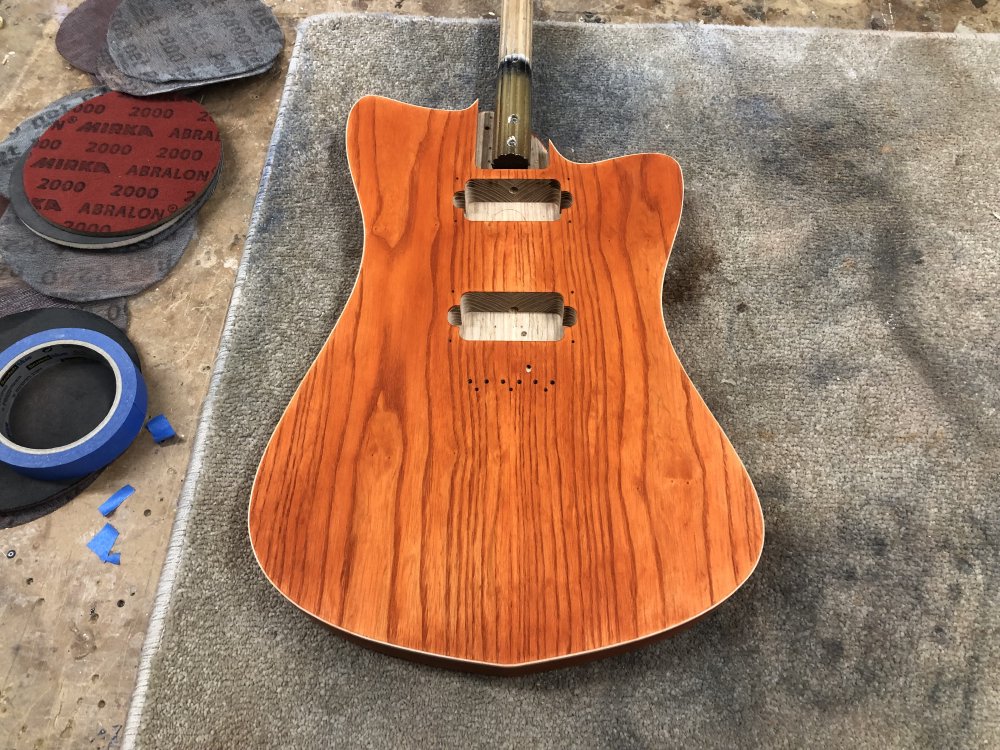
It’s a bit uneven, so will need another coat, but it’s getting there. I’ve still to do the sides and back, as now I’ve deicded I’ll get the front right before I move onto the back, as I’ve learned I need to be a bit slower with how I tackle this one. Still, whilst this does seem like a Sisyphean task, I really do like the bright orange with the clean white of the binding, so here’s hoping the end result will be worth it.
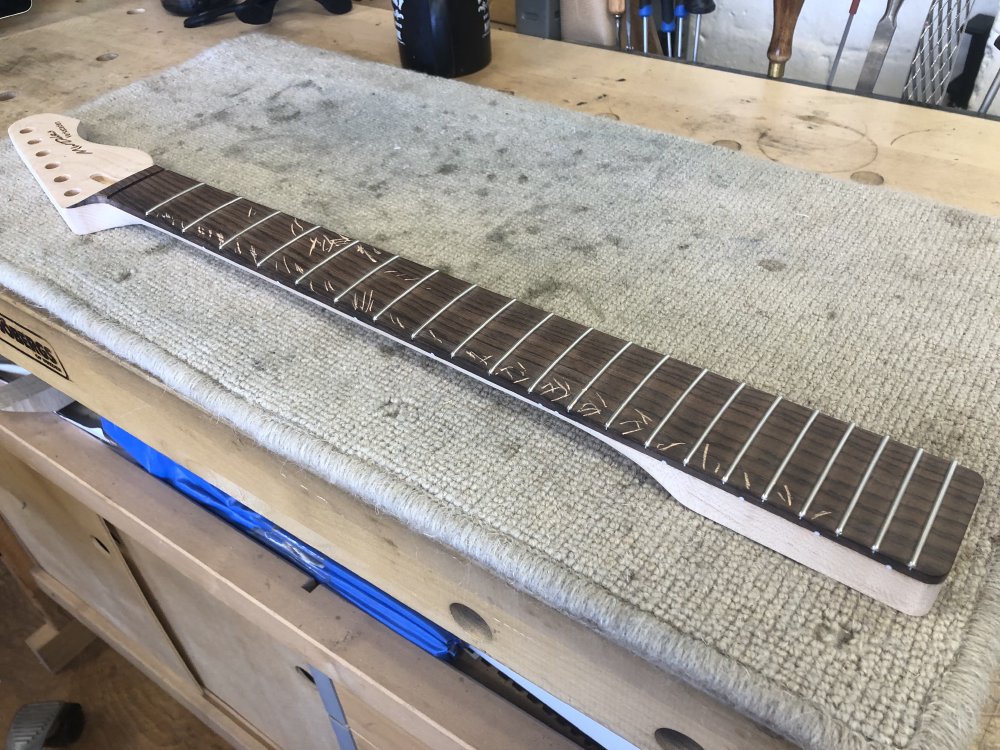
This week, as you’ll read below, I started oiling the necks for the current set of guitars, but Delfinens neck got held back for some remedial work:
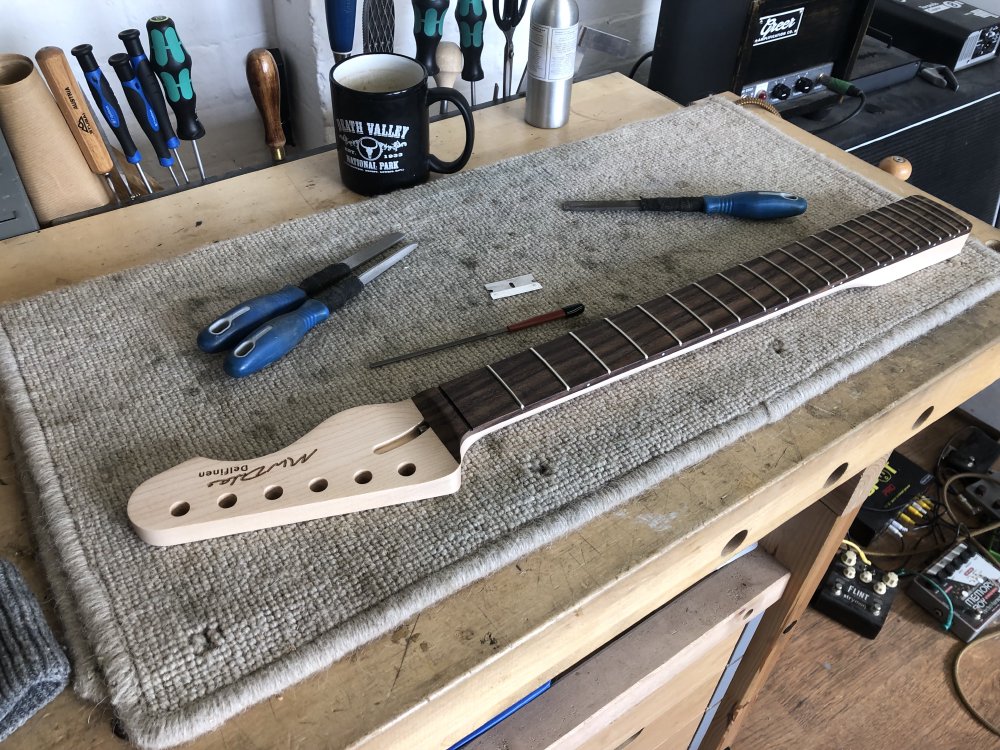
Although in theory it’s ready to go, I did the fretwork on this neck back before I’d learned to round the fret-ends, and they’re a more “traditional” sloped and polished end:
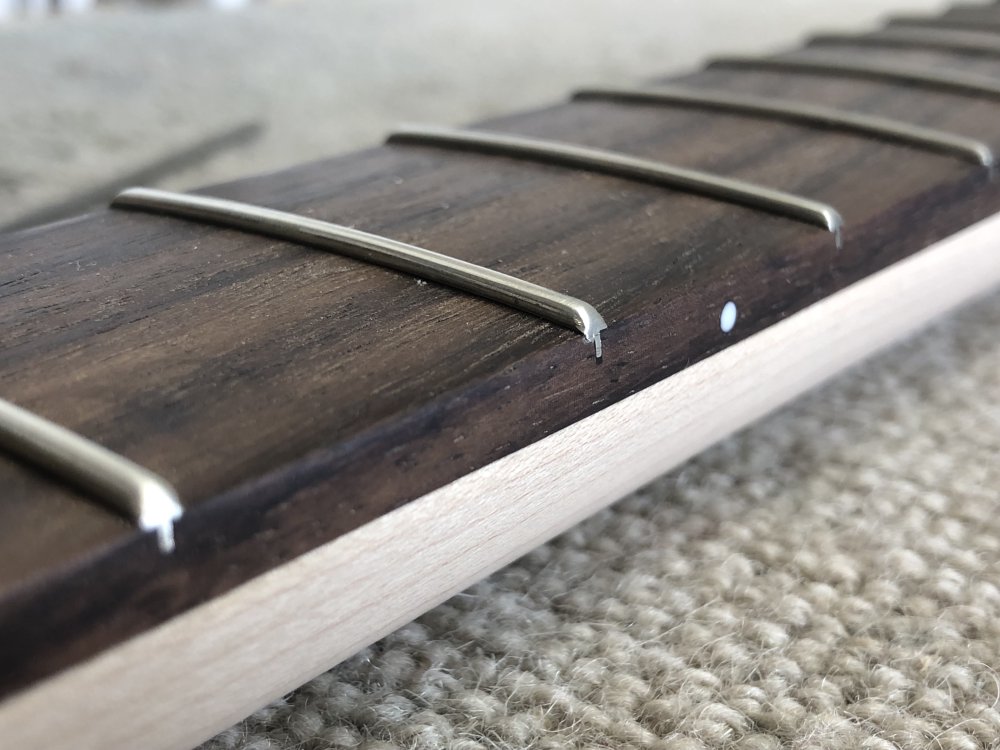
Every fret-job I do I get better, so whilst this is a better than even what I have on say my own daily player (which had its neck rebuilt in 2019), compared to the founded over fret-ends I have on new builds like Älgen, which I’ve now played a bunch, this feels like a step back now. Given I make a habit of proclaiming that it’s the neck that separates a good guitar from a great one, I decided that despite my loathing of fretwork, I couldn’t let this one not be up to the current standard, and so started the process of rounding out the fret ends. I got about a quarter done this week, and I’ll have to finish it off next week.
Hästen
Last week I’d done a bit of final checking on the birds-eye maple neck for Hästen, and so this week I started the final oiling process. I had planned to change finishing oil, as I’m currently using a specialist luthier supply company oil, and I’ve had some mixed results with it, but at this point I think I need to reign in the number of new things I try to get these guitars shipped before the end of the year, and so I decided it was better to go with the devil I know. Whilst it’s not perfect, I figure I at least know the challenges I have with it so can try keep on top of them as I go.

Putting the first coat of oil on birds-eye maple is a magical moment, as suddenly the flat, two-dimensional wood takes on a depth and movement to it that wasn’t there before. You can’t get the effect in photo, so here’s a poor quality video for you to try and show the effect:
Not the best video, but hopefully you get the idea.
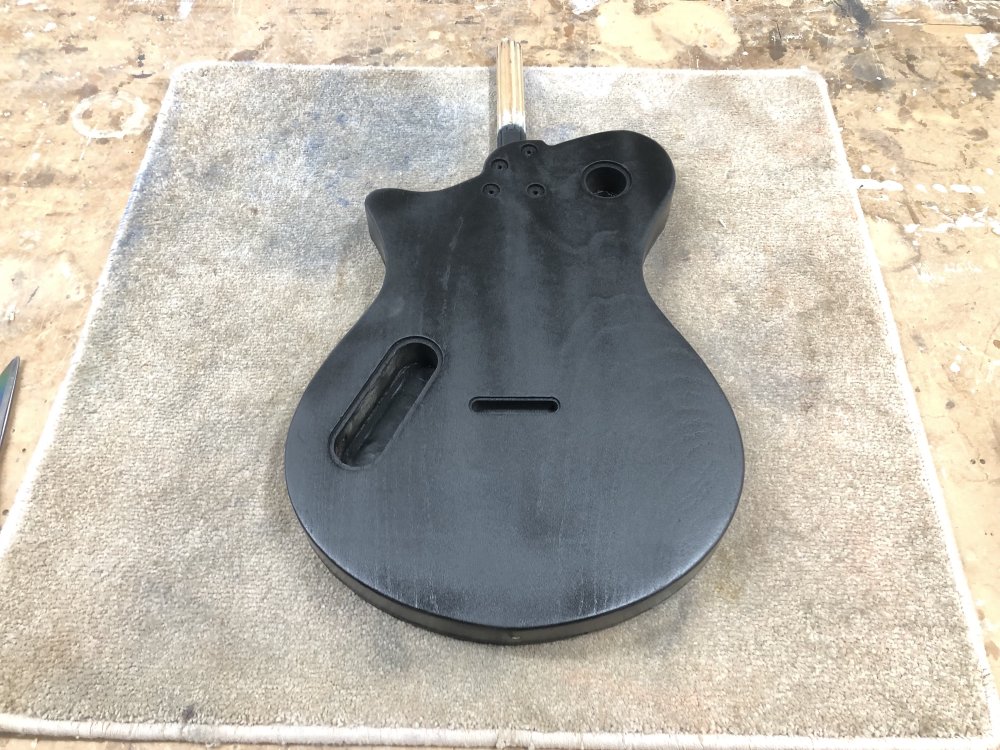
With the neck in the oiling cycle, I also went back to the body, which is mid painting process. Thus far its had four coats of primer, and two coats of paint.
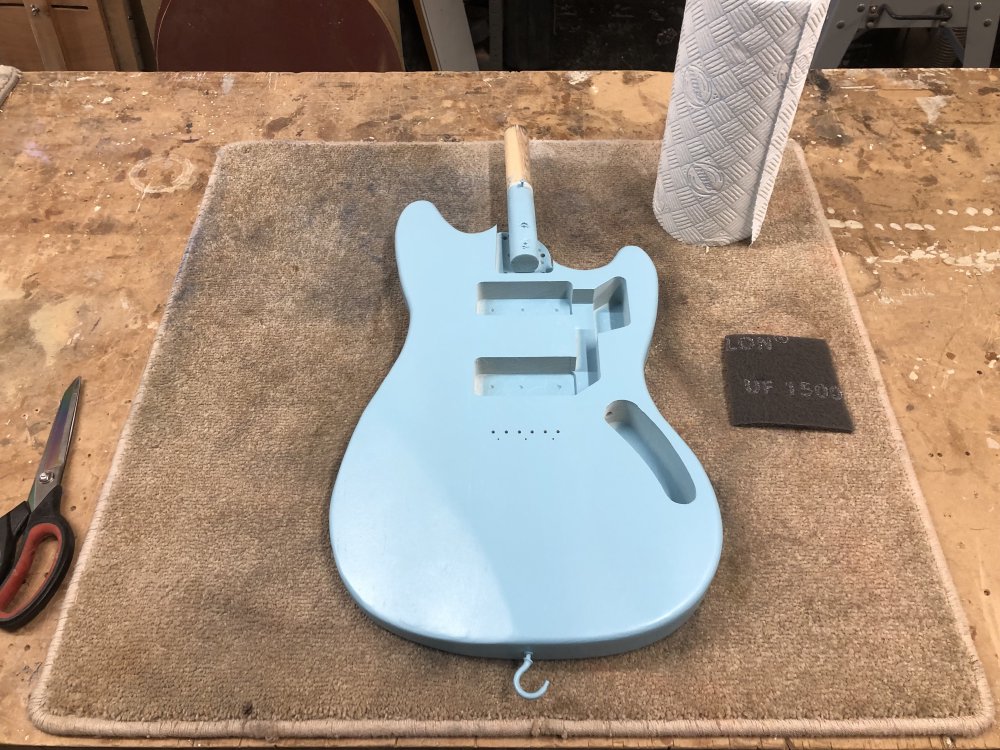
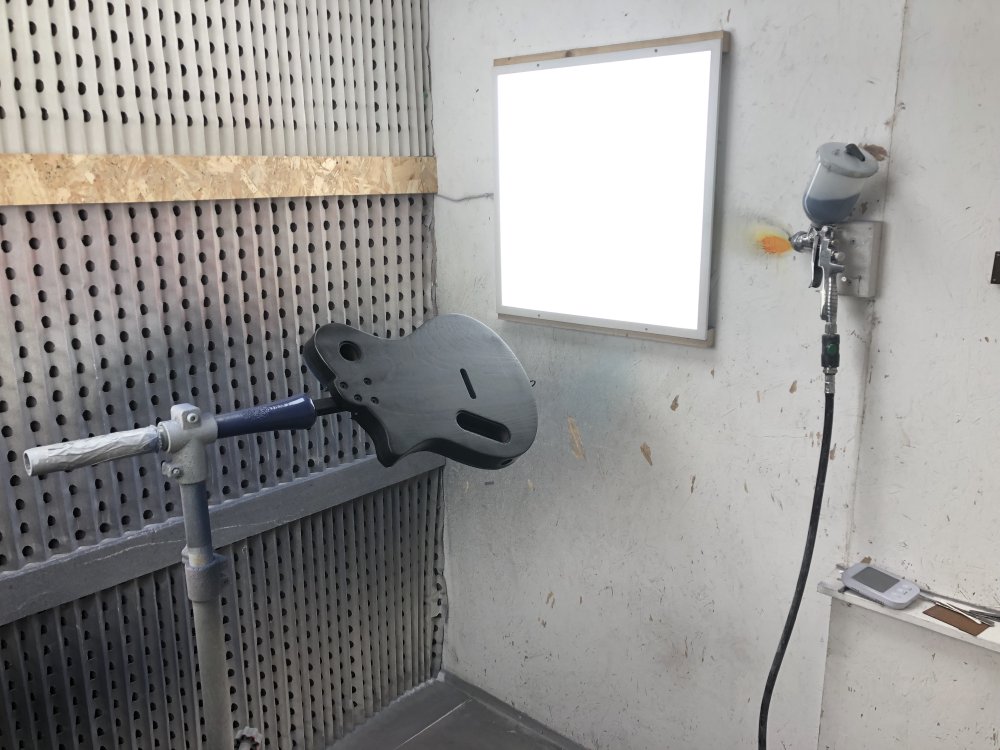
At this stage, following guidance from workshop-mate Matt, I slightly roughed up the shiny finish using a 1500 grid pad, to help with the next pair of coats to go on (the kitchen roll is only in this photo to help my phone get the white balance, otherwise it decided to make this photo look orange!). Once this was done, it was back to the booth with this:
I gave it another two coats, and when I’m next in the workshop I’ll go through this process once more, before than polishing up the painted surface to get a satin finish.
Verkstaden
Completing the current trifecta of instruments, we turn our attention to Verkstaden. Whilst in the spray-booth for Hästen I also applied another two coasts to the back of this guitar, after first sanding it a bit more aggressively than I did with the other guitar, using a 600 grit sanding pad:
The reason for this was that it’s first coat of paint there was a patch where I had applied too much paint, making a raised patch. Once dried it had flatted out mostly, but still, I’ve learned that paint will emphasise shape defects, so I wanted to get it perfectly flat before going again.
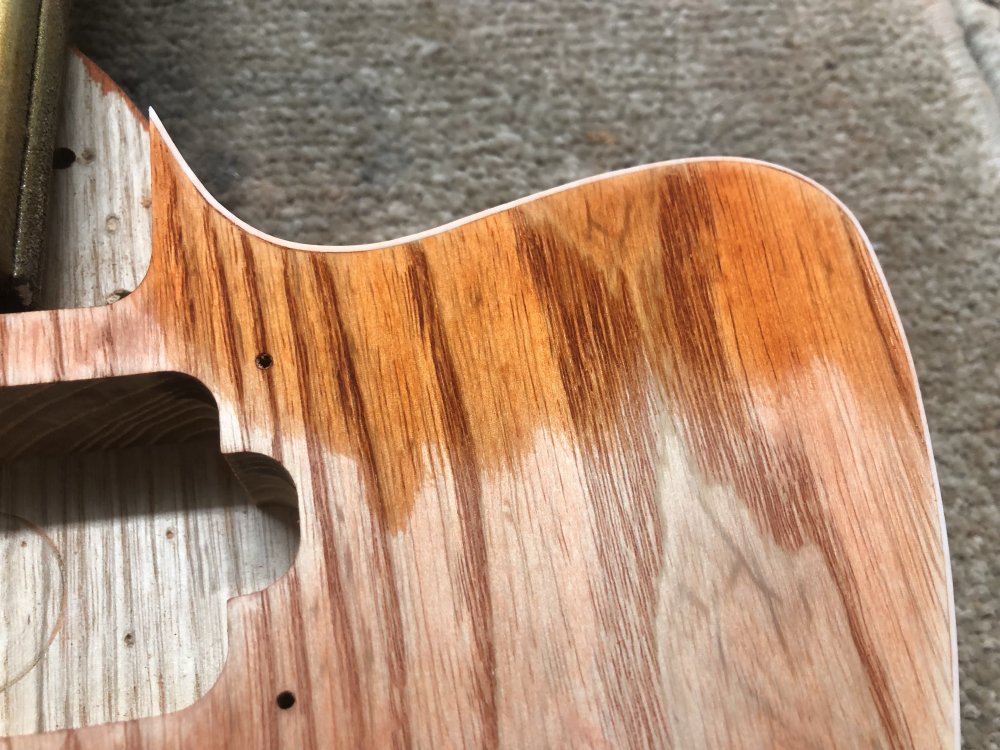
After another two coats, giving if half an hour for the paint to get touch dry, I then removed all the tape and masking from the front of this instrument to let me check on the binding edge, and let me bask in the overall paint job in the late afternoon sun:
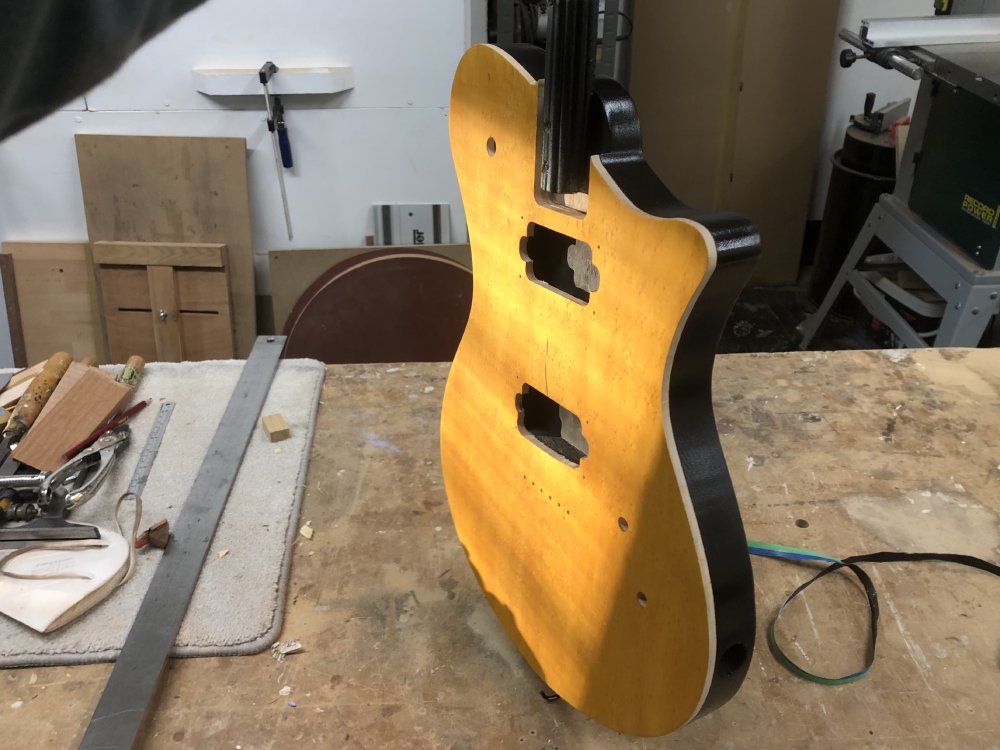
It actually looks a little less good than when I last saw the front when I had the matt black primer on the rear: now I have gloss paint on the back and the front is just stained so looks a little flat in comparison. By the end of this everything will get a clear-coat of lacquer, so the front and back will match once more.
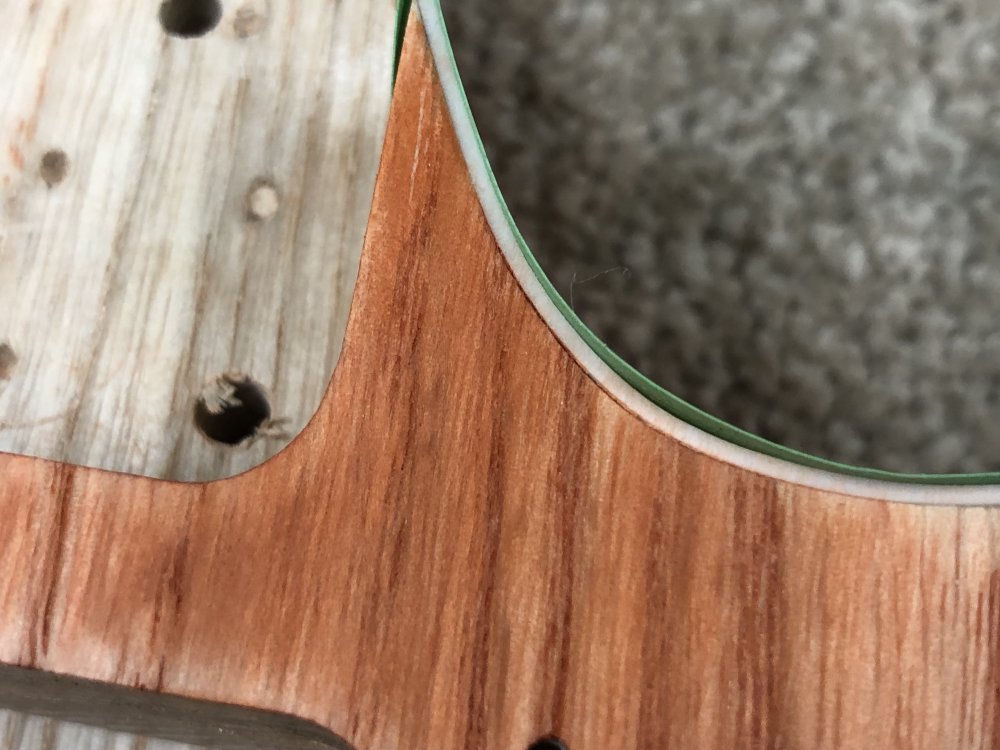
Looking at the tape edge, there are a couple of spots where paint has worked its way under the edge:
I will use a scalpel blade to scrape back this extra bits of paint, before once more applying the the masking to the front to get another coat or two of paint on the back.
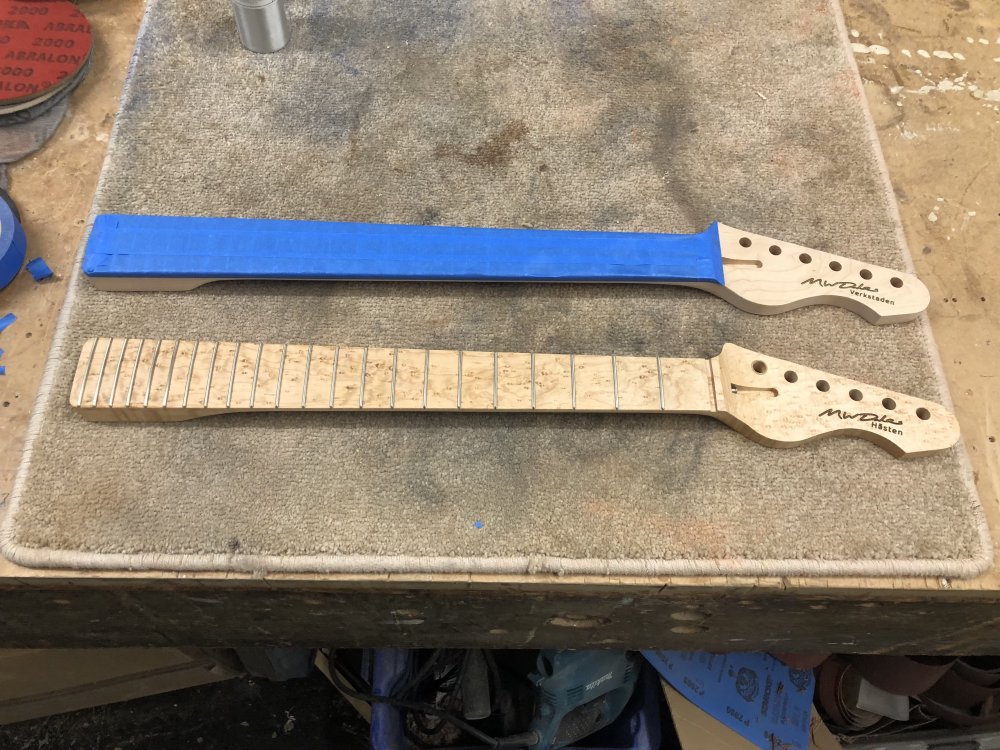
And, to complete the set, Verkstaden’s neck also entered the finishing stage, but not before I had to do some unexpected tidying work:
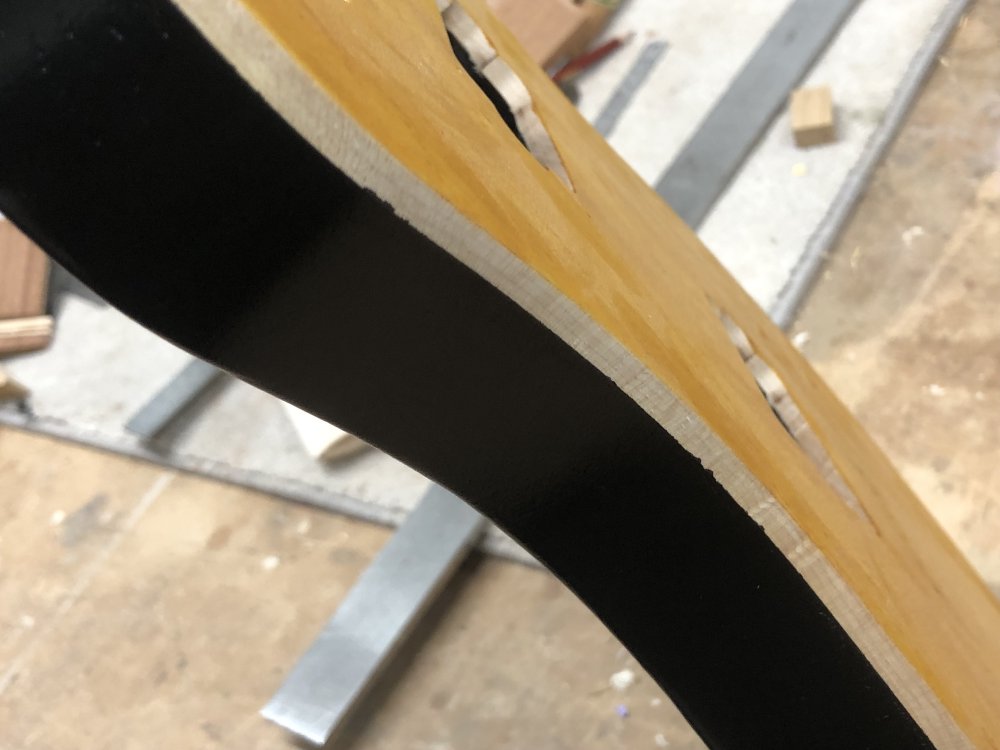
In the opening section I talked about how Jamie had taught me to better spot scratches and machine marks in wood, which otherwise don’t show up in the artificial light in the main workshop area, well I was frustrated with my past-self for missing these sanding marks from when I sanded the radius into the neck (I’ve now switched to using a palm-router in a jig to put the radius into necks). I suspect what caught me out is that dust from sanding probably filled these scratches, and I didn’t give it a proper dusting before checking my finish.
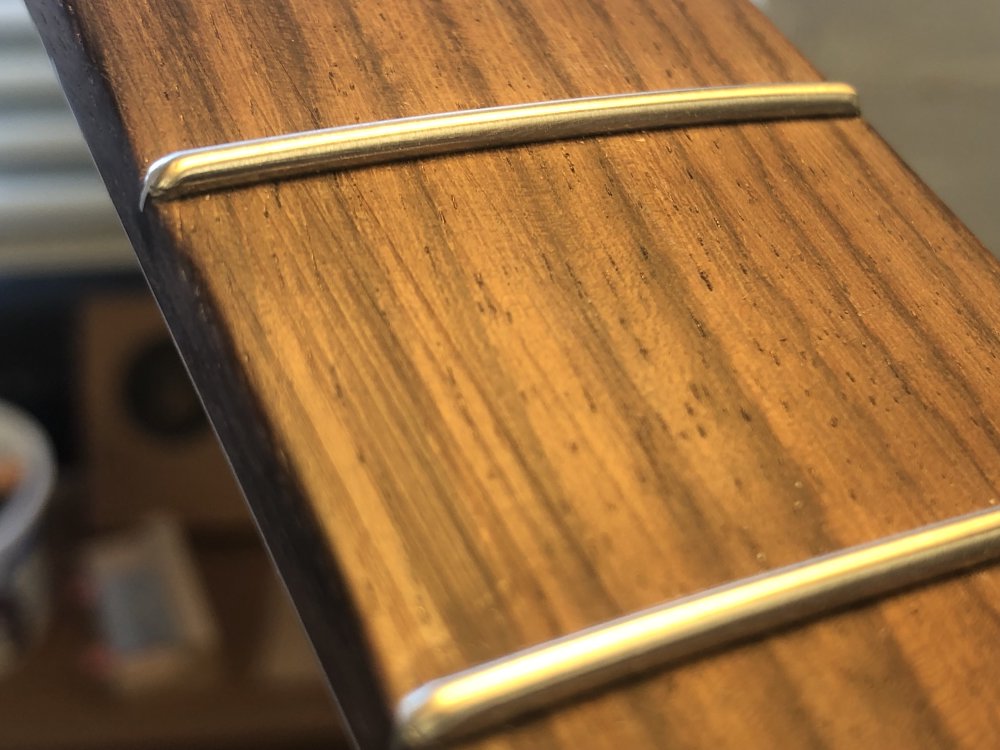
On the plus side, you can see the rounded-over frets on this neck, as an example of what I’m now aiming for on Delfinens neck!
Regardless of the cause of these marks, I needed to tidy this up, and so it was some careful work with a combination of higher-grit pads and a razor blade as a tiny scraper, to help me get between the frets in the areas where I needed to tidy it up.
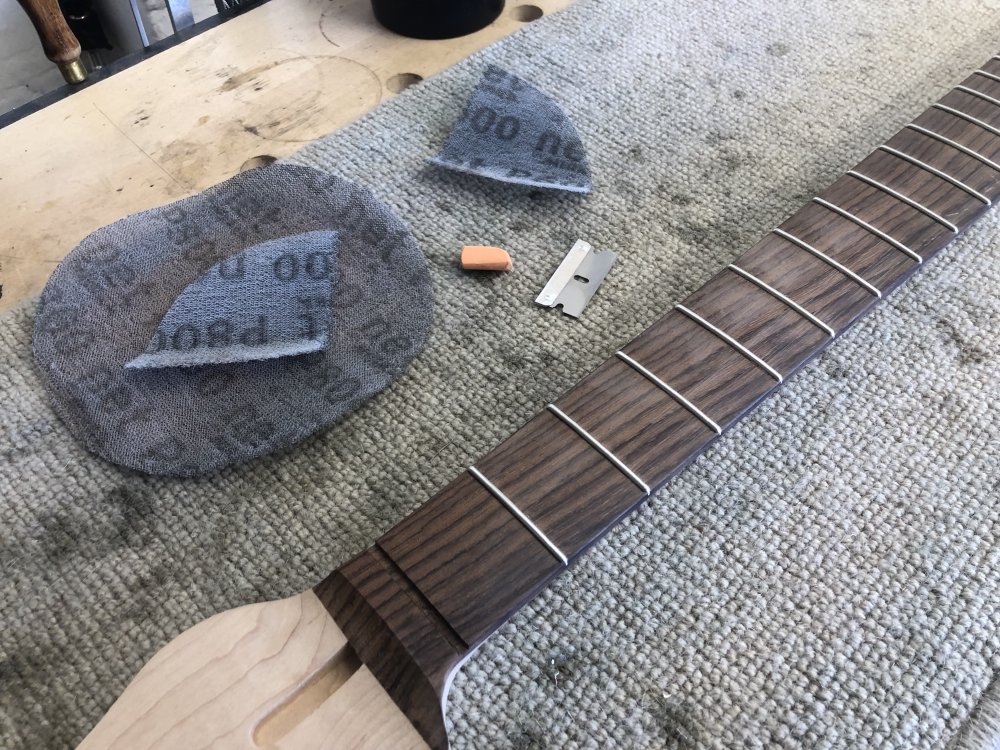
Once that was done, I needed to re-polish the frets, a job made less stressful (or less fretful?) by finding we had a fret-mask in the workshop, so I can use the fret-polishing rubbers to get a shine on each fret without fear of marking the fretboard as I went:

The polishing stage makes such a difference. With the sanding pads, even going up to 2000 grit, you get a diffused smooth finish, but with these sanding rubbers you can get a mirror like finish. Like most things with frets, working up each of the four grades on each fret is quite tedious work, but the results more than justify it. It’s hard to get in a photograph, but the frets on the left you can see the ceiling light is reflecting just in the middle, where was the ones on the right, because they’re not mirror-like yet, have a uniform defuse lit look.

Once the fretwork was done, I did a quick last sand over the maple part of the neck and then it was time to hide all that work ready to oil this neck:
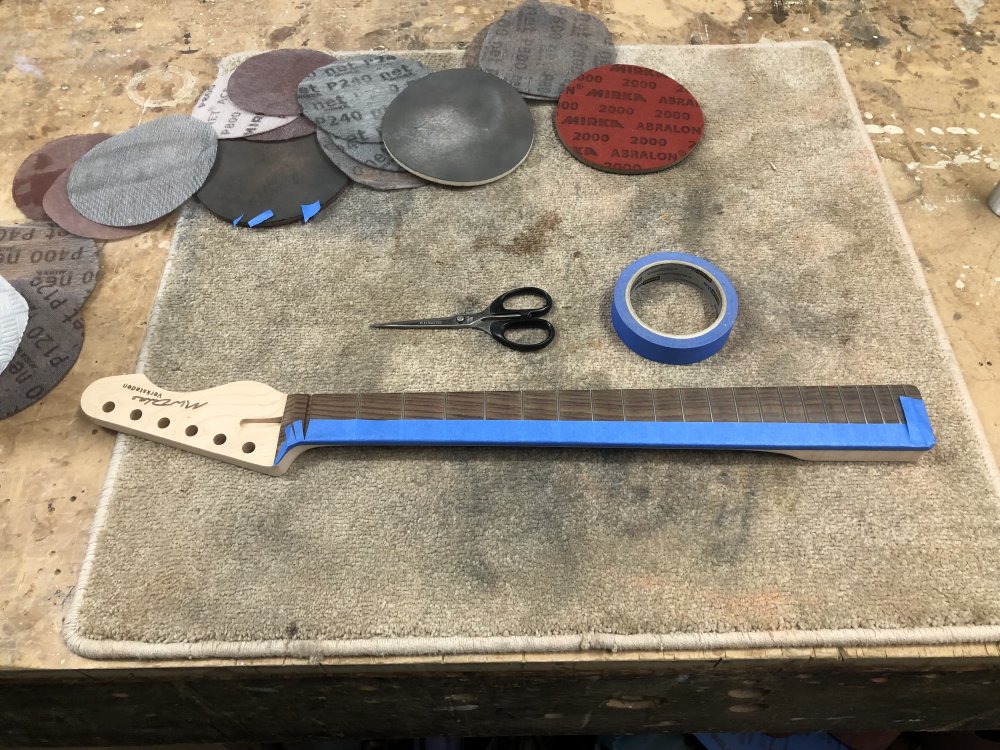
After which it joined Hästens neck in the oiling process, one coat behind it - and I imagine Delfinens neck will join one coat behind that next week.
Wrap up
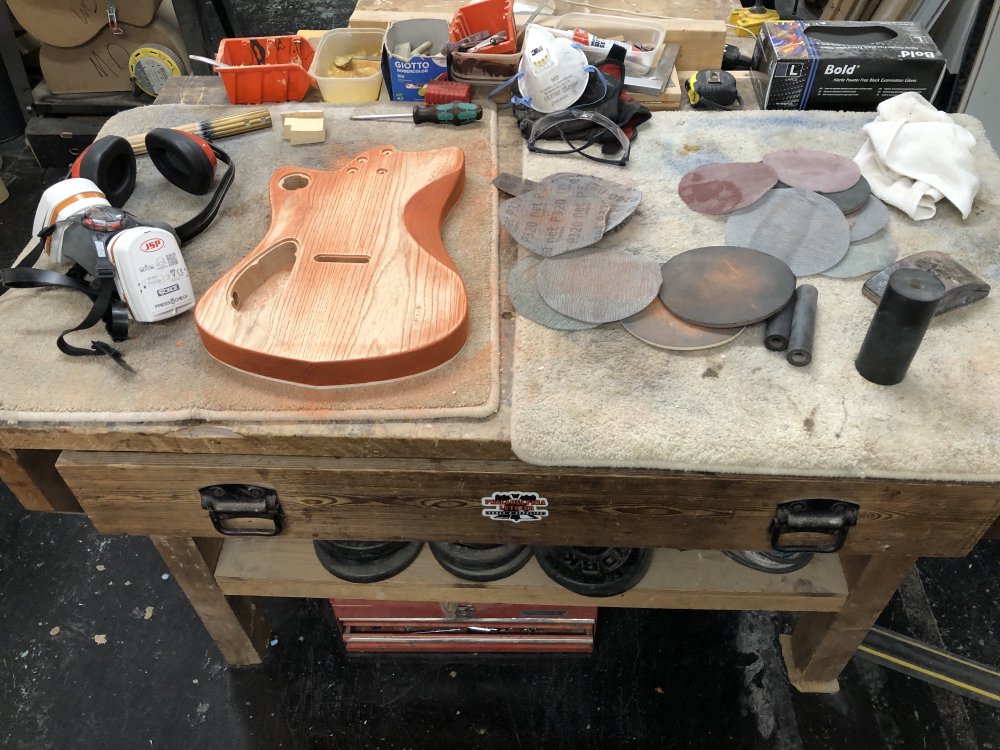
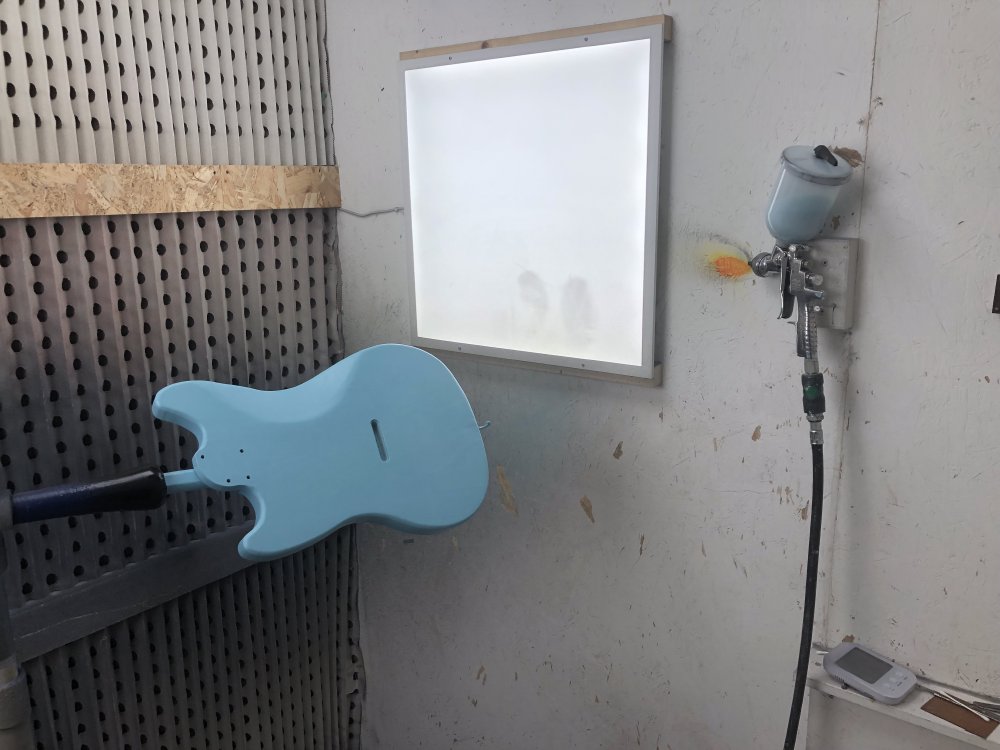
A lot of progress this week, even if it doesn’t feel like I’m that much further forward than when I started. I’ll just leave you with this photo, which didn’t seem to fit in anywhere else, but I wanted to share: this is the setup before I get into the spray-booth:
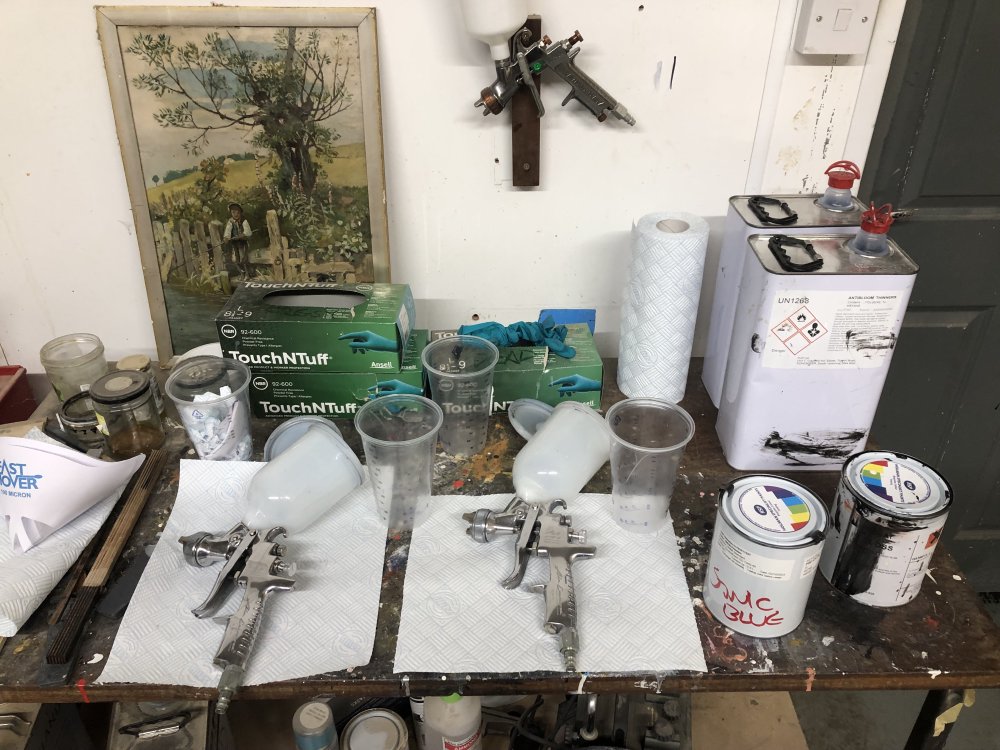
To get into the booth I need to assemble the spray-guns, ensuring they have the right nozzle for paint (1.3mm) versus primer (1.5mm), I need to measure out paint, I need to mix it with anti-bloom thinners, then filter it into the guns (all the whilst wearing my full PPE gear due to fumes and splash risks). Once done, I then have to disassemble and clean the spray-guns and canisters, which is a lot of wire brushes with standard paint-thinner, and still all in my think PPE.
Overall, to do two coats of paint on two guitar bodies takes me about an hour, of which not much time is spent actually doing the painting. I’ll have to do that 4 or 5 times to get a guitar finished: it’s quite the effort compared to just using stain and oil as I’ve done in the past.
But there is some weird mental change when you paint the guitar. Holding the body for Hästen, it’s become a very different object in my mind, sealed as it is in this uniform blue shell now. As Matt said when I was trying to express this to him, it feels almost more “product” like, removed now from the woodwork that went into its fabrication. It’s a quite interesting transformation, and I can totally see why some people prefer this finish, despite personally preferring the version that shows of my own handiwork in the workshop more :)