A week in the shop
Published 18 Jun 2018
Last week I thought I’d finished the oiling of the prototype offset, but I was wrong. I’d assumed the wenge fretboard on this would be treated just like a rosewood fretboard: I’d use a specific fretboard oil (e.g., lemon oil) to preserve the moisture in the wood, rather than a gun-oil type oil to lacquer it like I would a maple fretboard (as indeed I do for the rest of the guitar). However, I tested the fretboard oil on a scrap bit of wenge before applying it to the neck, and much to my disappointment it it removed all the nice two tone colour that wenge has, all going a uniform dark brown. I had a chat with Matt over at Fidelity Guitars, and he confirmed that he treated wenge more like maple than rosewood, recommending a few coats of a gun-oil to give it a thin lacquer.
Thus the neck was remasked to let me oil the fretboard, which I did over a few days, and then I’ve left it a few more days to cure. The results are worth it: the fretboard now is nice to touch and has preserved the two tone effect of the wenge.
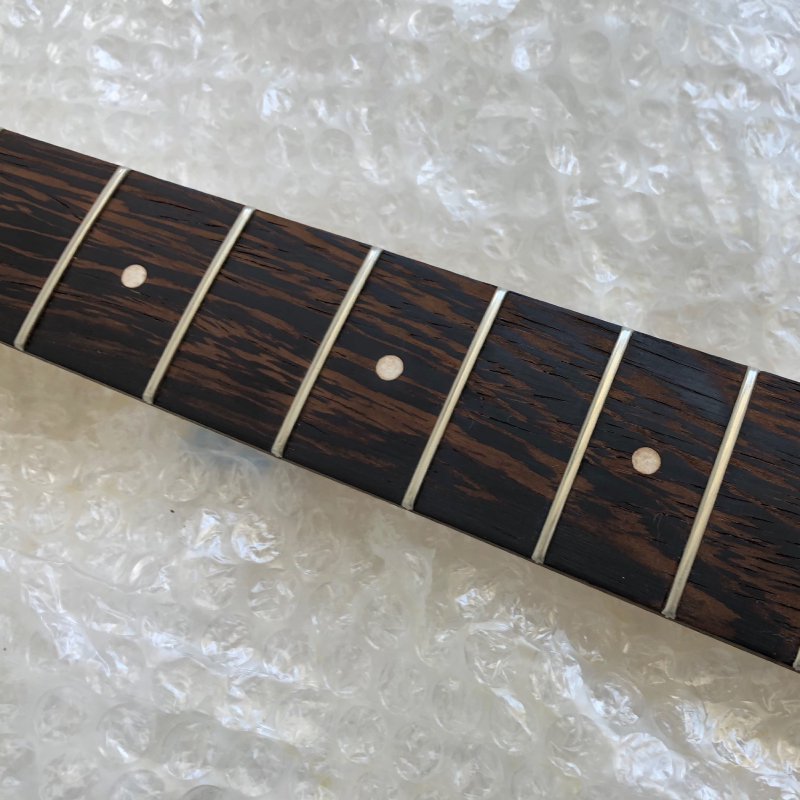
I think the only thing that I’m disappointed about on this neck is the clay inlays, which I did as an experiment to see how they’d work compared to using plastic inlays. Overall they fit, but they have been stained somewhat by the wenge dust as I’ve sanded the it back, and it’s not quite the finished I’d hoped for. So somewhat a success but I think in future I’ll try something else.
Whilst the neck was curing I went to mill the pick guard for this guitar on the CNC router. Unfortunately, the run did not go as planned, though for once it was not the machine that was at fault, and rather my inexperience of working with PVC and doing chamfers with the CNC router.

The above picture shows my attempt to chamfer the holes where the mount screws would go on the pick guard (this was the first stage of cutting it). All the holes should be the same size, bar the few on the bottom left where I was testing cutting the PVC, but as you can see they vary in diameter wildly. This is because the PVC is flexible, and even though I’ve screwed it down to the bed the surface of the PVC isn’t perfectly level, which causes this variance.
To make a chamfer you use a tapered bit, in this case I had a bit that had a 90˚ angle at the tip, like so:
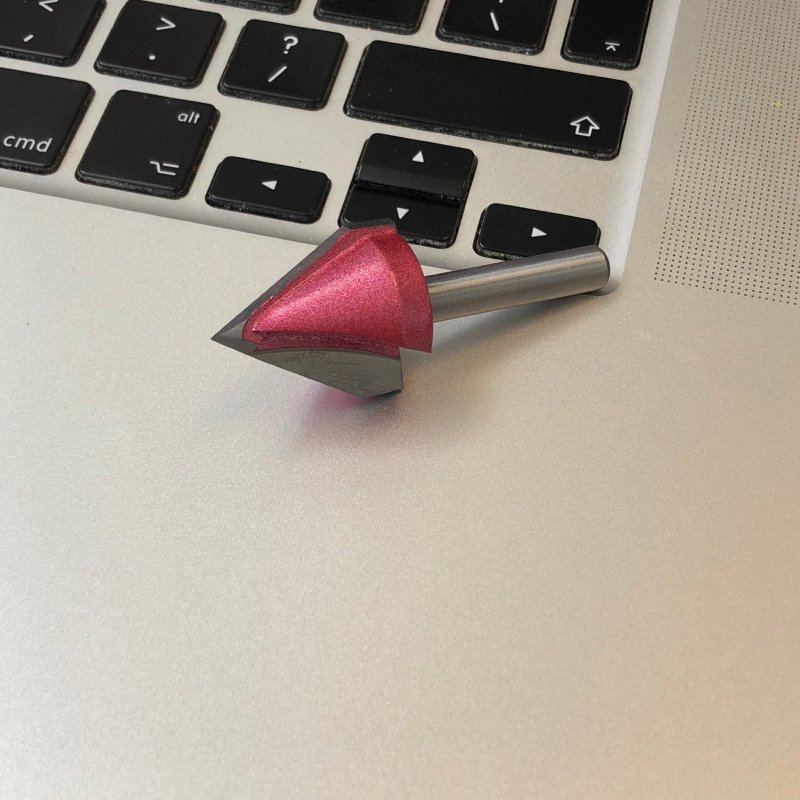
The depth at which you insert the bit into the material will dictate how wide the overall hole will be: as you push the bit in more the taper means the bit touching the material is wider. Unfortunately because the PVC here isn’t absolutely flat you end up with contact points at subtly different heights which means different sized holes, which is clearly not what we want. Even if I’d done a better job of pinning down the PVC I’m not sure I could totally eliminate this without ensuring the bed on the router is perfectly level and the PVC uniformly thick, so I think I’d need to chamfer the plates after cutting next time using some other method.
Given I’d ruined this material and I want to get this guitar finished, I decided to try a very different approach: I found some snazzy laser cutter safe material and made a scratch plate out of that:
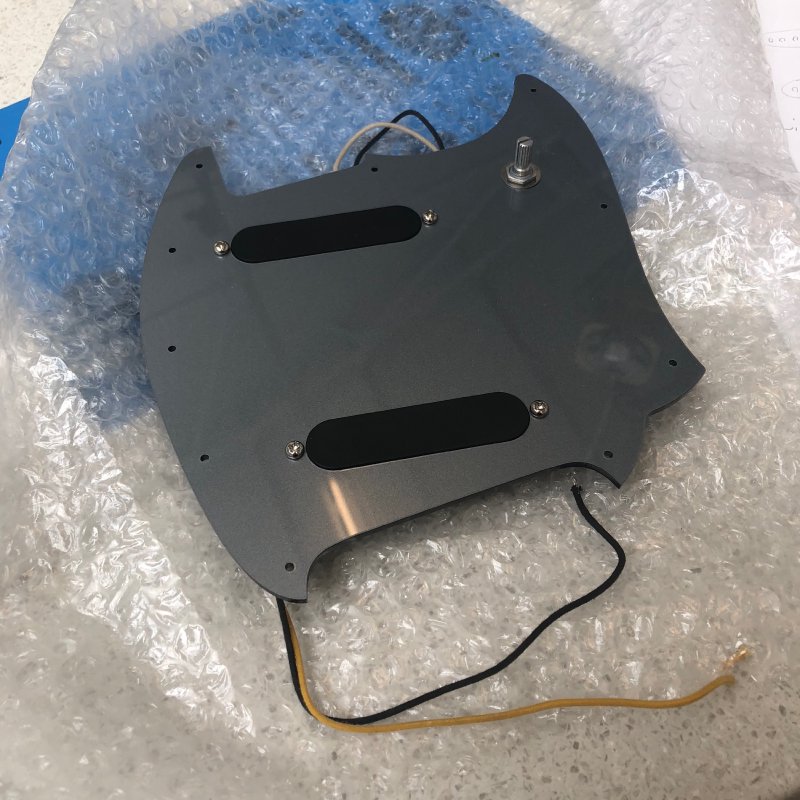
This has a totally different vibe from what I was planning, but I’m quite pleased with the result for now. We’ll see how it looks when assembled: I can always change this easily later. It was quite nice to do prototyping timeline on this:
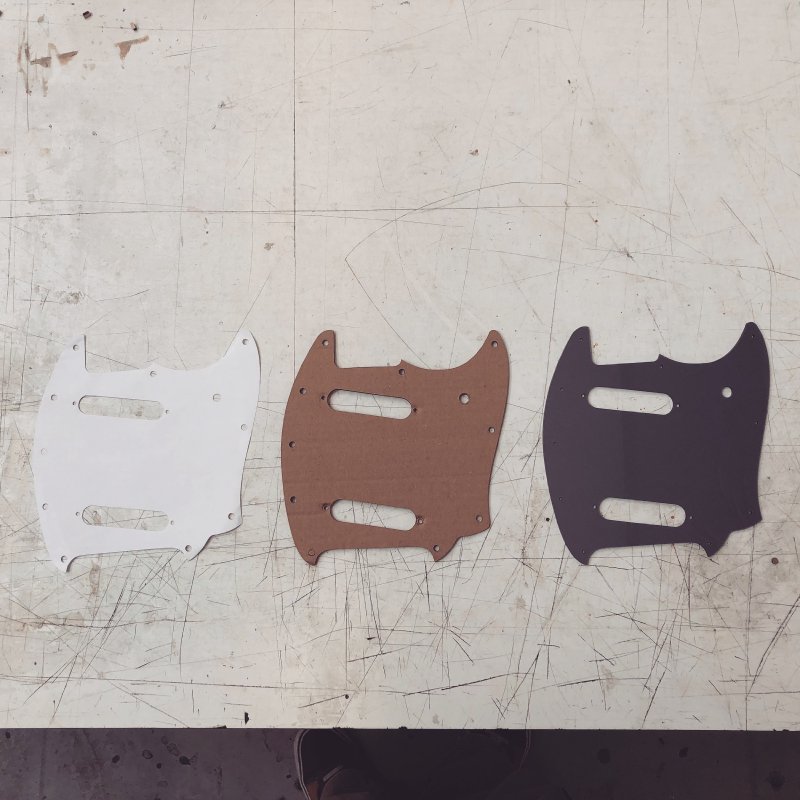
Left to right, that’s the first paper version cut on the laser cutter to check general sizes, the cardboard version I cut to mount the pickups and selector on to make sure they all fitted, and then final acrylic version also cut on the laser cutter. I often tell people to measure, measure, cut, and this is a nice example of that principle in practice :)
A little while back I did a test print of my own control knobs, and I realised this week I’d not bought any for this prototype offset, so I’d just make my own. It doesn’t offer a particular cost saving, particularly when you factor in time, but it’s nice to have yet another personal touch to a guitar.
I started by making some mockups in Fusion 360 and printing them using the low resolution Ultimaker just to ensure I was happy with how they feel in hand and in context on the guitar. There’s two designs: one for the volume and tone controls, and another for the pickup selector dial, which I’ve modelled slightly on the one used on the Fender XII selector.
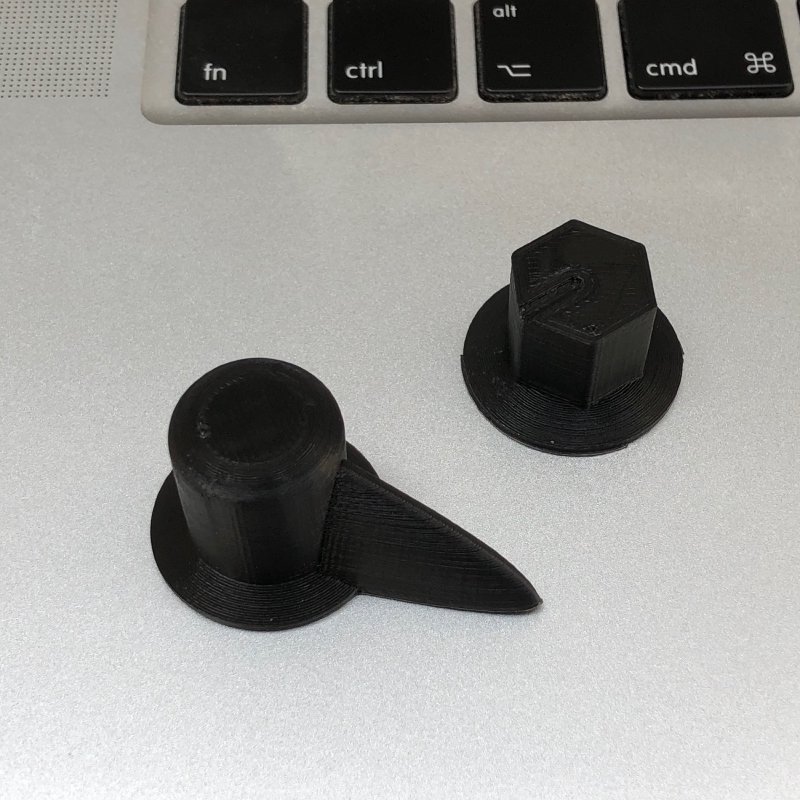
Having got the low resolution printouts made and I’m happy with how they feel, I can now do a high resolution printout with the FormOne printer, but first I need to know how bit to make the toothed hole inside to get a good fit. Although notionally pots have a 6mm toothed shaft, I’ve found in practice they vary a little, and this is important if you’re just going for a friction fit. So I made a little gauge and printed that out.
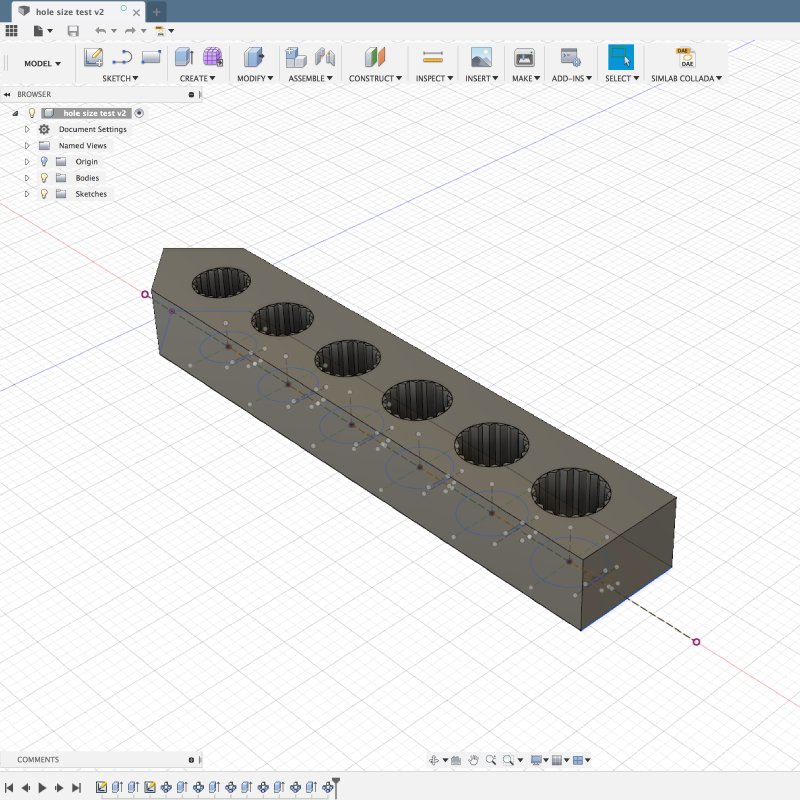
This gauge has 0.2mm increments from 6mm to 7mm diameter, and I’ll use that on each pot to work out the best size and then print the control to match that measurement. The taper on one end is there to remind me which end has the smaller hole on it.
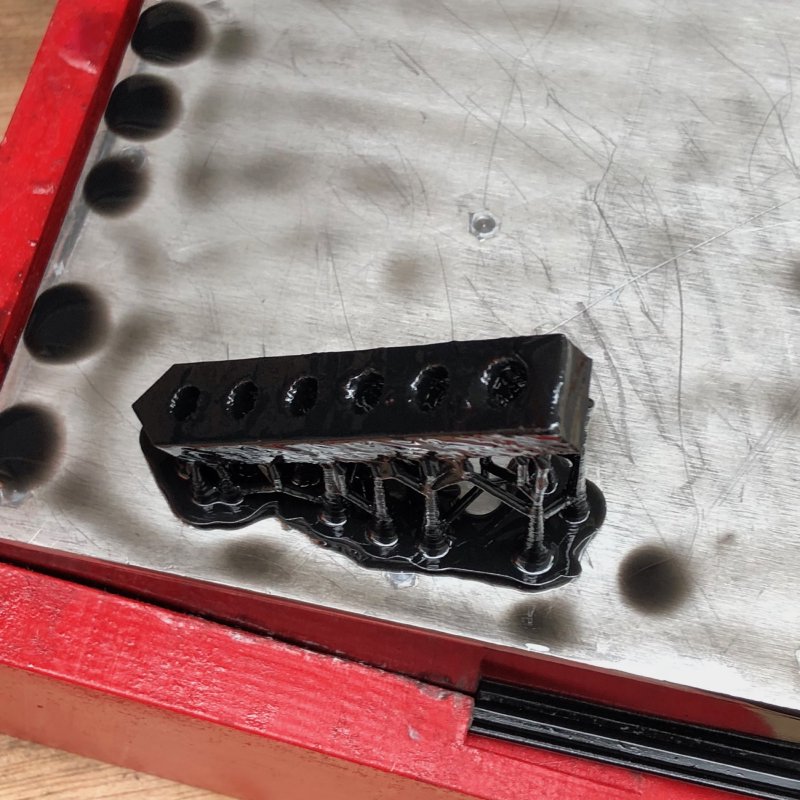
This is the print just out of the FormOne, before I’ve cleaned it up using a IPA bath and then done the UV curing to harden the outside.
Following on from my plans last week to try and make good on some of the failed parts, I took the body that the CNC router had cut into and did a rough pass to get rid of most the unneeded wood, ready for trimming it using the templates:
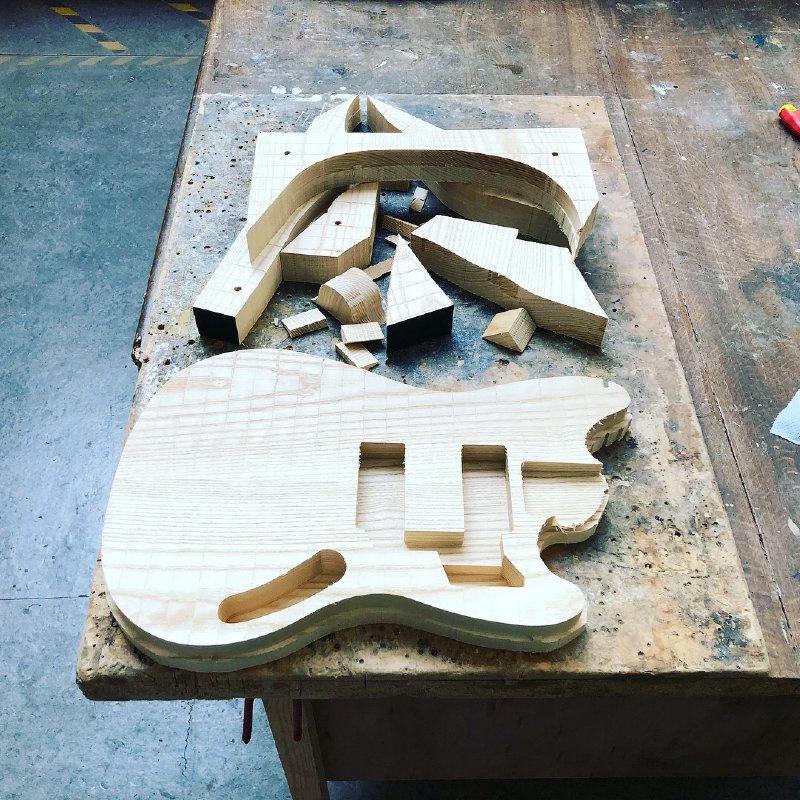
I also cut a third offset template, this one with the holes for a dynamic vibrator, so I have the option of making it a fixed bride or a vibrato unit. I also made sure to put the control cavity in this template, as I accidentally forgot to add it to the last set I made!
Lastly, my OMEC Teleport arrived, and has been installed on my pedalboard.
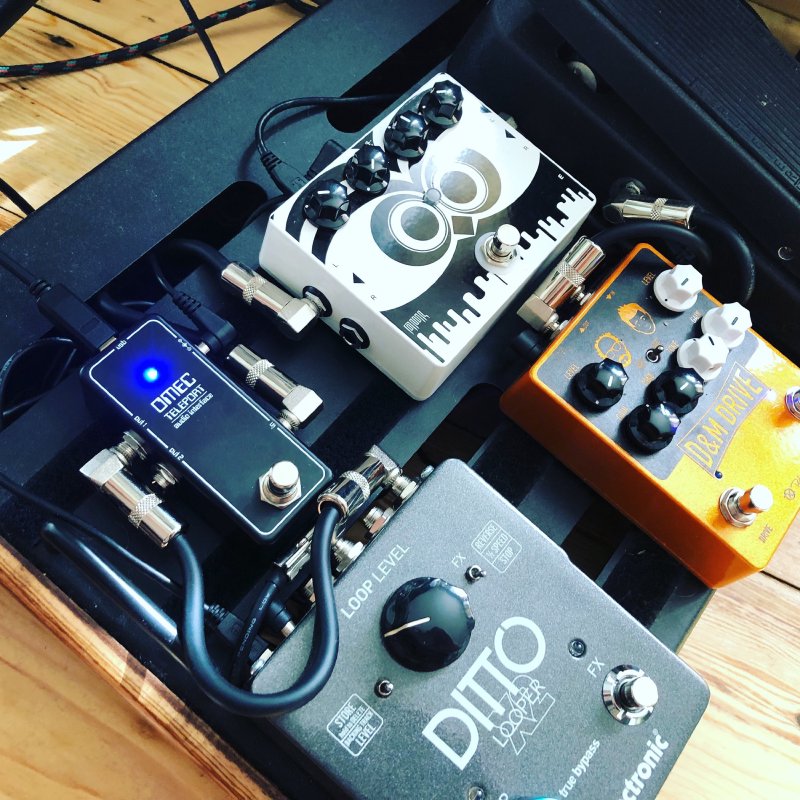
I’ve not played much with it, but I can conform it plays nicely with the iPad, but you do need to get the iPad Camera kit adapter (which is almost half the price of the Teleport itself!) or some other USB-B to lightning cable (it ships with a USB cable only). I tried it both with my own ongoing audio filter project and with Bias FX.
It amuses me somewhat that of my 5 pedals 3 of them have a USB cable sticking out the back to let me play with them in one way or another.