A week in the shop
Published 31 Jul 2018
This blog seems to be rapidly turning into a blog about CNC routers rather than guitars, for which I can but apologise, but it just reflects the reality of my situation at the moment, in that it continues to occupy my time as I try and find a way to get a reliable, repeatable, and efficient way to make guitars. Although I’ve convinced myself I can make bits by hand now, it’s not particularly efficient, and I do think quality wise certain bits are more reliably/repeatably produced on the CNC router, even if I’m using it for mostly roughing things out.
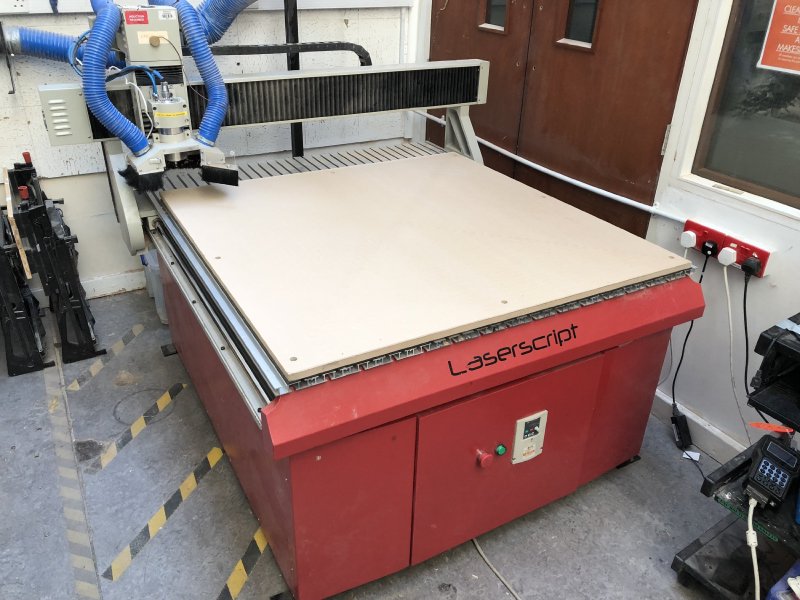
This week I decided that the misbehaving CNC router at Makespace is what it is, and given I’ve failed to find an ready alternative I’m going to try push through at Makespace with what I have. Before doing any guitar building on it, I had two tasks I wanted to get done on the CNC router care/maintenance front. Firstly, I spent an afternoon creating a new sacrificial bed for the CNC router. What should have been a simple job turned out to be more complicated due to the way most CAM tools work. I’ve documented all of this in another post, so if you’re interested head over there, but the end result was the CNC router had a nice new sacrificial bed that was actually level, unlike the old worn one which was all over the place.
Having levelled the bed, I then set about another experiment, which was to try measure how accurately the machine is in getting back to the same set of positions on the bed after you switch it on and off. You might assume that the CNC router knows where it is at all times, but that’s not the case: when you power it on each time the controller logic knows nothing about the location of the cutting arm - it has no way of measuring the arm’s location at any point in time. Instead when you power it on the controller will move the arm into one of the corners until it can do so no more. Once it’s done this it then knows where the origin is on the bed, and from then on it keeps track of how how much it has moved the arm by, so it can then keep track of the arm from here on out. But if I switch off the machine and ask it to find the origin again, how accurate is that? My motivation is that it seems a lot of the router failures we’ve had are with more complicated multi-stage designs, and so if I can reset the machine between stages perhaps it’s less likely to ruin my pieces.
The way the CNC router detects that the arm is in the corner is done with a set of physical switches: the CNC Router sets the motors going towards the origin and when the switches are pressed it stops, so how accurate the origin is is down to how accurate these switches are. Opinion seemed to be divided amongst people I asked, some suggesting it might be as much as 0.5 mm out after a power cycle, which would be a bit too inaccurate for my use case. But there’s nothing like testing something yourself, so I made a simple design referenced at the machine origin and just ran it on the same bit of wood mounted in the same position 5 times, between each run I’d power off the machine and get it to reset itself.
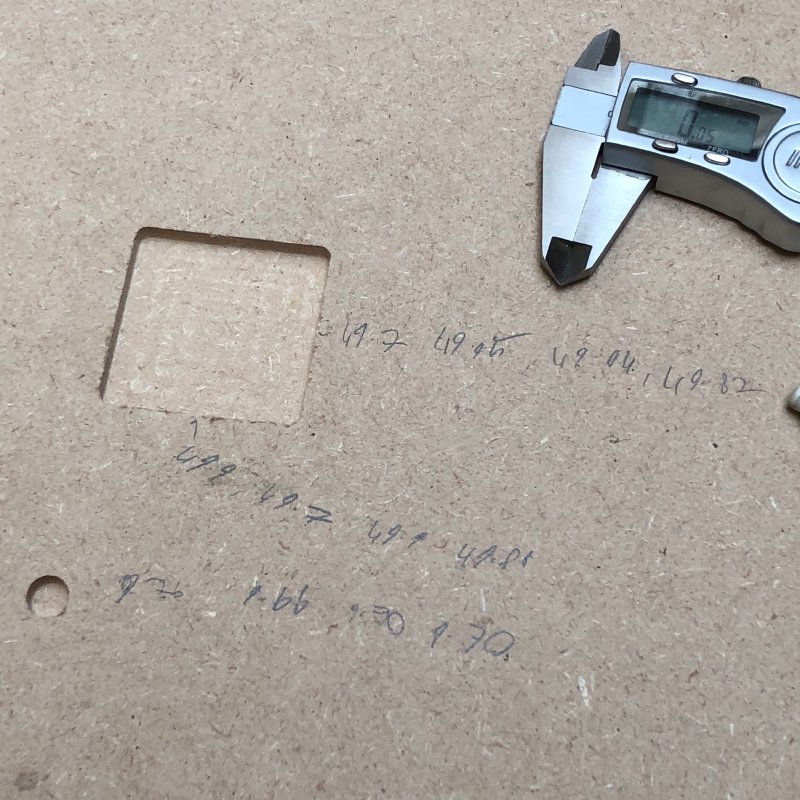
The end result, whilst not hugely rigorous, indicates that the reset is accurate down to around 0.1 mm, which actually for guitar building is acceptable. At some point I’ll repeat the test with a more accurate measuring device than the callipers I used, but the initial results are promising. Knowing I can turn the machine off and on again between phases starts to give me a route to more confidence in getting the machine to make something.
But I’ve finally had enough CNC router naval gazing. We’re drifting into August and I’ve still not produced the pair of commissioned guitars I’d aimed to have completed by May, and I decided to take the risk with the CNC router as it is, tampered by all the knowledge I’ve gained about how the router works and what its limits are in the last few months, and start on guitar #5 again. This was the original request to build an offset guitar that has pretty much defined all my guitar building this year. It was this guitar that the CNC router started failing on, hence the delay and why this blog is now more about CNC routers than guitars.
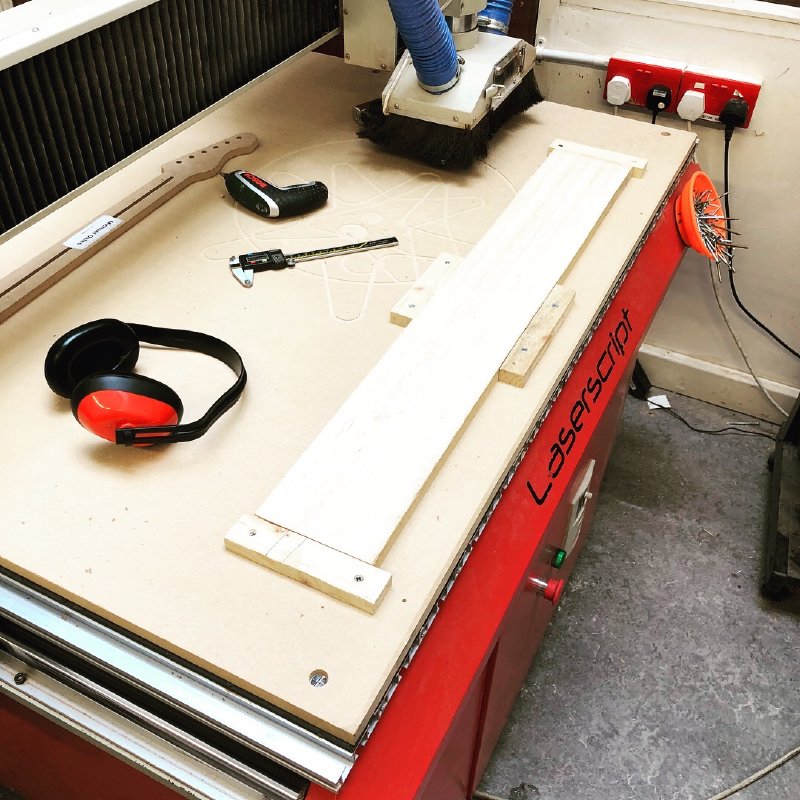
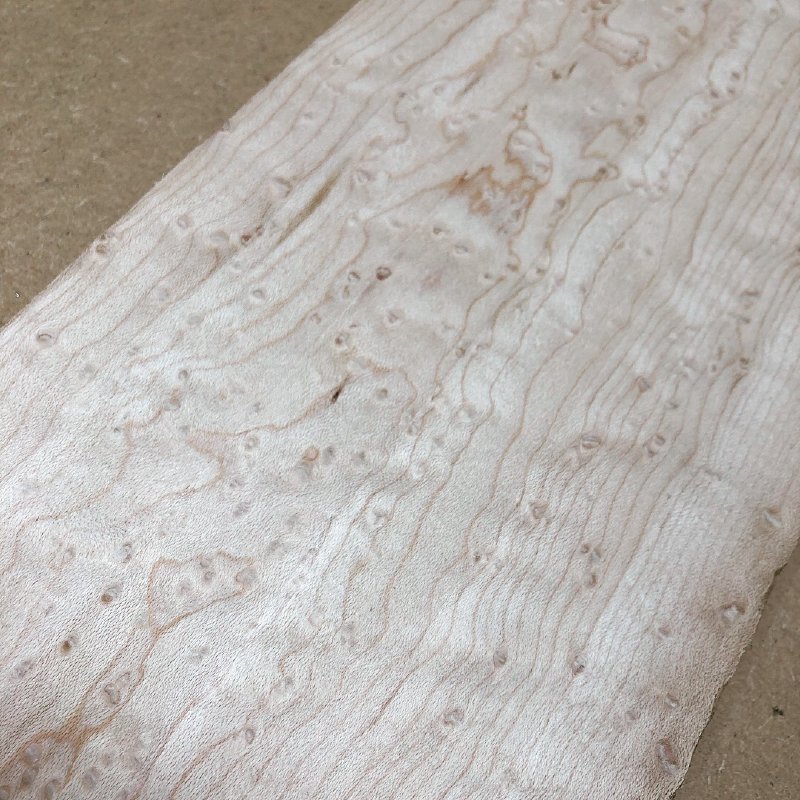
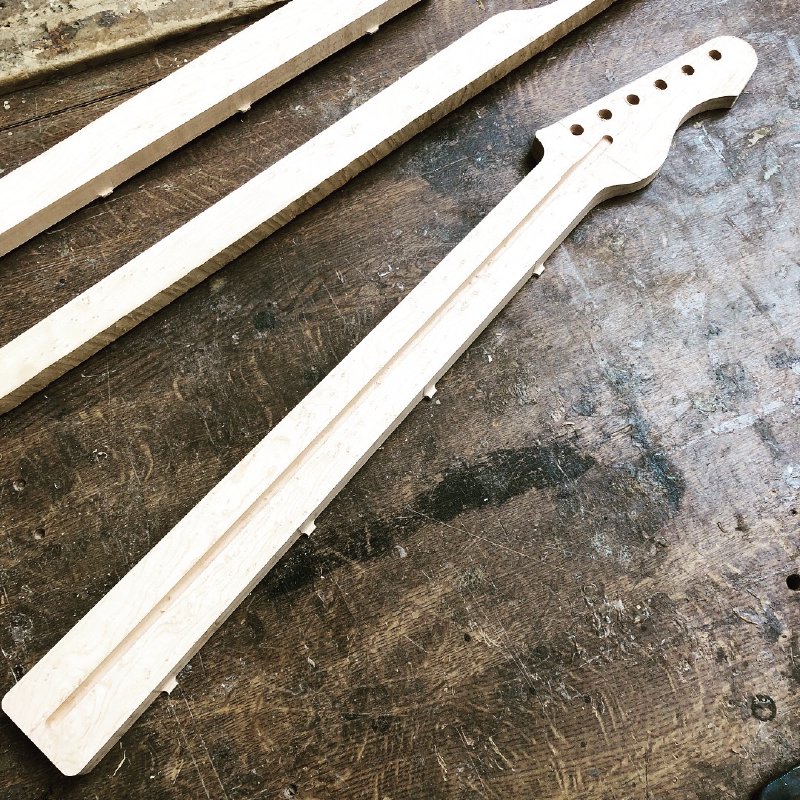
Even though I don’t understand why the machine fails properly, we have some ideas, and I do know that when it fails there is usually some sort of quick indicator before it does so, so if I just watch the machine like a hawk through the cutting process, there’s a good chance I can stop it if it starts going wrong. I decided to go all in, and broke out the nice bit of birds eye maple destined for the neck of guitar #5 and cut the neck.
The birds-eye maple is really lovely up close:
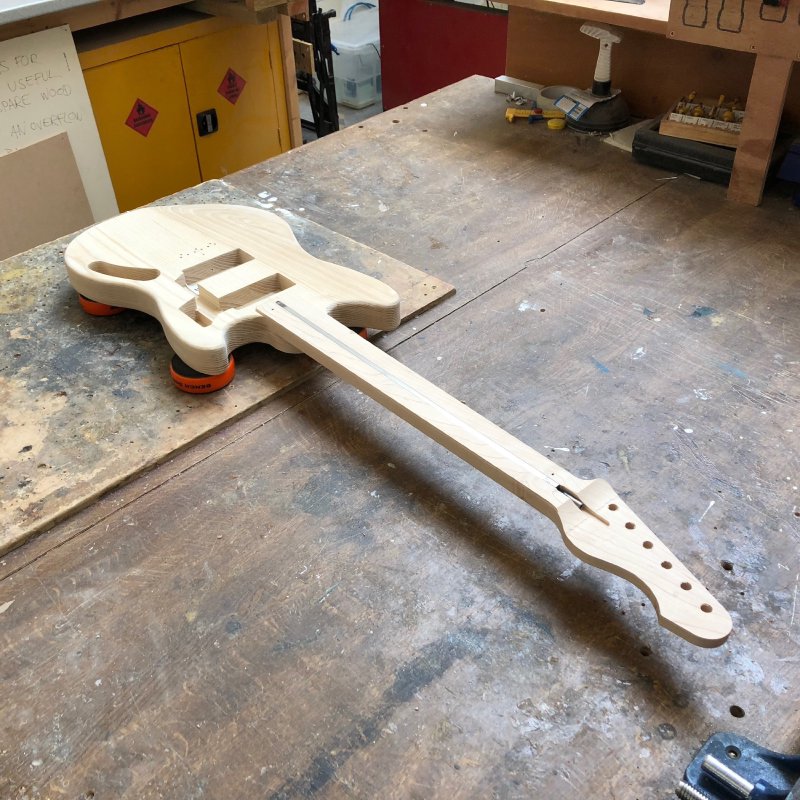
All went well for the most part. I did abort one of the CNC router phases due to a suspicious noise happening at one point, and so did have to re-start that stage, but an hour or so after I started I had a neck cut out.
So, some success after all our failures up til now. Next up will be the body for guitar #5. My aim is to get the main bits for this guitar cut out this coming week before I vanish to Wilderness festival.
I did also find some time to take the damaged body and damaged neck that I’d been repairing and sand them down to get the neck to fit the body spot on. This here is a picture of the neck held in just by friction alone, which is always a good sign.
I’ll be interesting to compare this body, where I did the comfort carves by hand, with the one I hope to do on the CNC router in the coming week, and see which is more pleasing :)
I wanted to try a fuzz pedal a while back (I was playing lots of White Stripes at the time) so I bought a fuzz pedal kit from jed’s pedals (obviously someone like me struggles to buy ready made things when they can have an excuse to build something), and I’ve been trying to 3D print a case for it. However, the epic heat wave has really been making it hard: the design is not really any different to the ones I did for the clock a few weeks back, but I’ve had about a 75% failure rate, which I put down to the high temperatures causing the printers to not want to play ball. I have finally managed to get a case printed out though for test fitting:
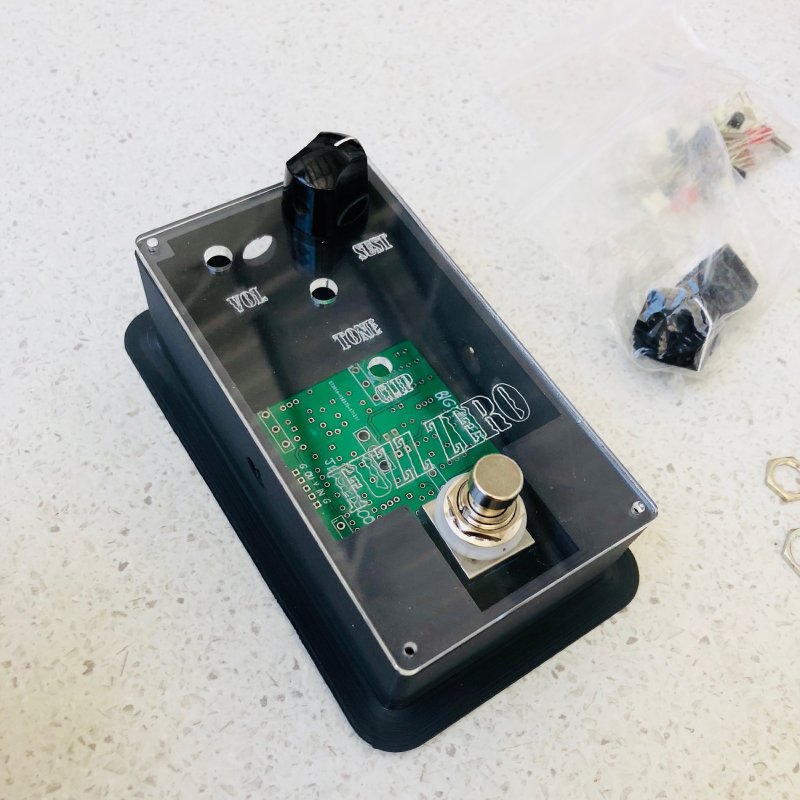
Seems strong enough, which I wasn’t sure about. Fun thing about the lettering: that font I’ve used for the name “Fuzz Zero” should have straight edges, but instead it’s got this cool wobble on the lines. I’d love to claim this was some original graphic design on my behalf, but it’s a pleasant side effect of me setting the laser cutter to run too fast for cutting outline, and that decaying wave you see is the mirror in the laser cutter wobbling as it is forced to change speed too quickly (I’d set the machine to etching speeds, but then set it to do outlines by mistake).
Clearly plastic and acrylic don’t make for the best case in terms of shielding, but eventually I’ll probably make this out of a nice wood and copper shield the innards. Next is to find a spare half hour at some point to solder the board up!