A week in the shop
Published 17 Sep 2018
Last week I was working on the recovery offset’s neck: the recovery offset is a guitar being made from the parts that the CNC router tried to ruin that I’ve plugged and am going to finish off as a sort of factory seconds. The motivation for this is to get as much value out of the bits I start as possible, even if they’re not something I could ship to a paying customer (at least claiming it was in tip top condition), but the more I make things the more I learn.
I’ve wanted to try a revision to my workflow for building necks, and rather than try that first on the commission that I have part way through at the moment, I can try it here with less risk, so it’s convenient timing. I guess the thing I want to encourage is that when things go wrong, don’t see that as final for that thing: try to work out what other learning value you can get out of it before you part ways with it.
At the end of last week I’d glued on the fretboard, and I was lamenting that as I’d glued the maple fretboard on, the seam between it and the neck which previously had been a nice tight fit had expanded the moment I added glue (presumably down to moisture?) leaving a small but visible gap. I’d then had to layer on more glue than I would otherwise have used to fill the seam.
The positive is that this application of excess glue did work: the seam did fill and now that the neck has been carved on the back and sanded down, the glue line isn’t too bad. It’s distinct, but there’s no large bits, and it’s fairly uniform. Had I been using two different shades of wood, you’d probably not notice it much, but as I’m using two bits of maple it is visible, but it’s more of a feature.
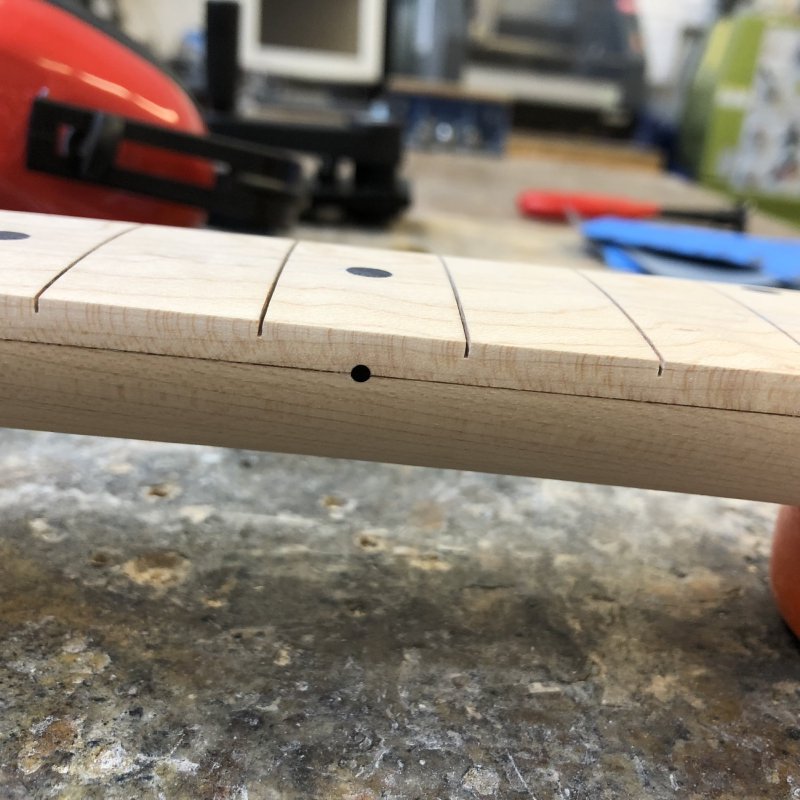
It looks a little worse there than it does in real life where you can rotate it a little to see that it’s a nice flat transition between the two pieces.
The negative was that removing the excess glue I’d added was a real pain in the neck. In the end it took a lot of sanding and a light amount of chiselling to remove it, and I wished I’d not sanded down the neck so much before doing this stage, as it took out a little more than I’d have ideally removed. So whilst the excess glue did the job, it wasn’t without consequences. In future I’ll do less sanding before I put the pieces together.
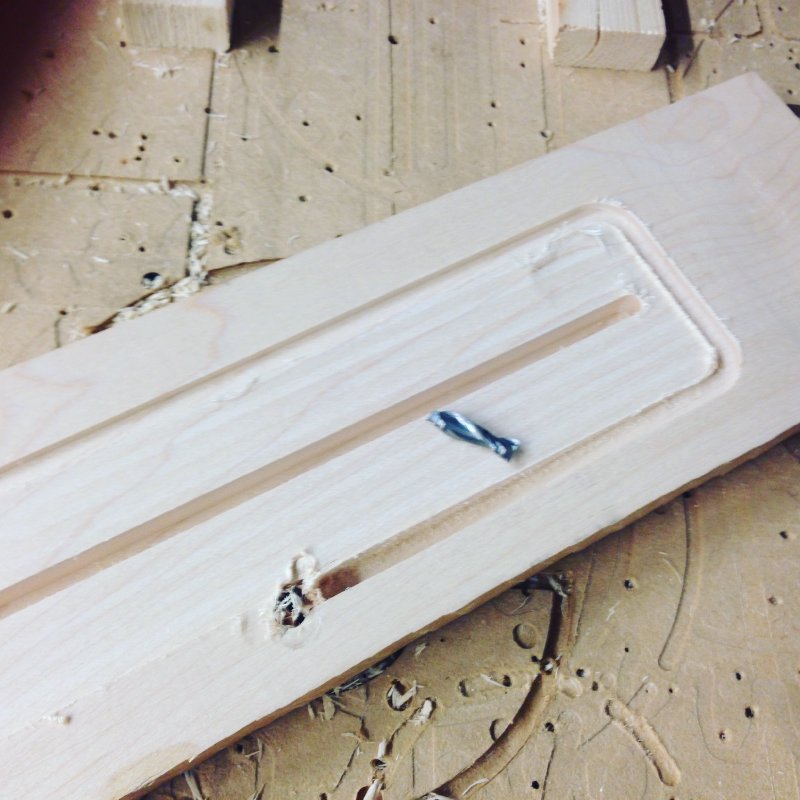
The reason this neck is a recovery pieces is that the CNC router got confused and tried to ramp down at a rate into the piece when on the final contouring pass which cased the bit to shatter taking quite a bit of wood with it:
This I patched a while ago using wood glue and sawdust from the same piece of maple. Unfortunately it’s quite a dark patch: I don’t think using this approach works very well on light woods. My hope was that as I carved the neck most of the patched wood would be removed. Alas, not as much came out as I’d hoped:
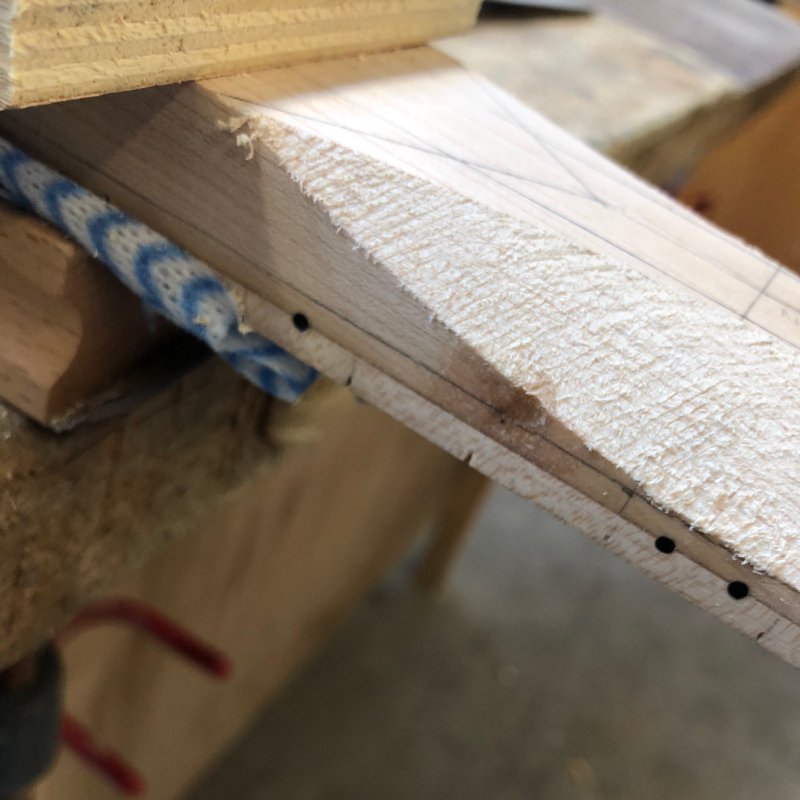
Still, it’s no worse than a knot in the wood I guess, but you can definitely tell that it’s been patched, and annoyingly, as this is a right handed guitar, it’ll be visible to the player that its been patched. But, all that said, it’s totally playable now it’s been smoothed down, and thus definitely worth taking through the rest of the steps to complete, along with the recovery body.
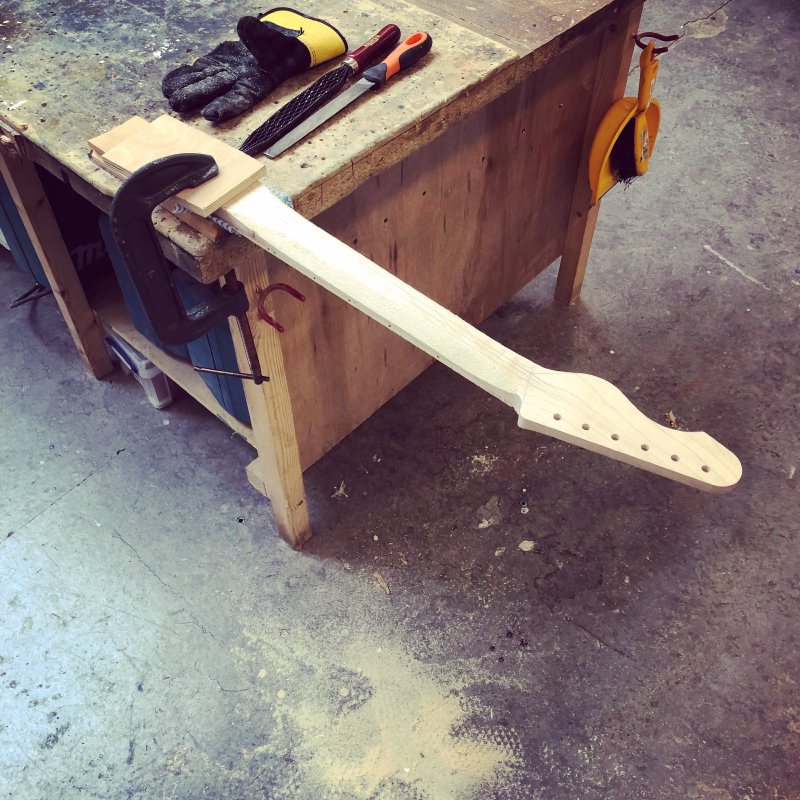
Carving it went well enough, though amusingly there’s a kink in the grain line that made it hard to see the middle, as the kink was just off to one side, so I had to be careful to make sure I carved it symmetrically. Once carved there was a bunch of sanding to do, and the next stage is to fret it, which I’ll do next week.
The person who commissioned the first offset got in touch asking if he could have a custom logo etched on the headstock. The nice thing about having access to a laser cutter is that I can readily say yes to this. I made a few mock ups in Illustrator of what we might do, and I’m now awaiting a design back of what he wants.
Timing is good here, as I should make the fretboard for his neck this week, so in a week or so I’ll be ready to etch the headstock on this one.
The sanding of both the neck above and the two bodies that I have on the go reminded me how much I hate sanding. With the guitar bodies you have the awkward curves around the horns that you can’t get the orbital sander I have into, so I have to do them by hand. For finish this is fine, but for trying to remove machine lines this is quite tedious. What I really need for this is a spindle sander.
Encouraged by the experience of such machines by some fellow luthiers I put together a proposal for Makespace to get one for the workshop (basically pricing it, explaining the use case, how it’d be stored and maintained), which was approved, so next week one should turn up for the woodwork shop, and I’ll have to work out how to plumb it into the dust extraction system. But again, anything that saves me manual sanding time is worth it!