A week in the shop
7 Oct 2019
In general when I write these notes up I try and impart lessons etc., but between spending the last three days solid in the workshop and my computer being unavailable due to doing photo migrations between disks this weekend, I’m going to try keep this week’s notes brief, and hopefully I can return to my more rambling educational style next week.
This week was all about the necks. I have a stack of necks I’m working on, sufficient that I didn’t even manage to work on all of them this week.
First up, I worked on the reboot of the neck for the commissioned guitar #10, after I managed to ruin the first attempt as I got about half way through. The new wood turned up, so that was run through the thicknesser to get it to the right heights.
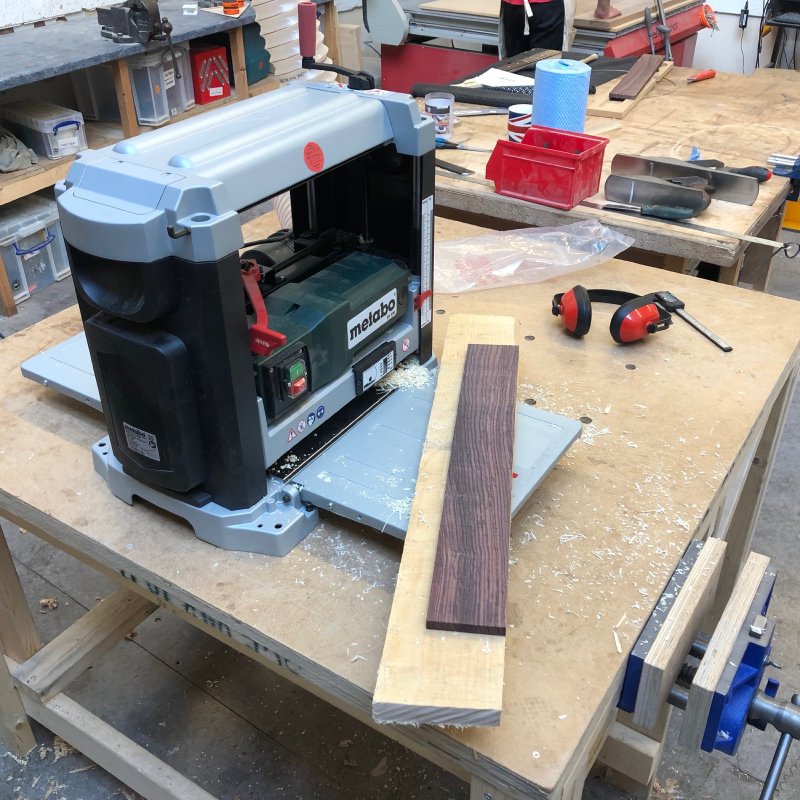
Annoyingly both bits of indian rosewood I received had multidirectional grain, so there wasn’t one way I could run it through the thicknesser and not have it tear in places; this is how wood is at times alas. To compensate for this I left it a little thicker than my target thickness so I can sand it down that last bit to get a nice finish.
With the maple at the right thickness, it was on with the template, and over to the bandsaw to get it roughly the right shape:
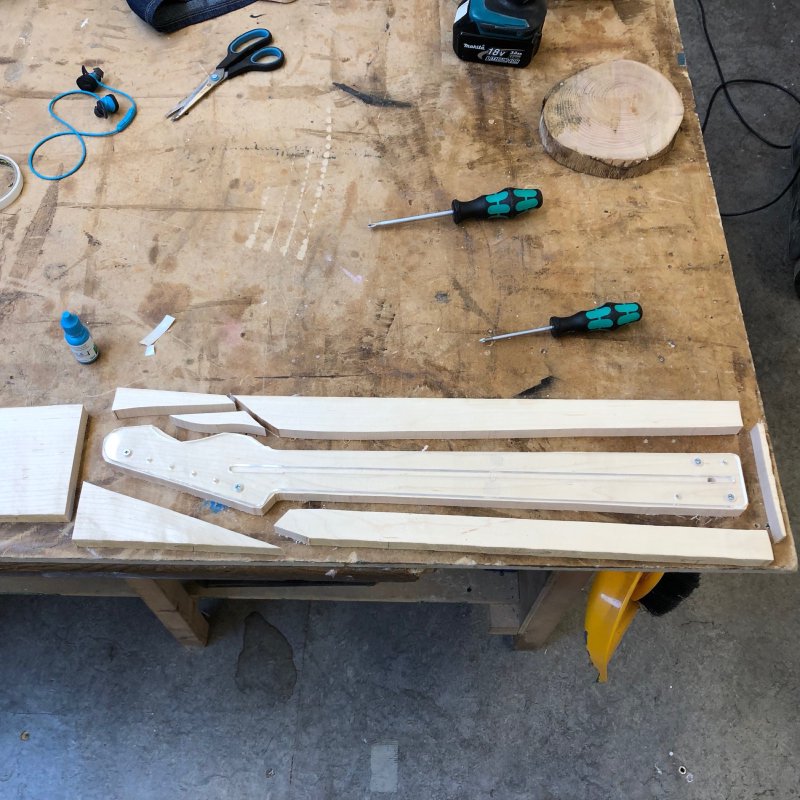
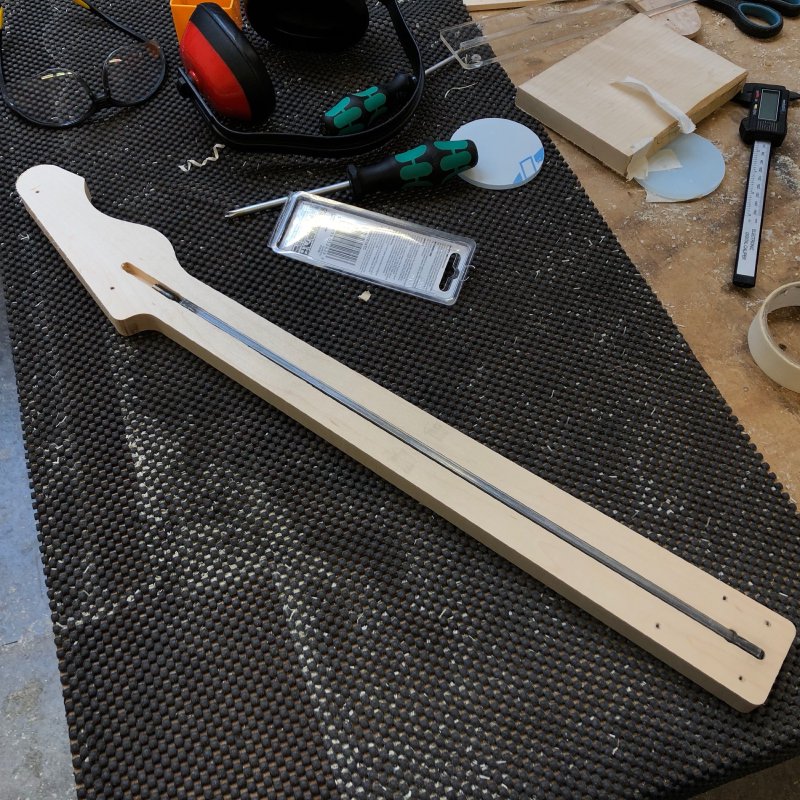
After which I went around it with the hand router to get the correct outer shape and to make the channel for the truss rod:
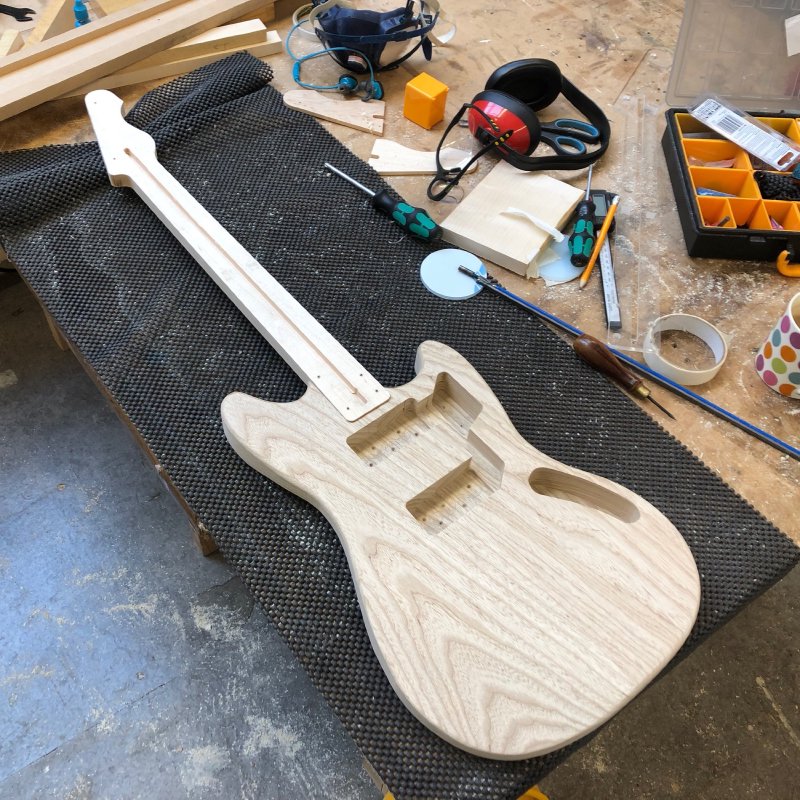
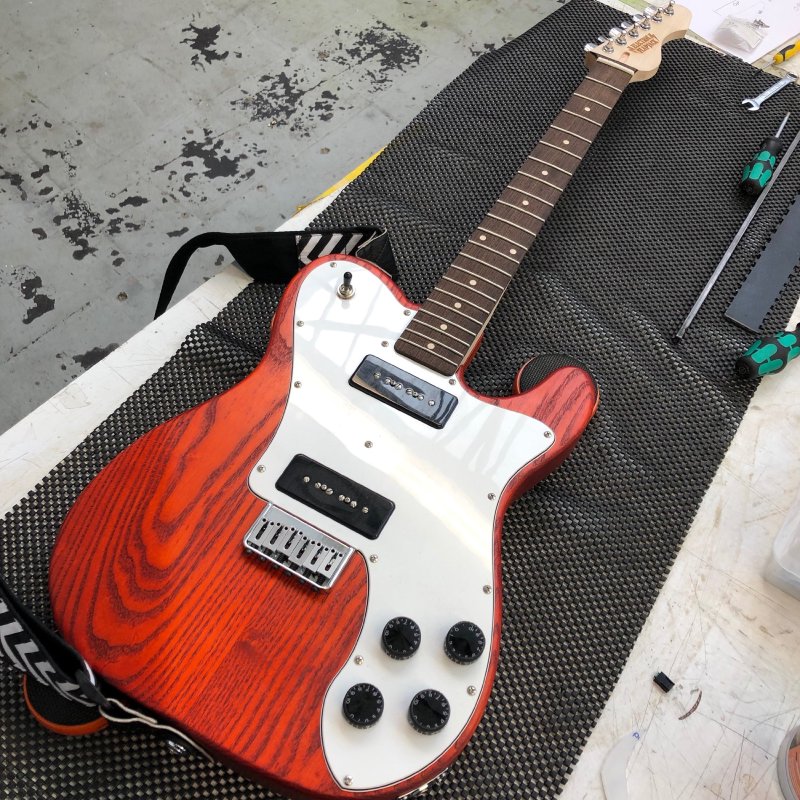
The neck fits the body nicely:
This was mostly done at the weekend (my week notes are Monday thru Sunday, even if I publish them late :), and I’ll get the rest of this bit shaped at the start of next week.
I also moved forward the neck that is the replacement for guitar #4, as I’d liked to try get this one done before Oggcamp on the 19th of the month, and it’s close to being completed. The main task I needed to complete was putting in the frets, which I started last week.
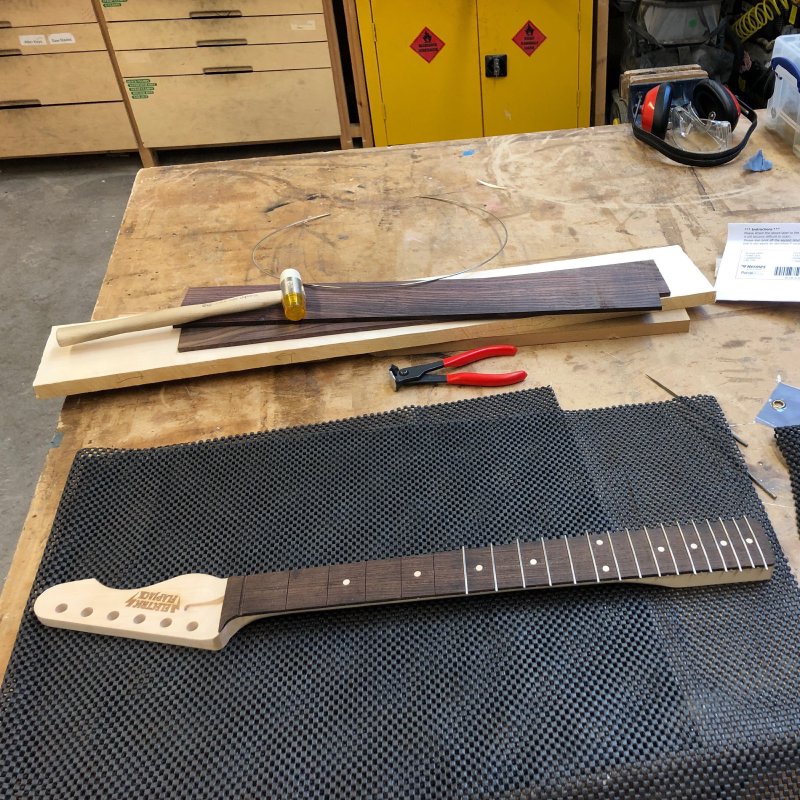
You can see the beginnings of one neck in the above photo as one heads towards the finish line - see how far the come!
I’m really pleased with the new workflow I have for getting frets in (as described in last week’s post). It’s really let me make peace with using wenge as a fretboard material: whilst wenge still isn’t the easiest of woods to work with, at least the results of trying to put a fret in are now much more predictable. I’m very pleased with the progress here.
However, I think I’ll need to revisit the jig I made to let me use the fret press bit I have with our arbour press. The 3D printed holder I had lasted just to the end of this fretboard, but no more:
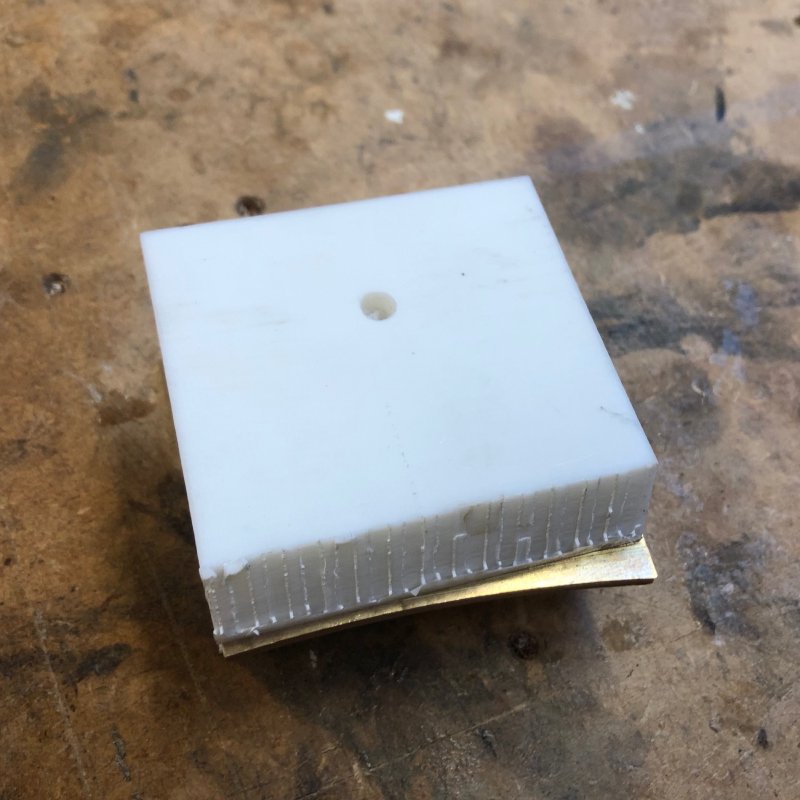
Given how much pressure I put on the jig over the course of the 21 frets it slowly collapsed, both where the press bit mounts (as you can see above) and internally where it fits onto the arbour press.
I’ll need to print a new one, or but a proper adapter for the press. Fellow Makespace member Rob Karpinski suggested a few ideas of how to try and make the jig stronger using tricks in the design to get the 3D printer slicer software to insert more material in certain places by using minute holes that won’t be visible but will cause the slicer to put wall material there, so I might give that a go for fun at some point.
But, despite the jig not surviving, it did last to the final fret, so with all the frets in I had to face up to the task of levelling the frets and then crowning them and polishing them. Possibly my least favourite bit of a guitar build, but it is one of the most essential jobs, as it’s the frets that make a guitar a musical instrument rather than a bit of sculpture. I had hoped that with pressing the frets in rather than hammering them perhaps the frets would be magically mostly level, but there is still quite a bit of variance, I guess down to how variable the density of the wood is over the length of the fretboard. Whatever the reason, it meant I had to masking take up the fretboard and get to work.
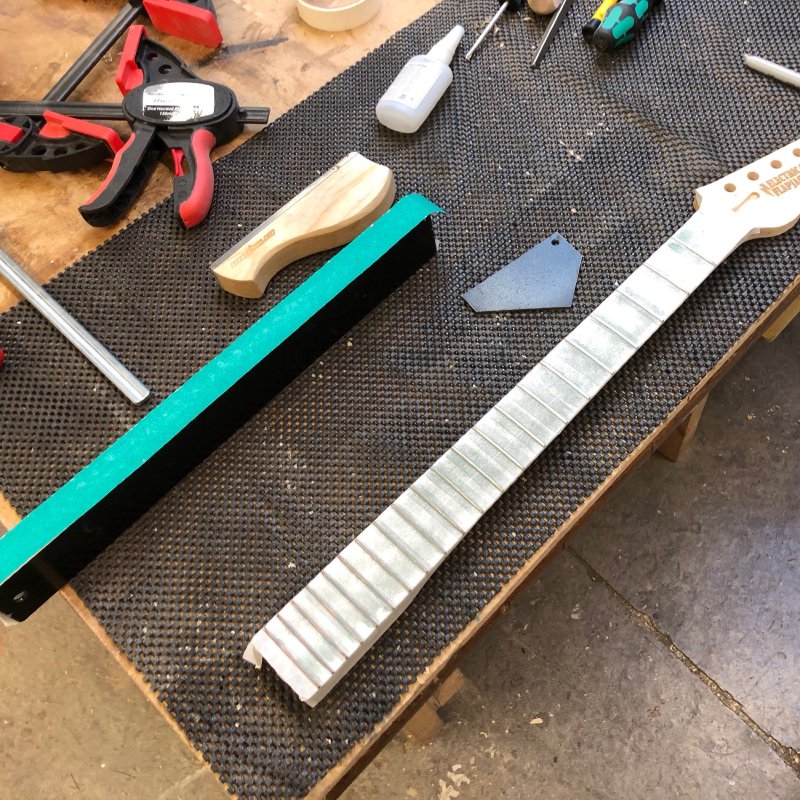
With the frets levelled, they are now flat, so you have to round them back over with more files, and then finally sand them and polish them with little erasers that are filled with different grits of abrasive to bring them back to being smooth and scratch free. I’ve learned the hard way that if you skimp here you’re just redoing the job again later, so I basically spent an entire day just getting the frets into shape once they were pressed on.
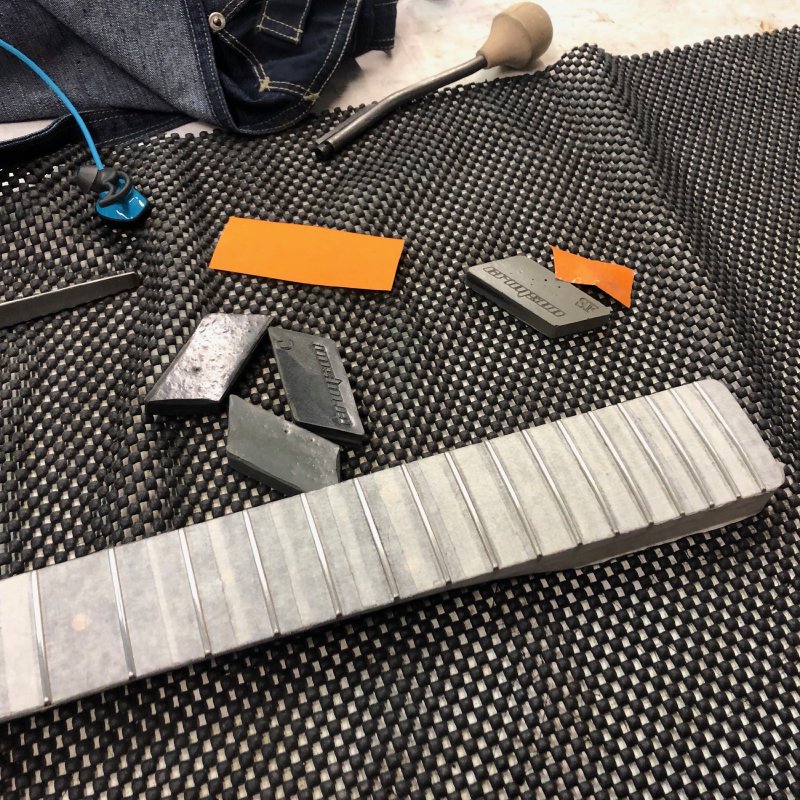
But the results will hopefully be worth it - the neck is certainly looking the part:
Now it just has to be oiled over the coming week, so it might even be playable before the next time I write these notes (I’ve just doomed myself haven’t I?).
The final neck I worked on this week was not one of my own, but one on a guitar that someone has brought in for me to have a look at.

It’s a lovely Ibanez hybrid guitar, which has an actual electric guitar pickup in it rather than just a piezo pickup inside. Unfortunately the action is quite high, so I had a look at what might be the issue.
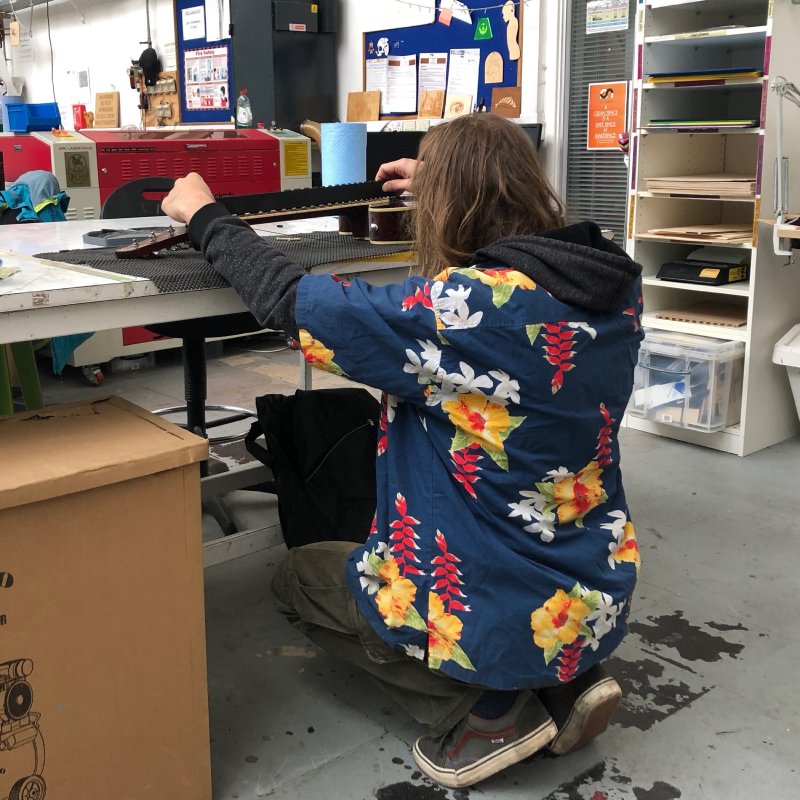
Apologies for the shirt, but I operate a hawaiian shirt Friday, even if it was particularly cold in Makespace that day :)
The problem seems to be a combination of two things: firstly the neck has quite a bit of relief in it, which I’ve adjusted as much as I dare with the truss rod, though it’s still not as flat as I’d like. The second issue is that the bridge saddle is really quite high, so I now need to file that down.
That’s it: not a lot exciting to write about, just a lot of graft in the workshop this week - but that’s what gets guitars built, it can’t be adventure all the time.