A fortnight in the shop
Published 5 Oct 2020
Catching up here for two weeks, as the prior week I didn’t get any workshop time due to other demands on my time. Thankfully I did get to spend more time in the workshop this week, so lots to write about.
However, I know you come here for practical tips you can use in your own projects, so I can save you time by giving you this week’s most important learning up front: wood glue has much better hair holding properties than regular hair gel. Don’t ask, just allow me save you from learning that yourself, and recommend an alice band, scrunchy or hat as essential PPE if you’re gluing things in the workshop.
The important bit out the way, let’s get on with it!
When I got back into the shop this week I had planned to continue with the guitar I’ve been working on for the last month, but I was initially blocked on making progress (more on that later), so I decided that I’d turn my attention to the neck I had started pre-lockdown for the Corvette model. In fact, looking at my notes, I last worked on it almost exactly a year ago, when I radiused the fretboard:

Since then I had to deal with issues from the green mustang build that had to take priority, finding a new workshop, and then obviously not getting into the workshop for six months. It really doesn’t feel like it was a year since I worked on this build.
The first thing to do on this neck was put in the frets. This is an area where I’ve already noted I need to level-up my game, as I know from feedback that there’s room for improvement here; you can read up on those reflections back in this post from March if you want more details.
Back then I noted two things I wanted to change, one of which I’d already started doing before the feedback and another I had not: using an arbor press to insert the frets rather than just a hammer, and also using glue to help secure the frets rather than just relying on a tight fit.
So, out I got the arbor press and got set to start inserting the frets:

However, the frets just would not go in. Whilst the purpleheart wood is lovely to look at, it is incredibly tough and has next to no give. I noted at the time that it was a pain to saw the fret slots on this one, and here it just didn’t budge when I tried to squeeze in the frets.
The idea with inserting frets is that, even if you use glue, the slot is slightly narrower than the tang on the fret wire, and that the wood will give a little as you insert the fret and then pressure will hold the fret in place. However, the purpleheart had no give, and so the fret would just not go in. Even Matt, my more experienced guitar building workshop mate, couldn’t get it to budge, and we agreed another approach was needed for this wood.
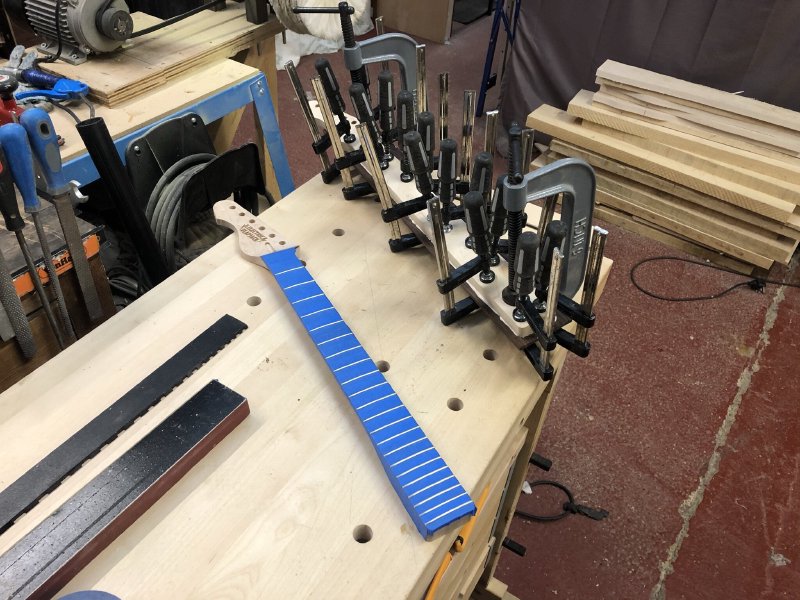
Because in the past I’ve not used glue on the frets I’ve been cutting a particularly narrow fret slot, of around 0.3mm, to maximise the grip on the fret. However, it’s also common to cut the slot slightly wider if you’re using glue at 0.5mm, and the first thing I did was set about slowly re-cutting all the slots to be slightly wider:
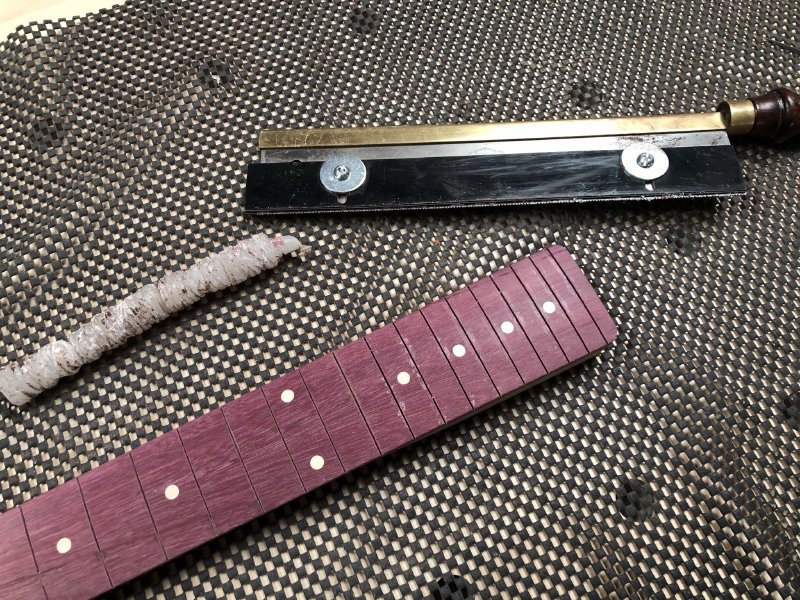
I first used a small triangular file to open up each slot slightly at the top so the blade from the wider saw would sit in it rather than risking it slipping as I started to cut. The abused candle you can see there is a trick of Matt’s to help keep the blade moving easier in the tight slot - you just run the blade over the candle every few strokes and it helps stopping the blade getting stuck. You can see the wax builds up a little on the top of the fretboard, but it scrapes right off again easily afterwards.
Slots re-cut, it was back to the arbor press. This worked a little better, but still was struggling. I’d start the frets off with a hammer just to get them started, and then try the press but the force I needed to use to get the frets home was greater than the force required to dismount the arbor press from the bench, and in the end I still had to abandon it before I ruined Matt’s bench.
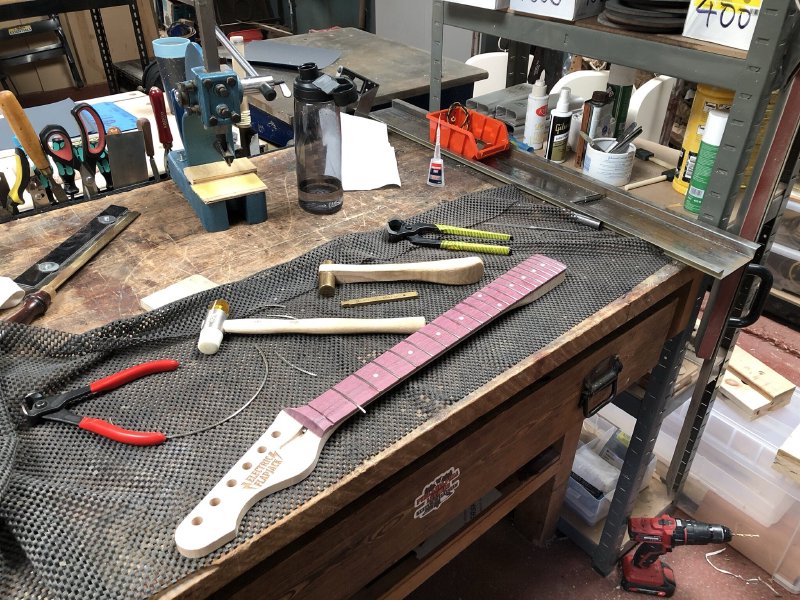
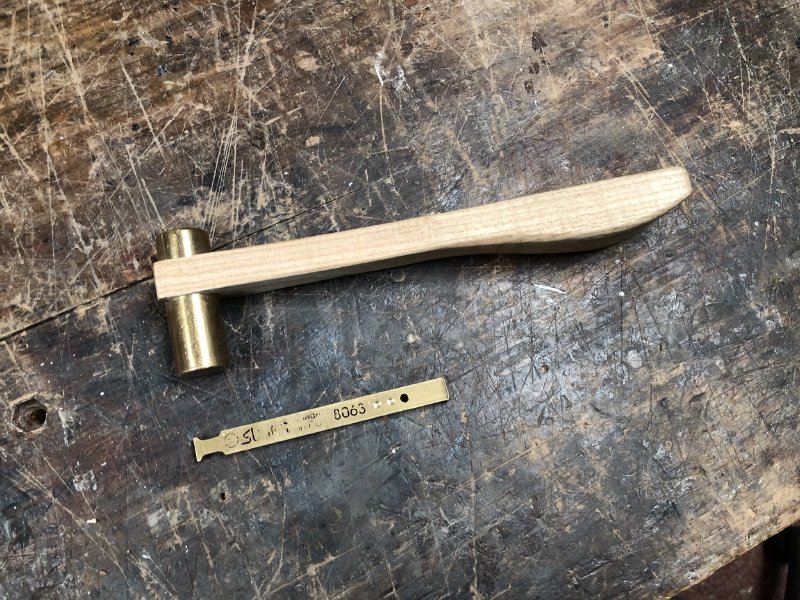
So it was back to the hammer, but I did have one other tool at my disposal that worked like magic, this fret setting tool that Matt had:
Using just a hammer to insert frets works, but it’s hard to get a uniform curve (meaning you need to then do more work at fret levelling time) and it’s hard to get a focused blow to ensure that all high spots are neatly pressed in. This fret setting tool lets you really target where the force goes and get a nice flush fret. So I’d use just a hammer to get the fret in roughly, and then do a second pass with the fret setting tool to get the fret perfectly home. A lot slower than using an arbor press, but miles better than just a hammer alone.
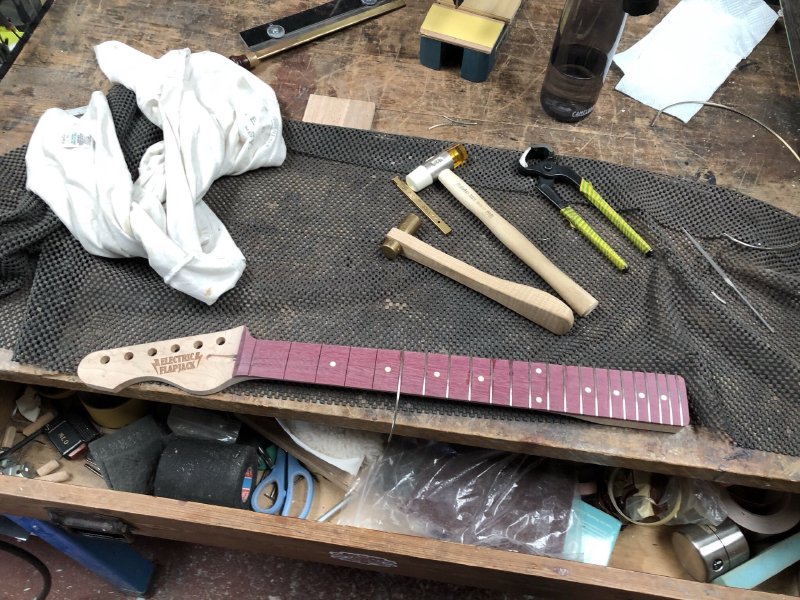
As you can see from the above pictures (you may have to look closely to see the evidence if square space shrinks the pictures too much), I’m also using glue. I have seen people use wood glue for this, but here I’m using a form of very runny superglue that wicks into the fret slot more readily.
Part the reason I don’t normally use glue is that, as you can see, this leads to an inevitable amount of mess, from either the glue not going into the slot initially or it squeezing out the slot as you drive the fret home. I used a rag to clean off as much excess as I could, and then afterwards went back over the fretboard with some 320 grit sandpaper and a scalpel to get rid of the all that.
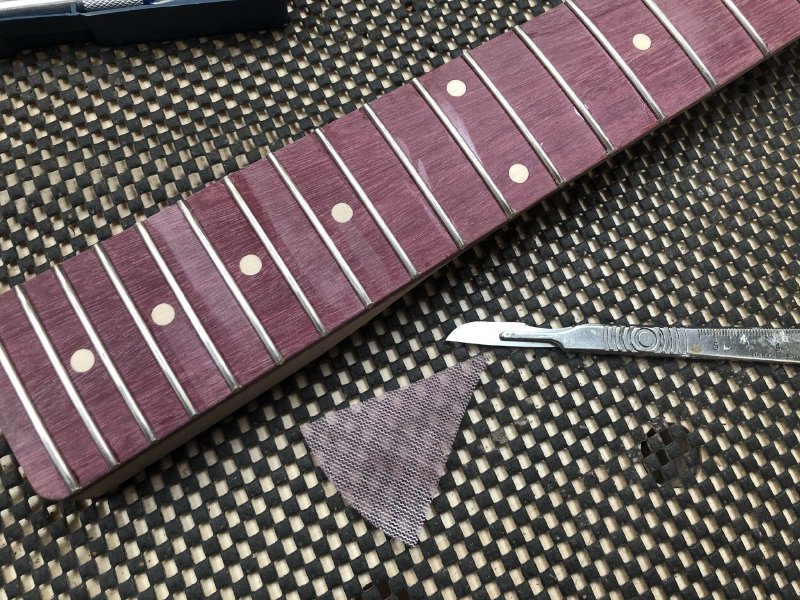
I’m actually using a cut up orbital sander pad here, as it will fit into the edges near the fret more easily than regular sand paper. Slow work, but at least we know these frets are now unlikely to go anywhere at the end of it all. On the next one, just for comparison, I’ll try using wood glue on the fret to see if that’s more or less messy.
One thing I will say about all the labour of all this was that when it came to fret levelling time, this was the least amount of levelling I’ve had to do on any build, I assume down to a combination of the purpleheart not giving as the frets were inserted and using the fret setting tool to get those frets as flush as I could.
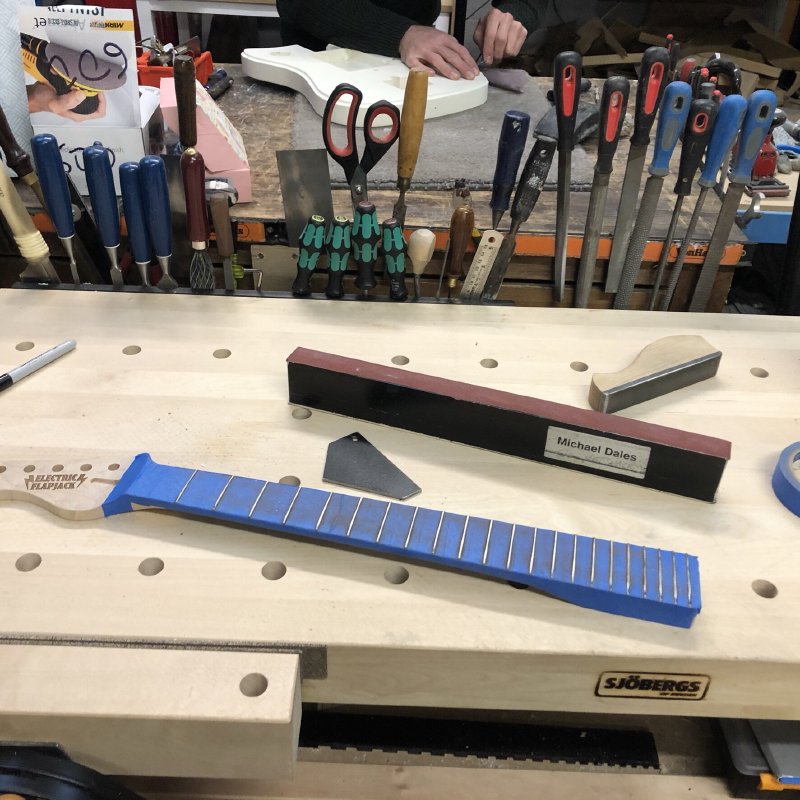
Normally I’d start with the file, then move to the sandpaper bar, but this time I just started on the sandpaper bad on 240 grit and very quickly (well, relative to usual) I had all my frets levelled. So, the extra effort at the insertion stage paid dividends further down the production line.
At the end of the week I had completed my first pass of levelling and re-crowning the frets, but called it day when I could feel my patience waning. Fret dressing is slow and tedious work, and just can’t be rushed: I’ve learned that if I do so I’m just going to have to do it again properly later. Thus when I feel my attention going on a fret job I just park it and pick it up again the next day (or week in this case).
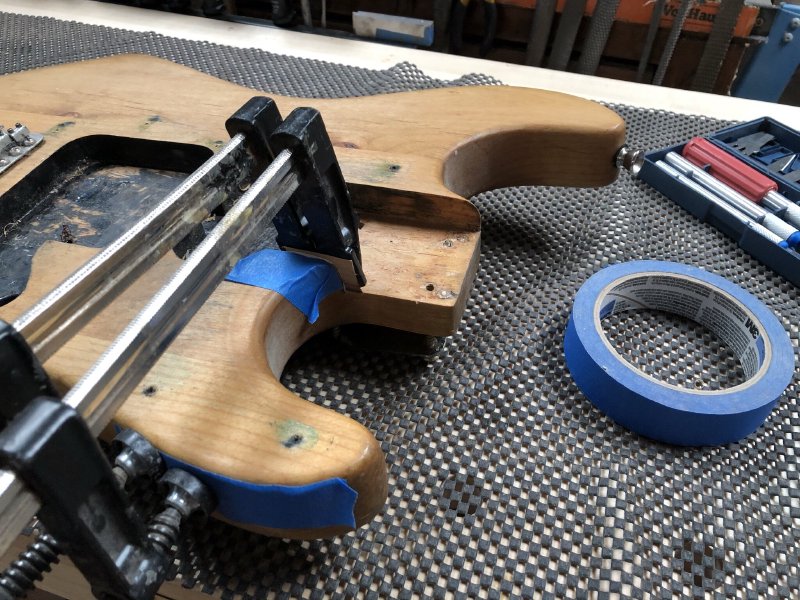
Originally I was going to use a telecaster style bridge on this build, as I quite like them out of context of the telecaster, but now I’ve got the guitar this far along, I’m less convinced that it works on this body shape:
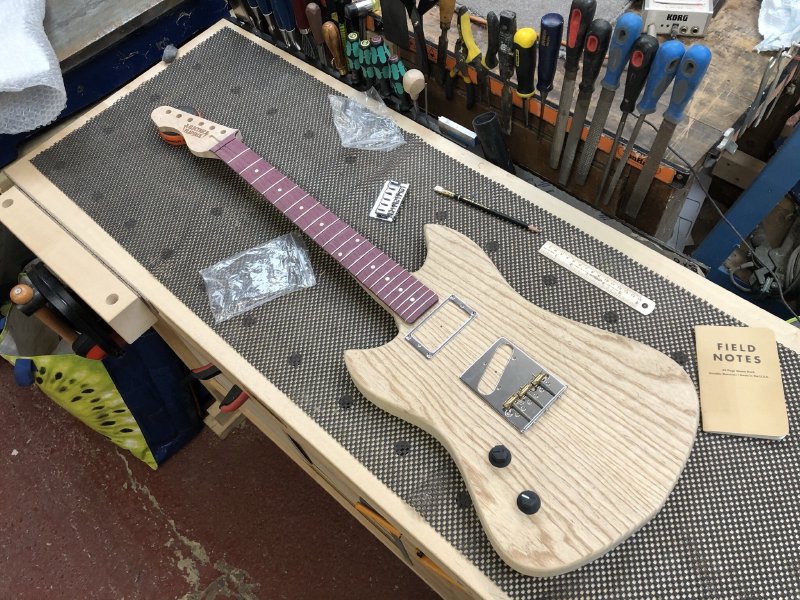
I think the size of the tele bridge plate makes the overall shape appear drawn out and skinny. Whilst I’ve seen this guitar in CAD drawings more times than I care to count, it’s only when you get to this stage you can really appreciate how things look in practice.
Instead I’ll go with a smaller hard-tail bridge and pickup mounts for the two pickups (alas not to hand when I took the photo):
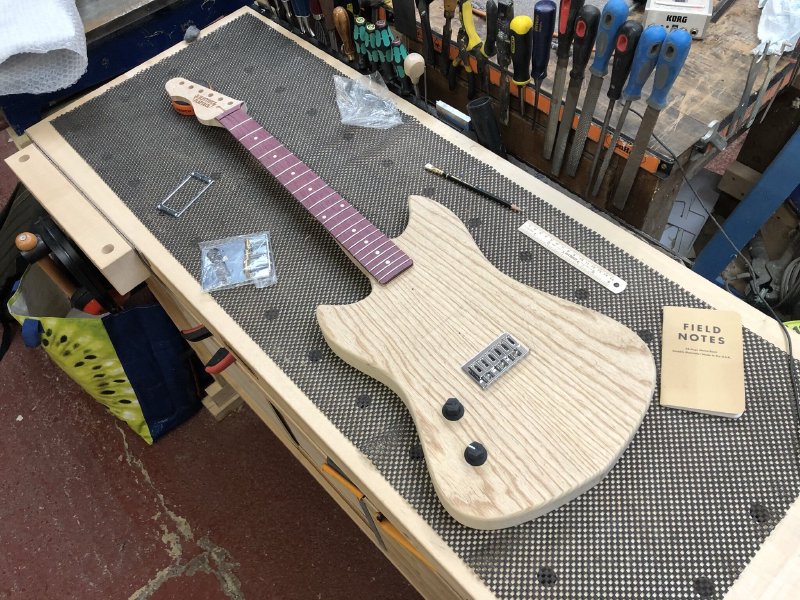
To me this definitely feels more harmonious with the guitar’s overall shape. It is a little bit sad, in that I’d managed to source a left handed tele bridge for this build, which was not a cheap part to get, and indeed I have the pickups to match, but that’s just how it goes. I guess I’ll just have to build a left handed telecaster now to use those up - do shout if you’re a left-handed guitarist after a tele :)
I asked on social media for some recommendations of what pickups I should use instead, and I did get a nice suggestion of these heavy Jaguar style pickups from The Creamery, which I can see would match the offset aesthetics of this build whilst being more rock:
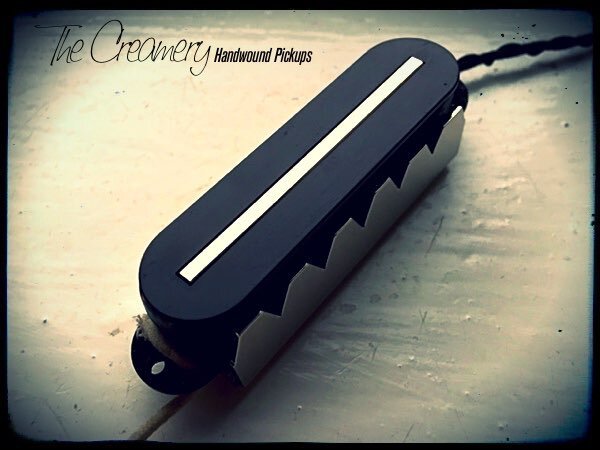
A nice idea, though The Creamery order book is closed and they don’t have any samples to let me hear what they’re like, but I do like the idea. I love the claw look of the Jaguar pickups, but I’m not sure stock Jaguar pickups would suit the music tastes of the client for this build unfortunately - another time, but thanks for the suggestion Paul!
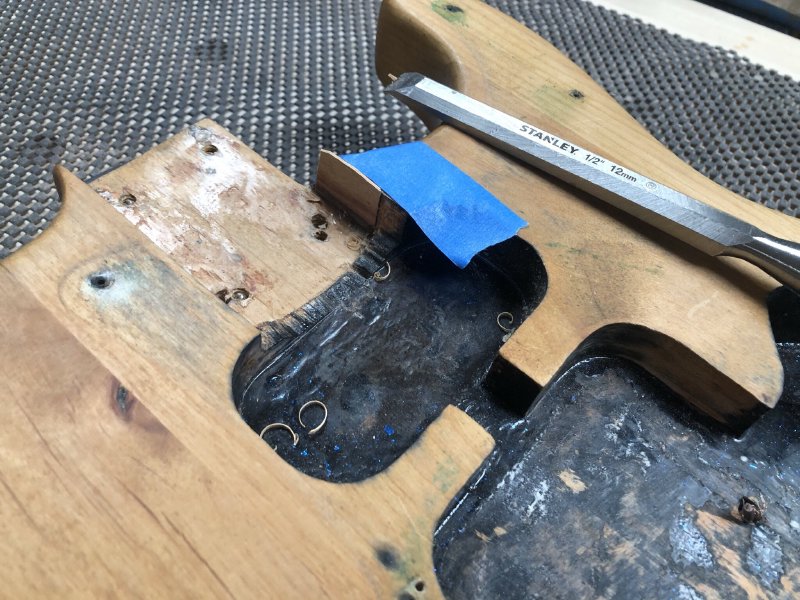
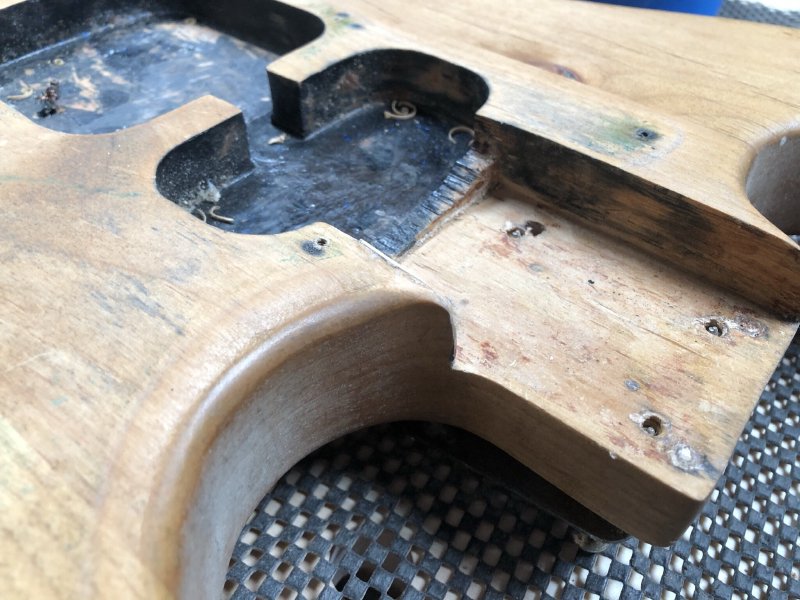
The neck I was actually meant to be working on this week was the one for workshop-testing guitar, but that was blocked because I had no way to cut the headstock face. Normally I’d use a band-saw for this, but mine isn’t yet here (though I do have the blades :), and the one at Makespace is still missing its mitre fence. Thankfully once Matt was in the workshop, we found a third option: we used his CNC machine:
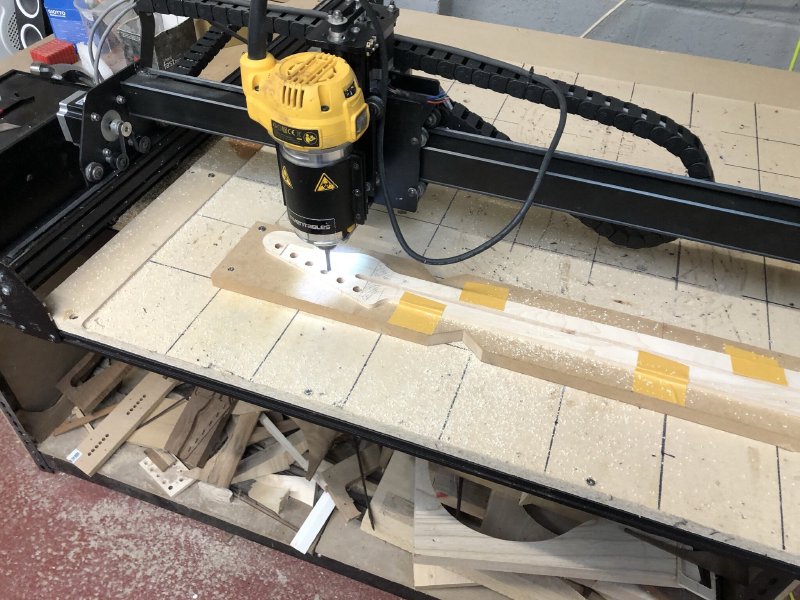
This let me remove the area that normally I’d saw out:
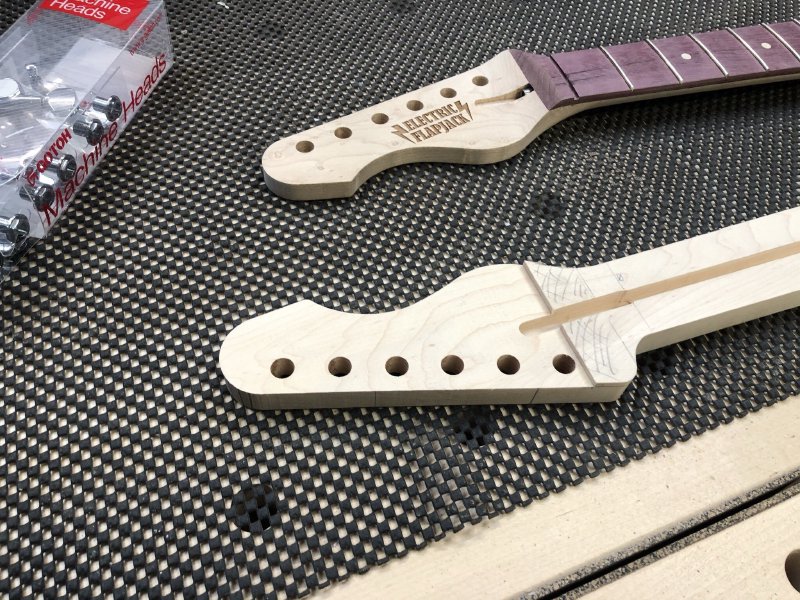
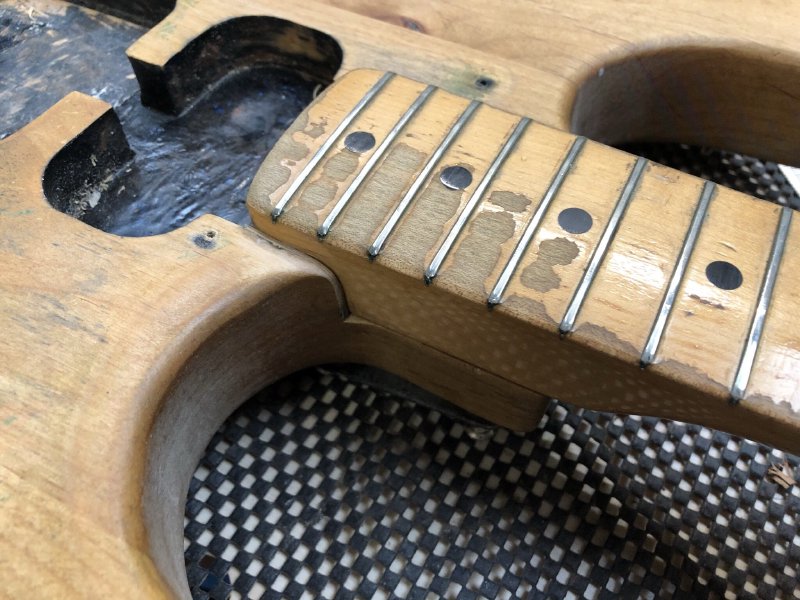
It was quite quick, and did the job perfectly. The only downside is I can’t add to my collection of headstock faces I have in my drawer to remind me of previous builds. With the headstock cleared, I then glued on the fretboard and left that over the weekend to set (whilst I used the weekend to internalise important lessons about hair related PPE):
Next week I can whizz around that with a hand-router to get it flush and start my next neck. I used a rosewood fretboard on this one, so hopefully the arbor press will see me right this time!
I continued the repair work on strat clone. Last time I’d mentioned how I was using wood veneers to let me make the neck pocket better fit the neck:
These had glued, and then I was able to use a chisel to carefully remove the excess:
And then finally sand it down flush:
In the end I had to use three layers of veneer, which gives you an idea of how much space there was. With the neck in it’s still not a perfect fit, but its much closer, and matches the other side which also flares out a little at the end. I now just need to re-finish where I’ve sanded and the body is done.
I also took a look at the electronics, which is why the guitar came to me in the first place:
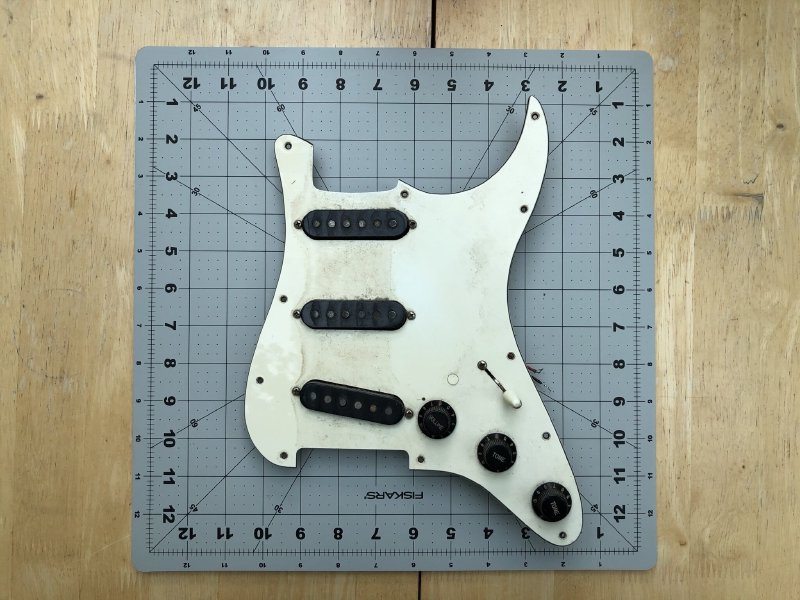
I de-soldered everything and ordered some replacement potentiometers for the volume and tone controls, as I’m fairly certain that’s what is causing the terrible scratchy noise on the guitar.
With the pick-guard being a bit rose for wear, including that odd patch you can see between the volume control and pickup selector, I asked the owner if they wanted me to make a new pick-guard whilst I was cutting others. They agreed, and so I found a template on the Internet for a strat pick-guard, and did a quick test cut on paper to make sure things were right. They weren’t but not for the reason I expected: it turns out the pickups on this guitar are smaller than regular strat pickups by about 4mm, something I went back and confirmed just to check I wasn’t going mad:
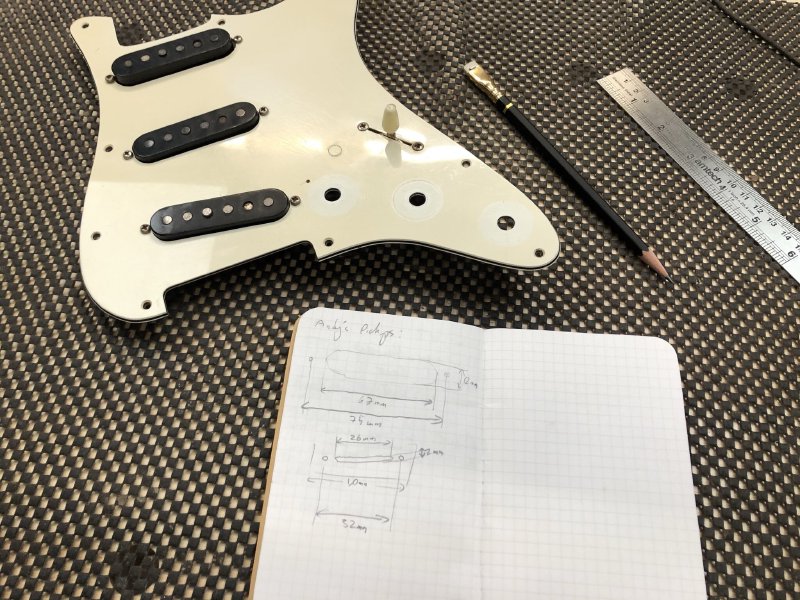
I’m glad I did a test cut of my pick-guard design on paper before I’d committed a nicer material to the job. These pickups are 67mm wide rather than the 71mm a standard strat pickup seems to be, and so if I’d cut the pick-guard using those measurements I’d have had some horrible gaps around them.
However, before I cut the pick-guard with the smaller measurements I need to know for sure that the pickups really do work and aren’t actually the source of all the noise, as if I cut the pick-guard for these pickups any replacements won’t fit! So now I need to wire up everything on the old pick-guard, check that this is good, and then move on to making a new pick-guard.
A fun reminder to measure, measure, cut :)
A lot going on, but it was a good week in the workshop. For the first time since moving into the new workshop it felt more like I was making guitars rather than trying to, yet again, work out how to make guitars in another way.
Adding the frets to the neck for the Corvette build really did make that guitar suddenly seem more real; even though there’s a lot of work to do still I can see a path to the end more clearly, as it looks like a guitar now. Feels silly to say, but it really does make a difference when you see the guitar like that.
I’ve not really felt like a guitar builder for a long time, even though I’ve been back in the workshop for a while, it’s all been about the workshop not the guitars. This was a good reminder that there is a purpose to all this despite all the trials along the way.