A month in the shop: wrapping up Delfinen
8 Apr 2024
Tags: action, delfinen, electronics, fretwork, nut, setup
It’s been a busy month since I last did an update: I had a birthday, I got to go to Sweden with the day job, and generally things have been busy. But I’ve also been busy in the workshop pushing Delfinen forward from nearly finished to actually finished.
Getting into action
I mentioned in the last set of updates that I felt that Delfinen might need a bit of tweaking, and that turned out to be the case. This shouldn’t be a surprise for the first build of a new guitar design, but it’s always frustrating when it happens as you just want to get on with playing the instrument!
Despite having left the guitar strung up for a week or so to see how the guitar settled in under tension, when I returned to it, it was clear to me that I needed to make the neck pocket a little deeper, as even with the bridge saddles at their highest I was still getting buzz from the strings along the neck. I’ve always been a little guilty on being cowardly when routing out the neck pockets (it is, after all, easier to remove wood later than add it back), and it was the same case here, I just didn’t cut it deep enough. Ideally with my necks I’d aim for around 16 or 17mm depth, but just incase the neck ends up being shorter I tend to leave a little more wood in there. In practice I’ve never had to call upon this, so should learn to commit!
A quick check with the callipers tells you I had a little way to go on this one:
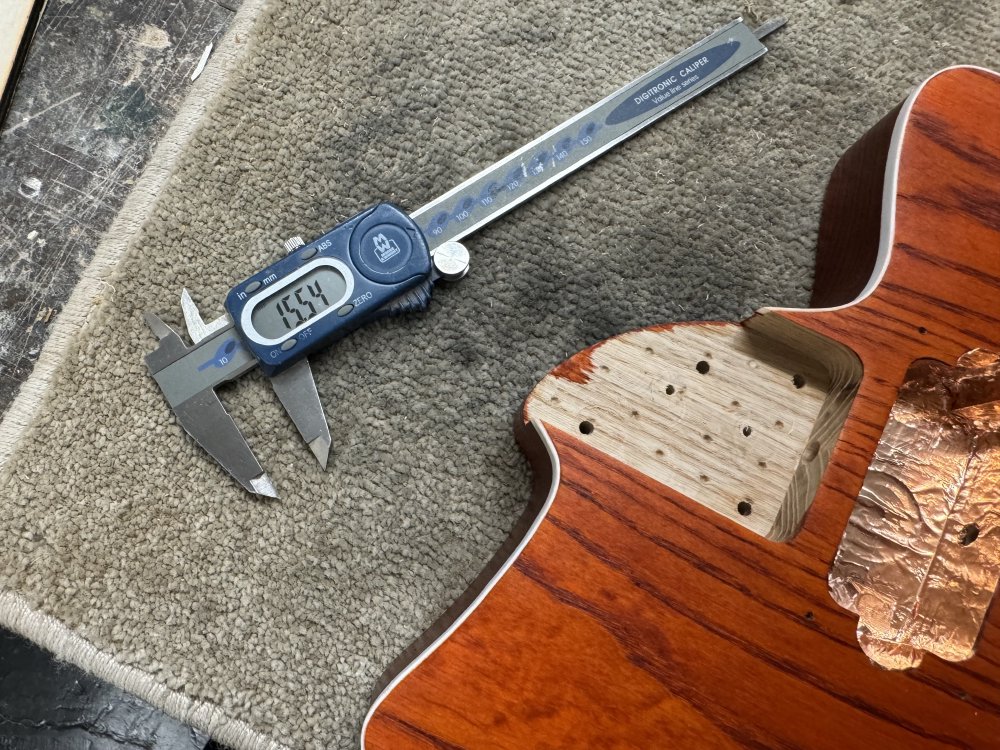
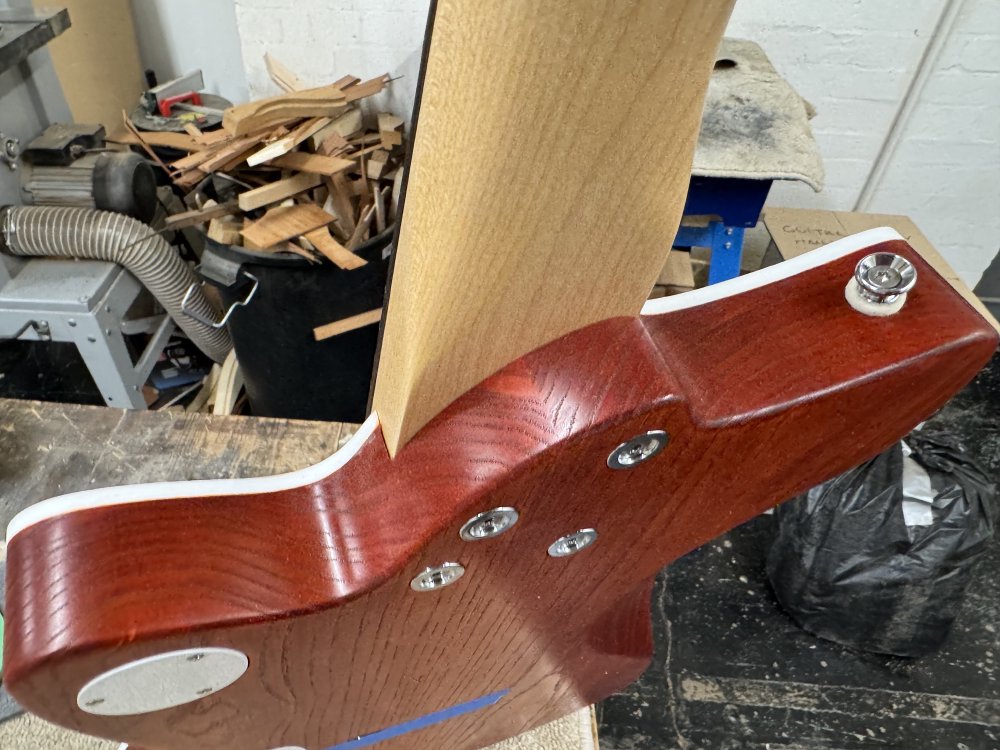
Thus it was out with the palm-router again. To protect the body whilst doing this I used this little plywood jig that I made a long time ago when I built guitars back in the maker-space, and clearly not throwing it away was a wise move :)
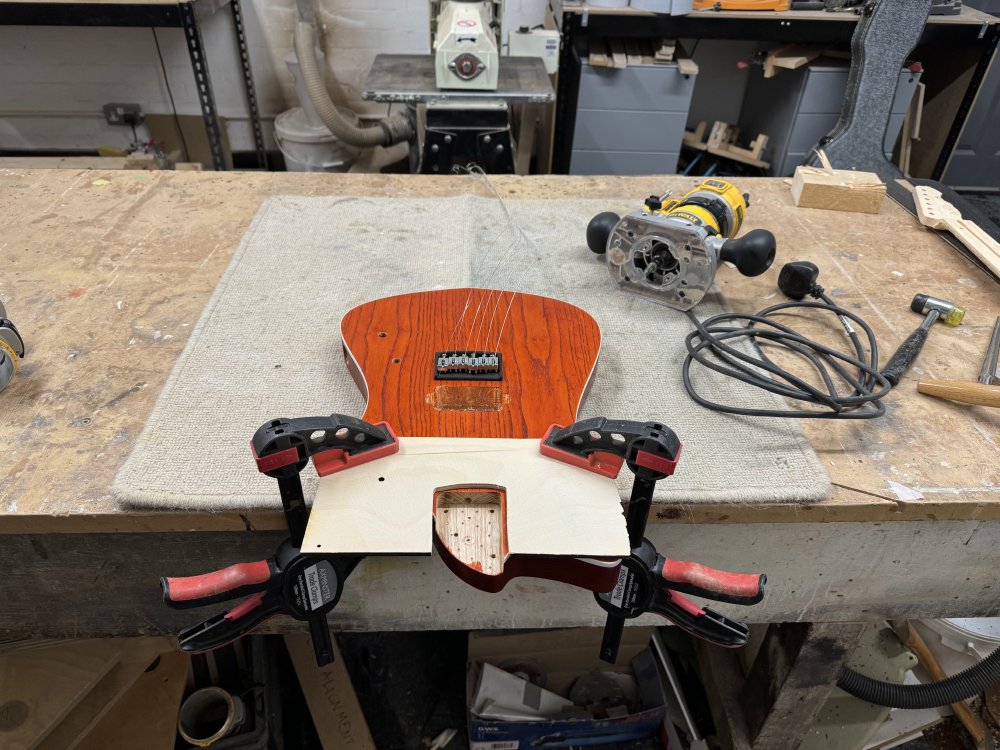
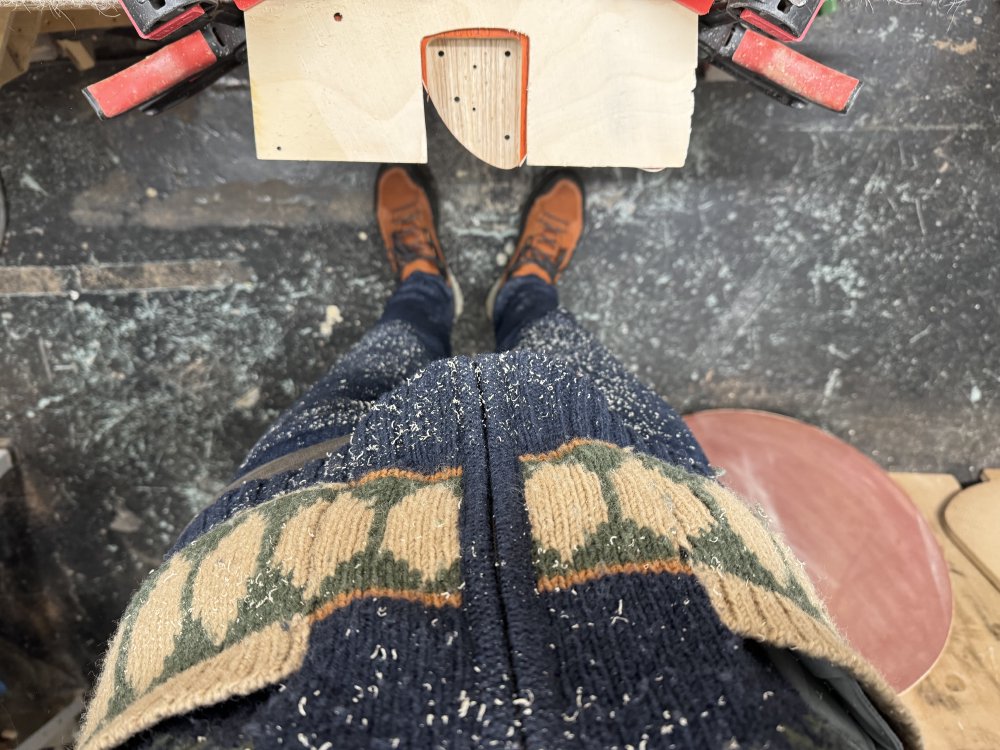
Unlike using a palm-router whilst wearing a woollen top and not donning an apron:
Removing more material at this late stage in a build, particularly with something like a router, is always a little nerve-wracking, but by doing a multiple shallow passes I took another millimetre or so out of the pocket and ended up with a nice clean cut.
Thankfully this one pass was sufficient to remove the main cause of the buzzing strings, and so I resisted the temptation to take another bit out. Whilst this would let me lower the bridge saddles a little more than I have, they’re not crazy high, and as I say, it’d be harder to add back wood if I take out too much.
With the neck height fixed, I found I still had some buzz on the frets at the top end of the neck, and checking them with a fret-rocker tool I found that the first fret was a little lower than the rest, so pressing down on the first fret was causing the strings rattle off the rest of the frets, particularly on the middle two strings. Presumably this was me being a little eager when levelling the frets and letting the sanding bar droop a little as it went off the end of the neck. As much as I hate fret-work, there wasn’t much more it other than to level the rest of the frets to match.
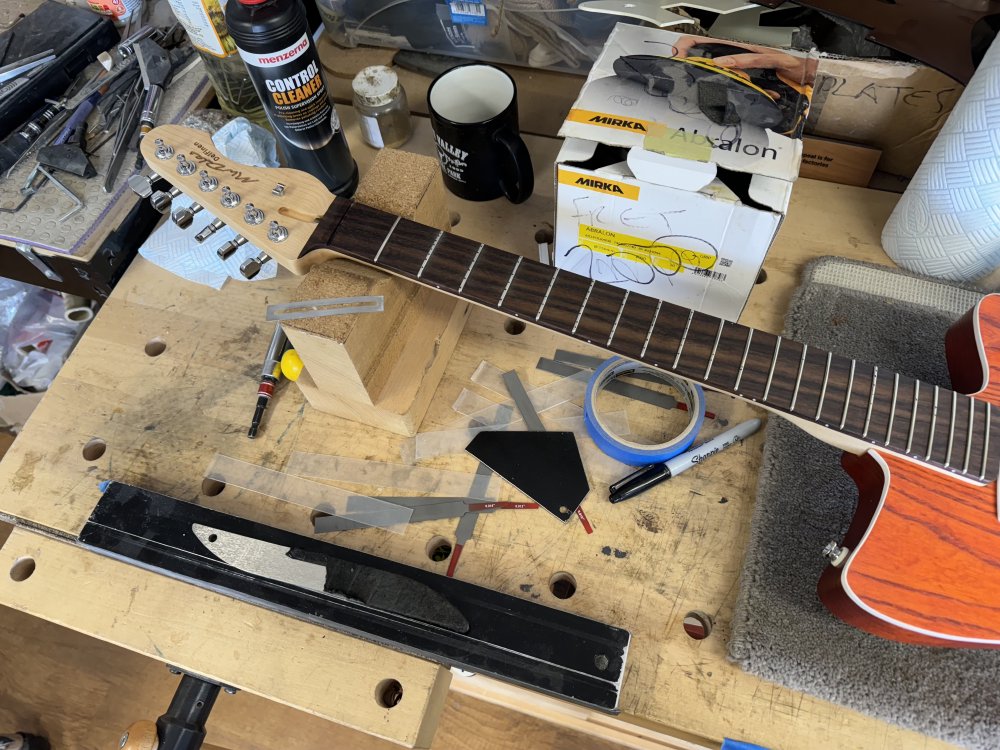
Thankfully, although this is tedious work, I don’t go for super skinny frets, so there was plenty of material to let me level things without it being particularly noticeable.
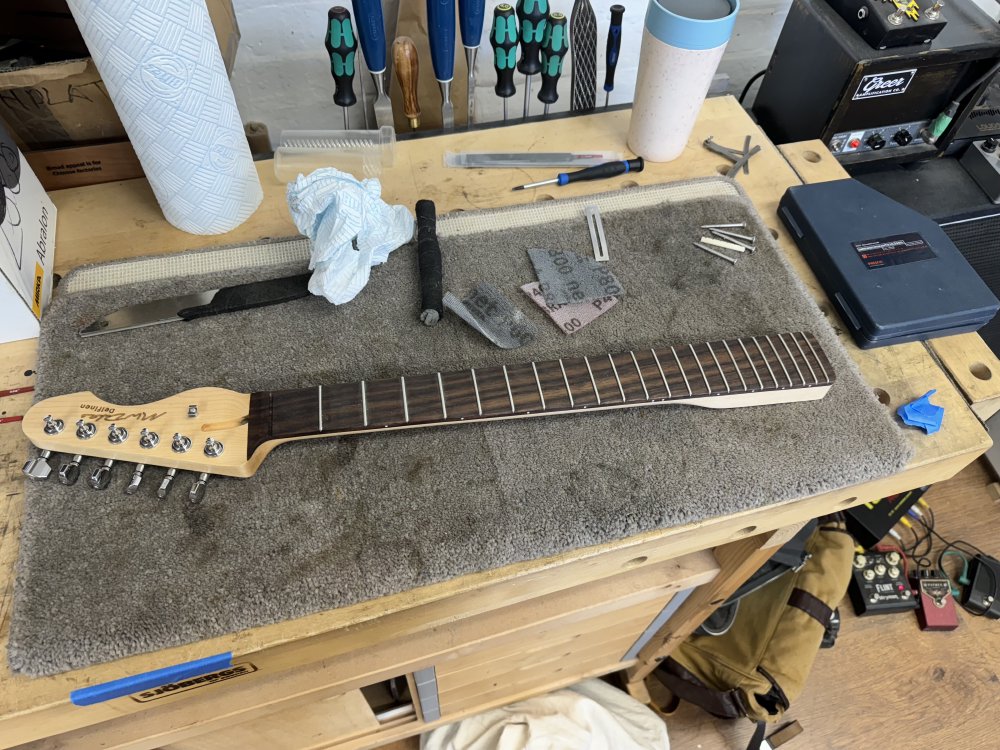
An hour or so later after re-rounding and polishing all the frets we had a neck with all the frets levelled, and the fret buzz was gone. After that I gave the fretboard a clean and re-oiling again to get it looking and feeling good once more.
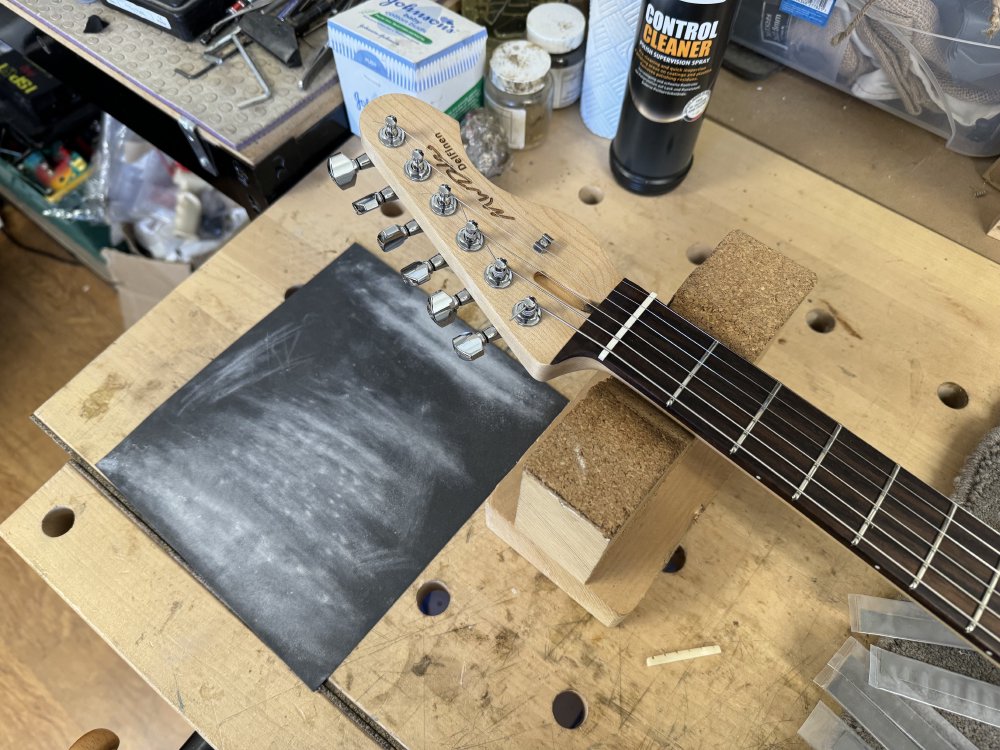
Well, I say gone, but I unfortunately managed to re-introduce it due to being a little over-eager. With the neck set and the frets levelled, I went to cut the nut-slots again to allow for the new fret levels.
And I accidentally over-cut one of the slots, so I had to start over. If you want to know how I cut the slots on a nut, I did a write up over on this post about how I do that. This time I did the same thing I usually do, but just got a it wrong alas. I didn’t have another bone blank, so I switched it over to a graphtech synthetic nut instead. My stockpile of nuts is mixed between the two materials, and I’ve yet to pick one over the other, other than the synthetic nut definitely smells less bad when sanding it down to size. Certainly the more vibrant white of the synthetic material matches the vibe of the guitar better.
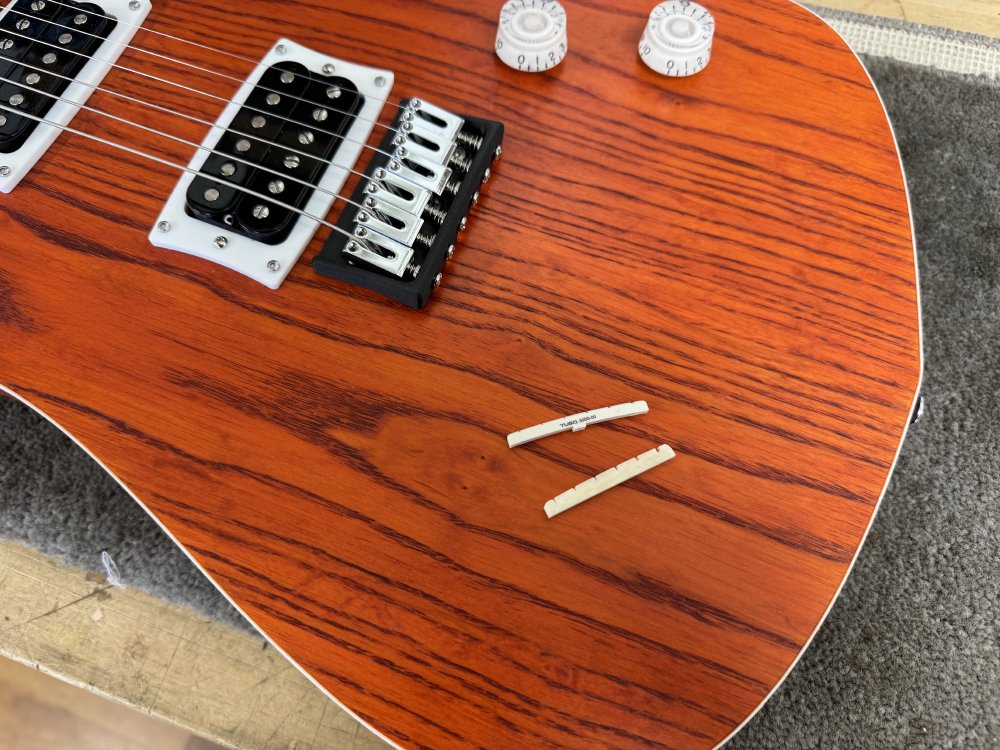
So back to square one on the nut: I had to sand the nut to fit the nut-slot in the neck, and then cut the slots in the nut for the strings. Still, a little while later, and finally I had strings installed, with not buzzing and the action feeling just right. Phew.
You can also see here I finally installed the string-tree also, which is another job that was left to the end.
Electronics
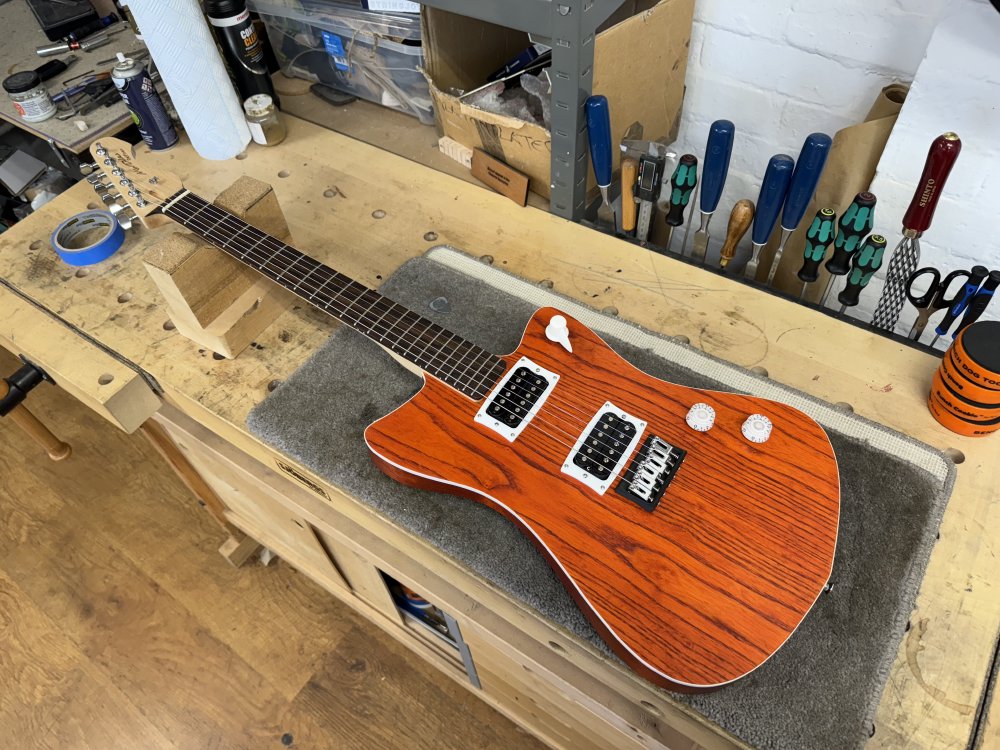
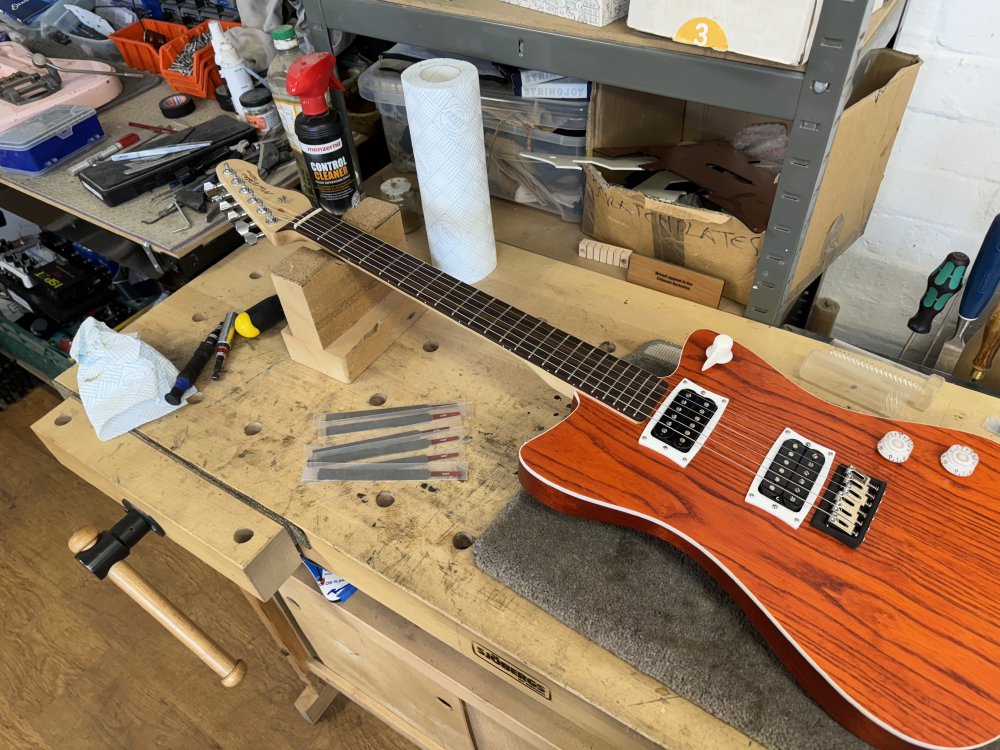
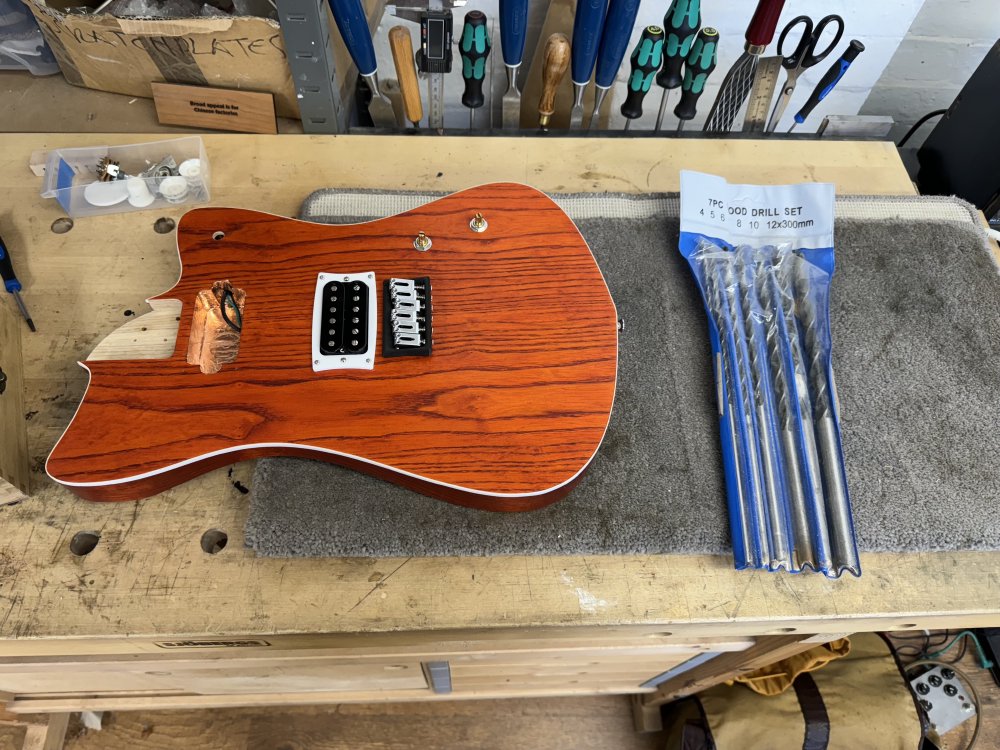
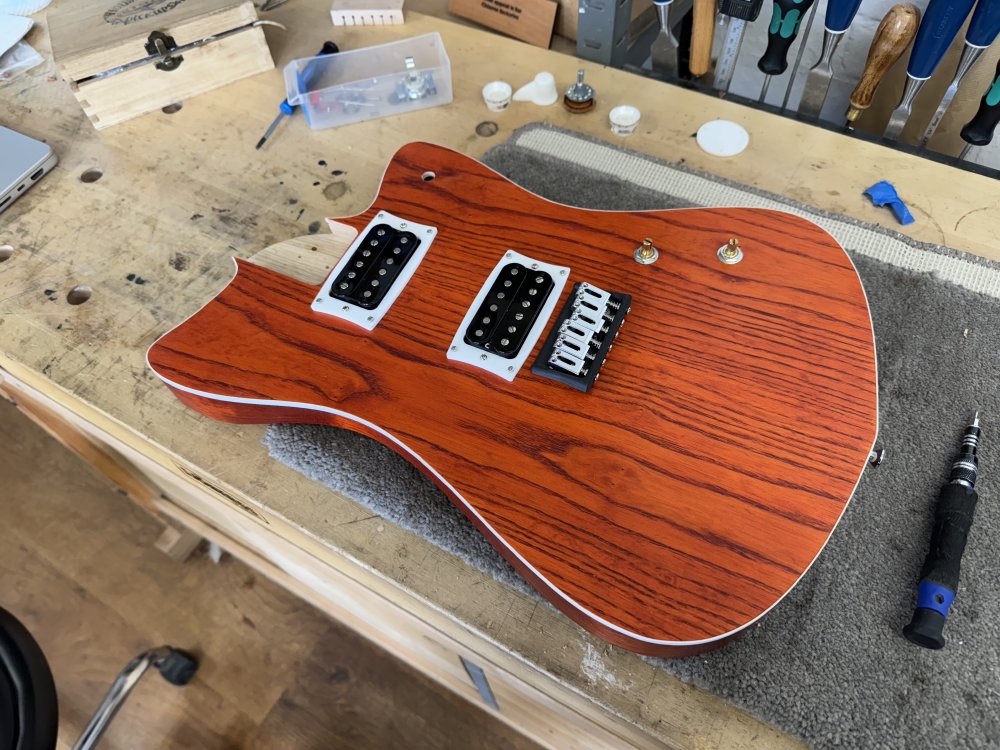
With the string setup done, it was over to the electronics: time to wire up these nice humbuckers made by Matthew over at House of Tone Pickups in Chester. Again, the black and white motif on this guitar is something I really like - the whole design here is a riff of my own daily-player guitar I built back in 2017, just updated for this new model that takes it to the next level with the binding too.
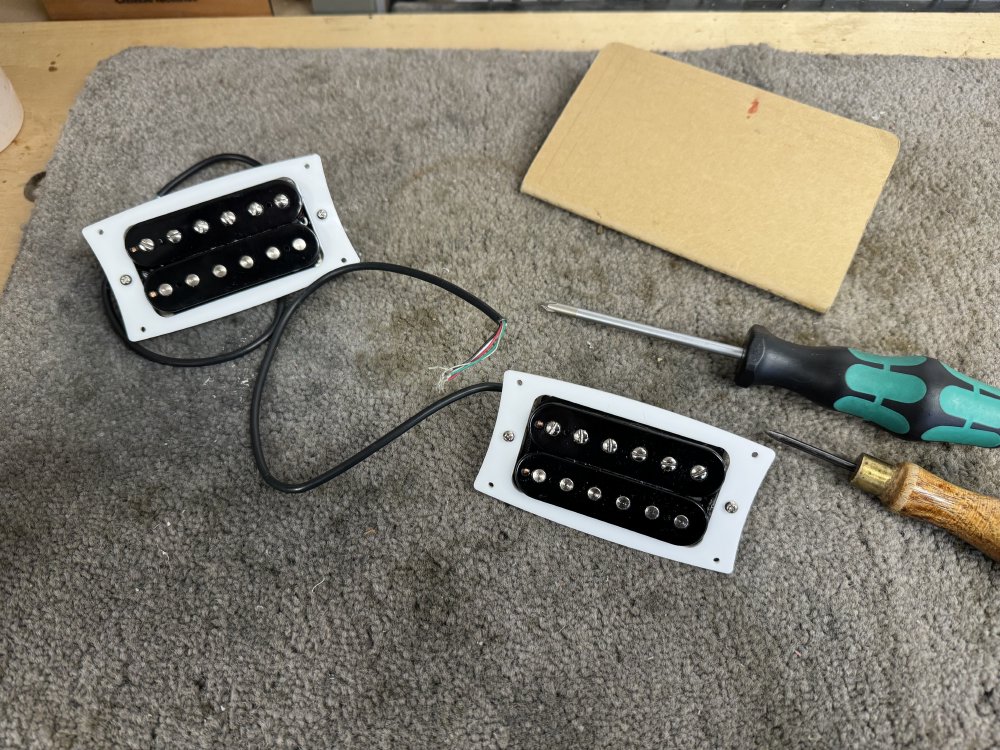
There’s many ways you can wire up even just a two pickup guitar like this, and I opted not to go for any coil splitting, but I did want to add the option of having the pickups in both series and parallel (in addition to just one or the other), and so this meant I was going for a 4 position rotary selector switch.
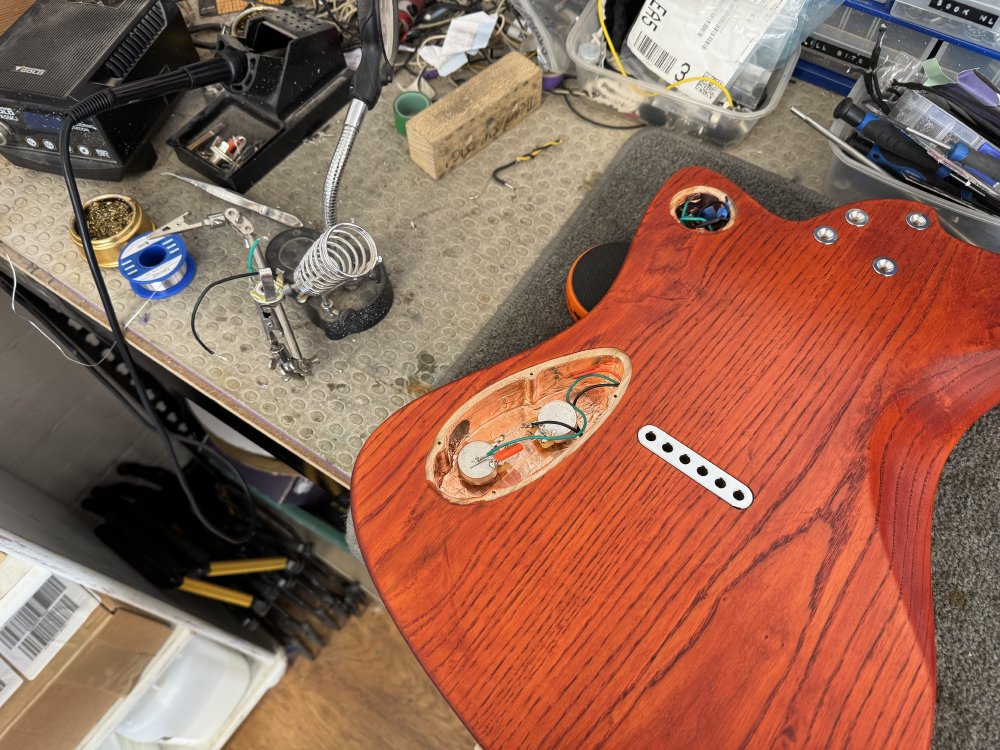
When fitting the pickup I found one area where I could have done a better job on the design of this guitar: I’d not really thought about the fact I’d need to run both pickup wires to the rotary switch before then running the output of that switch down to the main cavity. I suspect originally I was going to just put a three way toggle in there and route all the wires down to the main cavity, which is what I did on the pre-cursor guitar to this one, The Corvette. Whatever past Michael thought, he certainly didn’t make the hole going from the top pickup cavity to the rotary switch cavity wide enough, so out came the big drill bits again!
The swamp-ash on this guitar is really quite dense and thus hard to work with, and so enlarging it with these drill-bits wasn’t an easy task, but in the end I got everything home. Still, it’s a bit of an oversight in the layout of this guitar design: next time I make one of these I need to plan ahead a bit better.
This is where building guitar bodies with a separate cap (top layer of wood) glued on really pays off, as you can make nice wide wiring channels under the cap, rather than messing around with these long drill bits. The irony is that binding is often used to hide the fact you used a cap, but here I spent an age fighting with the binding and not getting the benefit it would bring of letting me use a cap on the body 🤦🏼
With the pickups in, it was time to flip the body over and solder things up.
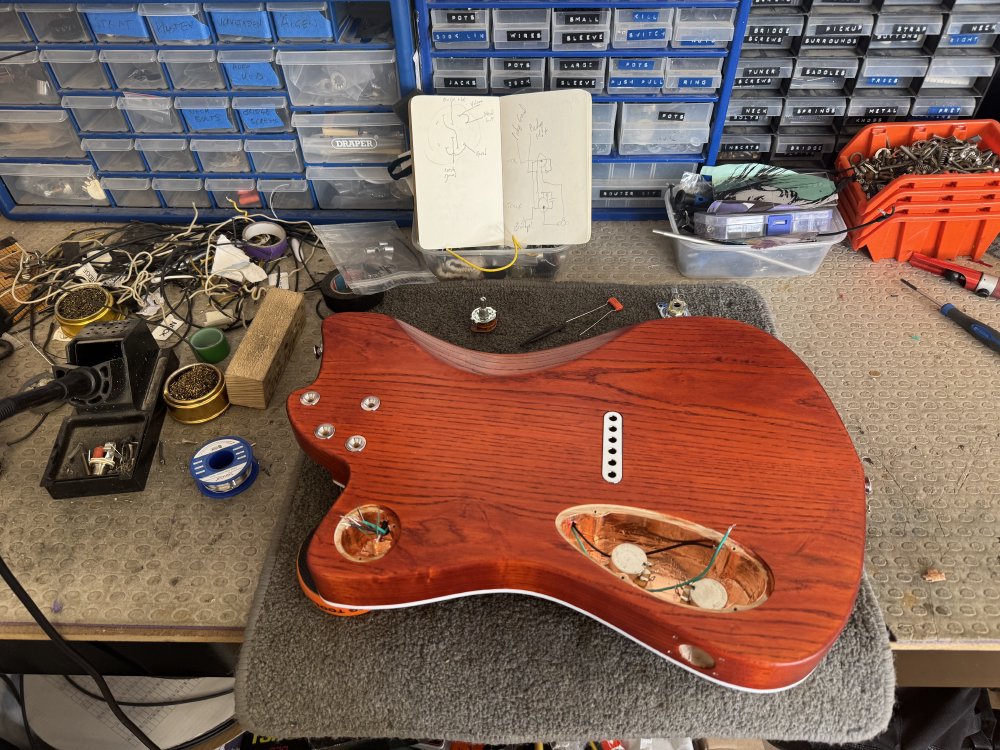
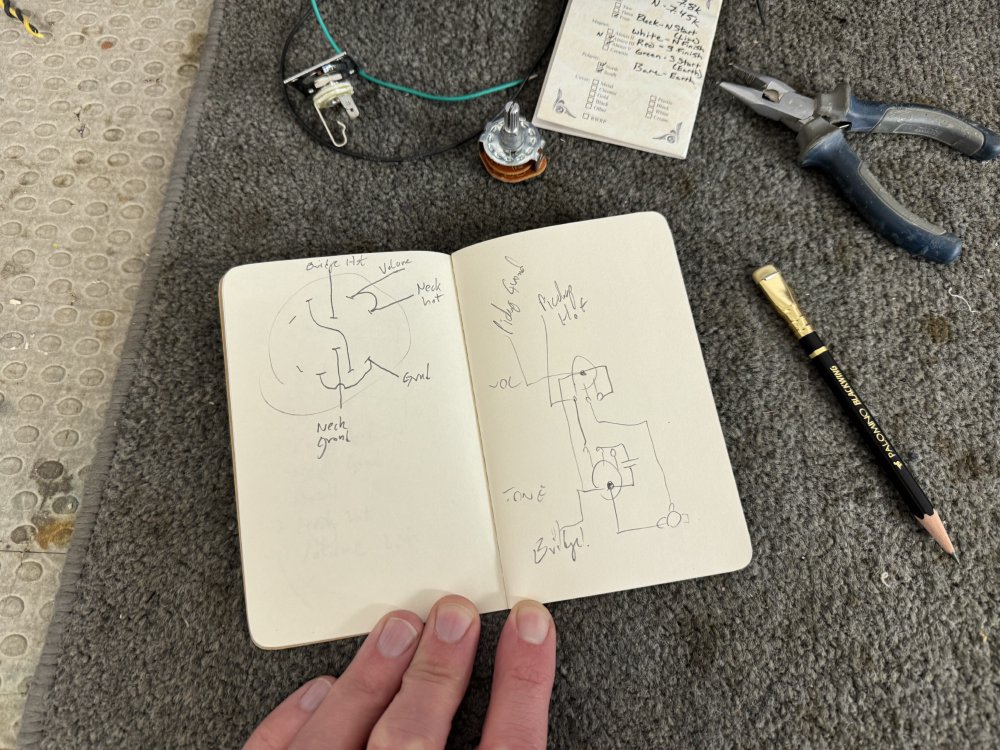
This took a couple of goes for me to get right. I’ve used this rotary selector design a couple of times before, but both of those builds were many years ago now, and I’d forgotten that this circuit relies on a trick in one the positions, whereby one pickup is left floating rather than grounded out of the circuit, and I just defaulted to grounding everything I could out of habit. When I realised something was amiss after testing it out, I had to go back to first principles and map it all out in my notebook which helped me realise my mistake.
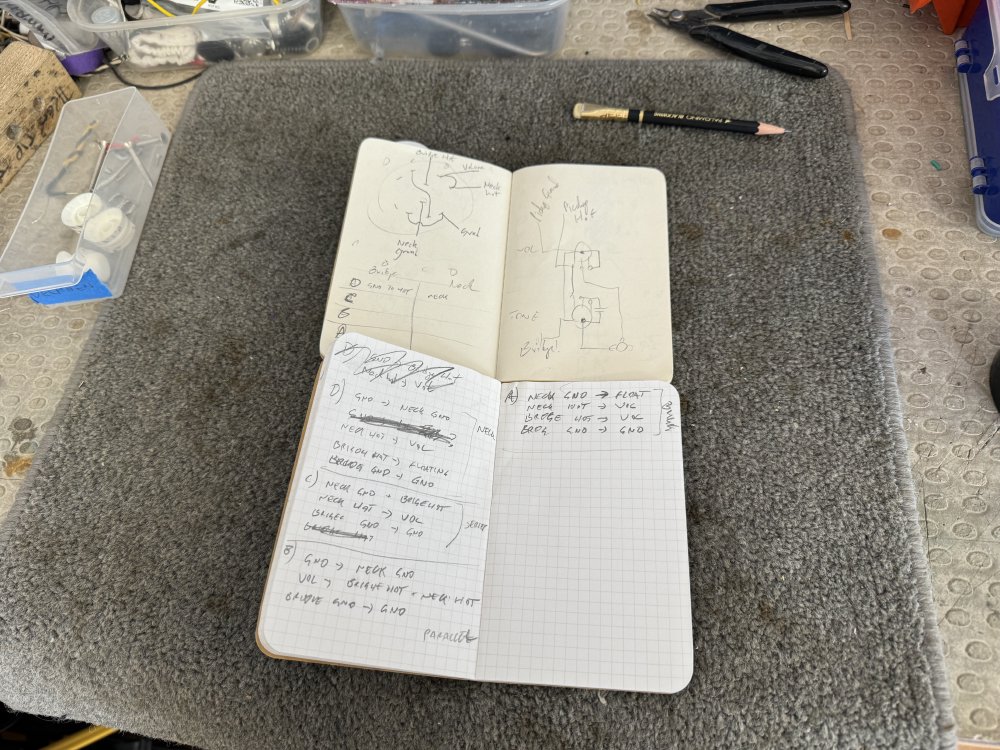
To think I did two years of electronics at university… With that debugging done, everything else after that went smoothly (ignoring the bit where I wired the jack backwards of course, but you know, let’s just pretend I’m not that silly).
Then with the electronics all done, that must mean…
It’s a wrap
Indeed, Delfinen is complete, and here’s some proof! First a little walk through video:
And then some terrible brit pop renditions (remembering my workshop PPE, as our workshop amp is a gig level amp):
And some botched jazz also:
Not my best playing, but if truth be told, I’m a little rusty as I’ve not been very inspired to actually play guitar much of late. I think I need to find a group to play with again, as I’ve got bored listening to myself play. A topic for another weeknotes there.
But for now I can be pleased that Delfinen has made it to the end, and I made real another guitar design that is something of my own creation.