Catching up in the shop
Published 1 Aug 2021
There’s a quote I’ve always liked, which I picked up as a young programmer reading a series of articles by Michael Abrash, one of the developers on the original Doom and Quake video games and something of an idol to me at the time:
After you finish the first 90% of a project, you have to finish the other 90%.
He’s in fact quoting one of his managers, basically saying that finishing something properly takes a lot longer than you think. A simple saying, but one that I’ve seen come true repeatedly in the software world, and now one that’s been quite applicable to the last couple of weeks in the workshop as I try to wrap up the Corvette build.
Just before we get into all that: I got several bits of useful feedback from last week’s notes on the new guitar design, so thank you to everyone who got in touch! Some useful notes on bits of the design and on getting large 3D prints made, all of which are much appreciated.
When I last wrote about the Corvette build I’d just decided to make the pickup mounting rings and the covers for the back of the guitar out of the same wood as the fretboard, purpleheart. I had left over a second bit of fretboard material from an aborted earlier attempt at making the neck, which I thicknessed down to size and then introduced to the laser-cutter over at Makespace:
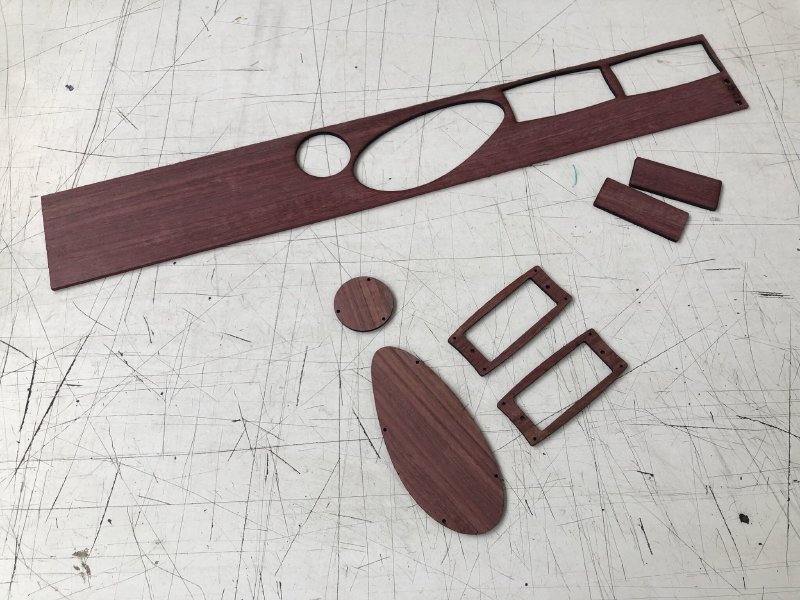
These needed a little tweaking afterwards to account for where the body has diverged from the original CAD model, but the the rear covers both fit nicely now, and I’m pleased with how the grain aligns on both of the covers with that of the body.
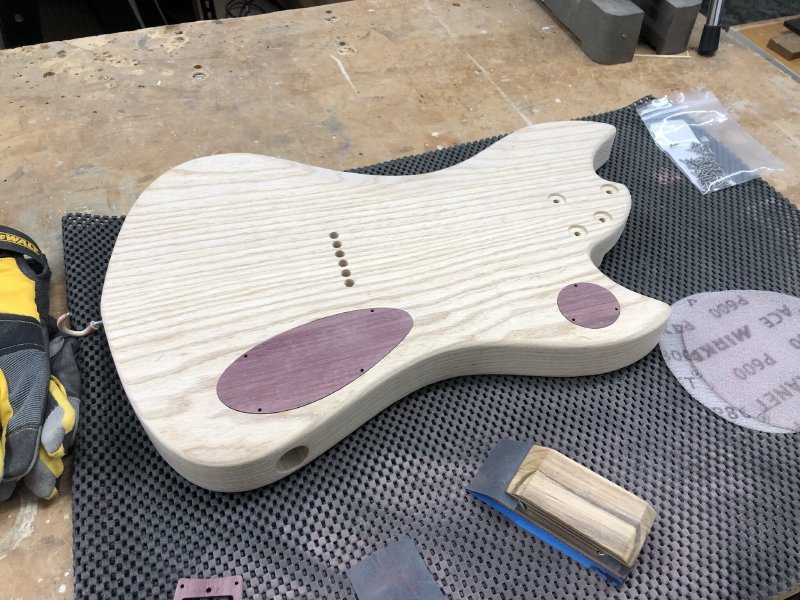
The one thing I would change if I was starting this all again would be to leave in some more wood around the points where the screws need to be on the body, as it’s all a bit close for comfort in terms of support material for the screws:
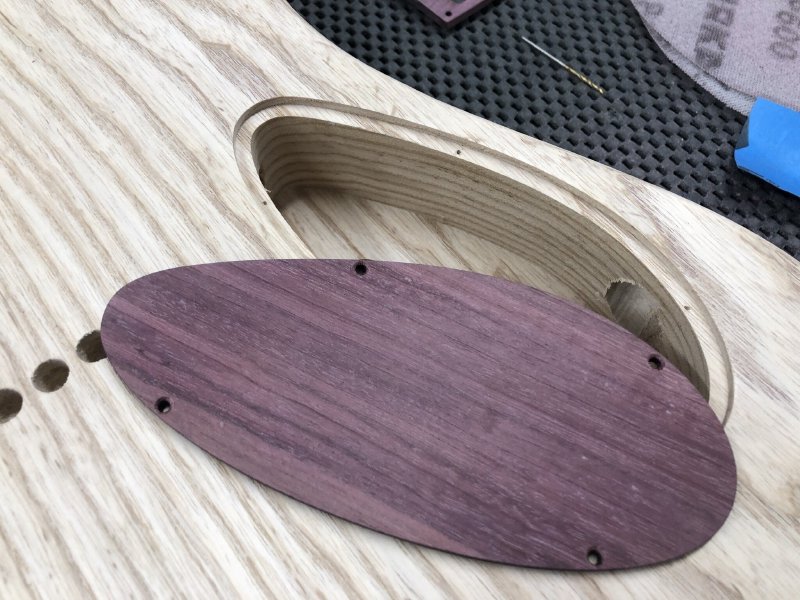
I suspect it’ll be okay, but I’d definitely create some more obvious support around those points next time.
One other thing to note with the purpleheart is that where I cut the wood on the end-grain it was really very difficult to remove the burning marks along the edge. Purpleheart doesn’t photo well in the artificial light of the workshop, so I don’t have any neat pictures, but just to say it took a long time to get the narrow edges of the pickup rings clean, and I suspect that the time lost to careful sanding more than made up for the time saved by using the laser-cutter versus using a CNC router.
With the oil going on the parts they look amazing in person, but again the photos seem to fail totally to do them justice:
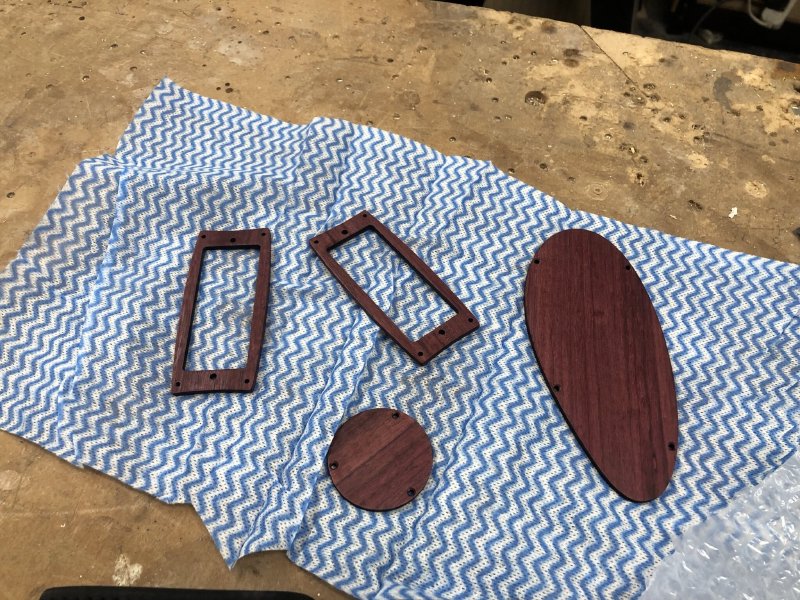
In person they’re almost a reddish-purple you’d get in a raw beetroot when you cut it open. Despite my reservations on using wood for these parts I’m really pleased with how things have turned out.
At the end of the last workshop notes the body and the neck had been sanded to a good finish (aka 2000 grit :), so when I next went in I got to applying oil to both of them too:
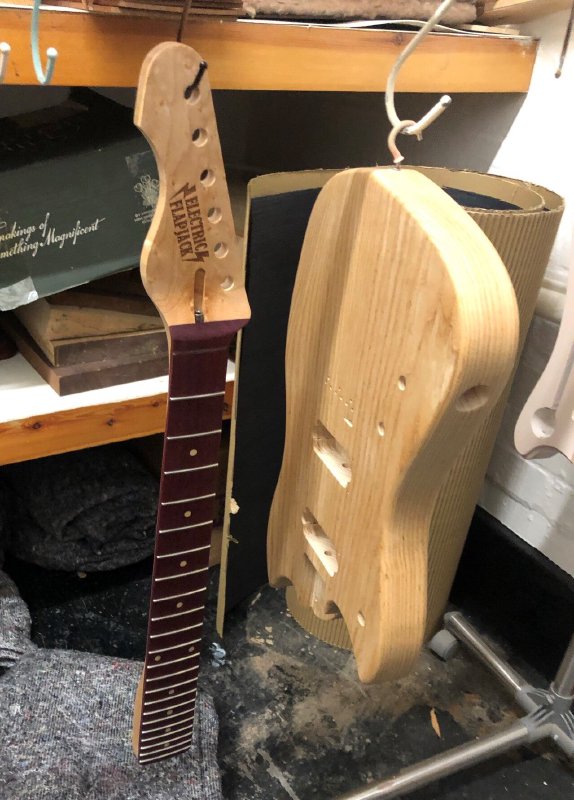
There’s nothing to say about the body, which went through the process well, but the neck has been anything but plain sailing. Applying the first coat of oil immediately revealed two issues that I’d missed in the sanding stages.
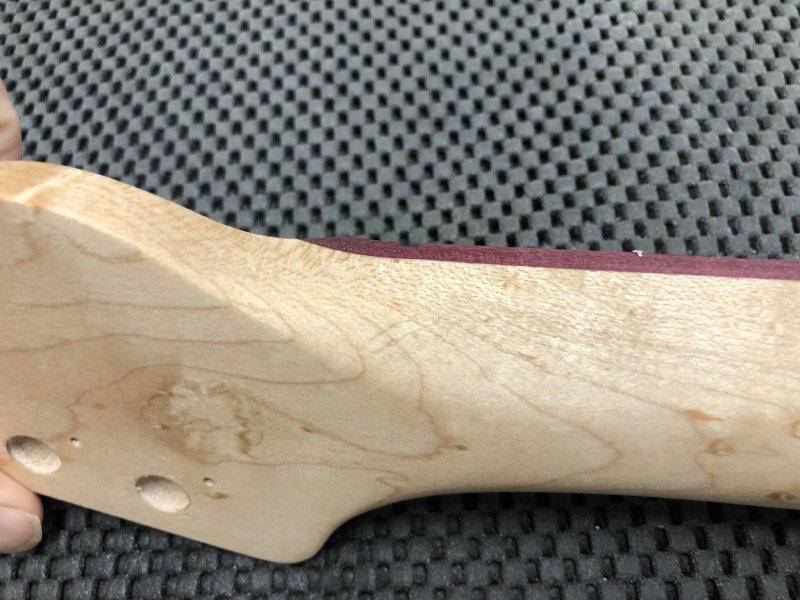
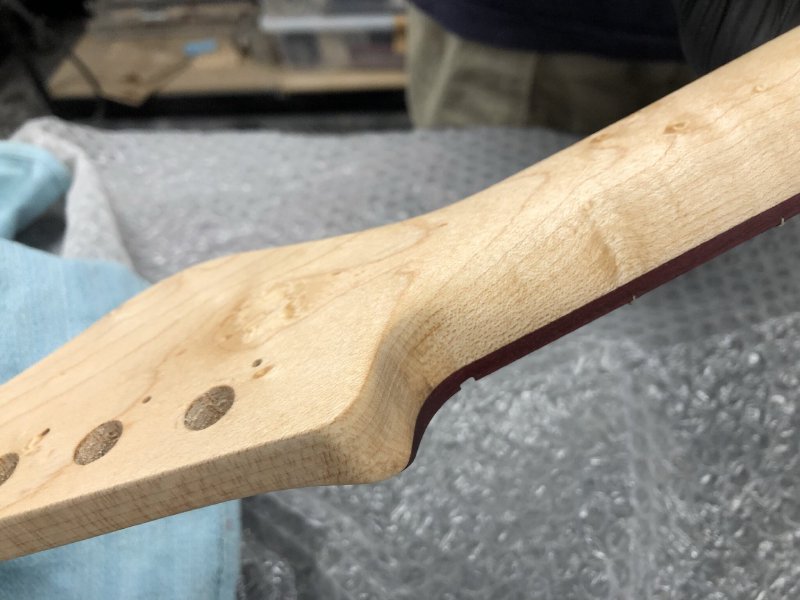
First up, was a fairly simple issue: I’d missed a couple of tool marks on the neck around the headstock transition, one small patch on each side. Despite sanding the neck to a fine finish twice (you do it once, wet it to get the grain to stand up, then repeat), I’d missed these in the workshop light:
Thankfully, for things like this it’s fairly easy to fix when oiling, as re-applying oil to patched areas will blend quite well (a shout out to my workshop mentor Graeme Durant from back in the Makespace days for teaching me this). So I simply sanded back the impacted area, made sure to sand out the tool marks this time, and then re-sanded back up to 2000 grit for a fine finish.
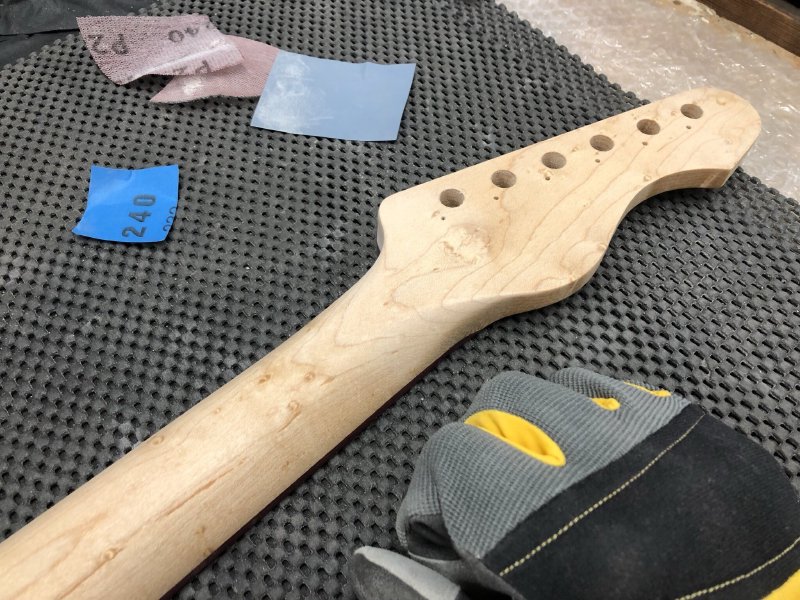
This is slightly more tedious than it sounds, as you do need to get a nice clean transition between the first coat of oil already there and the repaired area, and it’s really easy to scratch that first coat with the sandpaper, which then means you need to buff some more, etc. But in the end all was well, and after another coat of oil the headstock transition area was looking good.
Note I’m wearing a glove on my right hand in one of the pictures above, which might seem excessive PPE for sanding, but I have long fingernails on my right hand to help with playing guitar fingerstyle, and I have to wear a glove to stop me adding additional scratches as I try to remove them (says the bitter voice of past experience :).
The second issue I found was much more troublesome and tedious to make right, which was how the fretboard reacted to the oil:
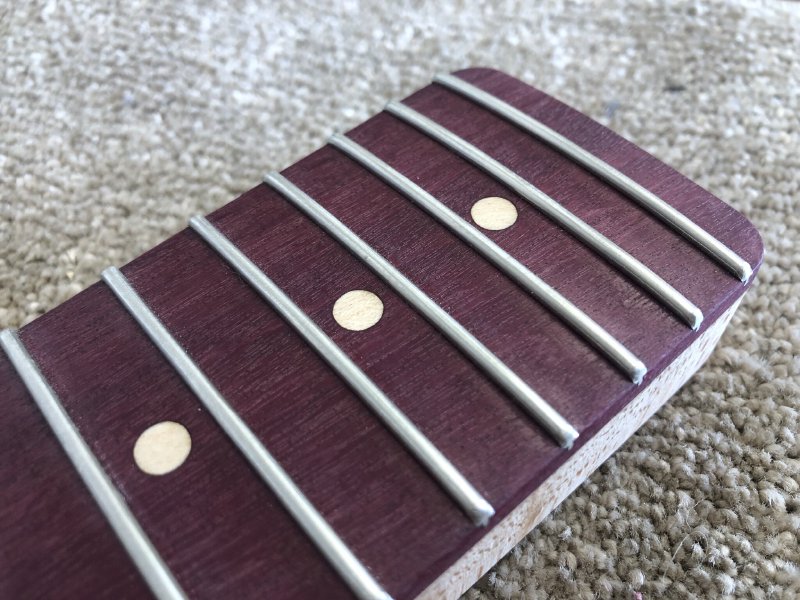
It’s not really clear from that picture (my new catchphrase), however at certain angles of light it was very obvious that the oil looked shiny around the fret for a few millimetres before being more mat in the middle, and did so in a blotchy fashion rather than in any obvious graduation. I really wasn’t sure what I’d done wrong, so I turned to workshop-mate Jamie, who has a lot of experience with finishing guitars as an acoustic builder, and he immediately recognized the issue, asking “did you glue these frets in?”.
Now, normally I try to avoid using glue on the frets, but as I wrote up last summer, with this fretboard I had been forced to change my technique. Purpleheart is such a strong wood that my normal approach of cutting the fret slot slightly narrower than the fret tang and letting the wood compress around the fret to hold it didn’t work - there was just no give in the wood, so I could get the fret into the slot. So in the end I just had to cut the slots slightly wider (up from 0.3mm to 0.5mm) and then use glue to ensure the frets remained in place once home. And whilst I thought I’d made sure to wipe up all the glue, there was still an invisible layer around each fret which was preventing the oil from being properly absorbed into the wood. I had an invisible nemesis!
Thankfully, in addition to knowing the cause, Jamie also had the solution: a razor blade.
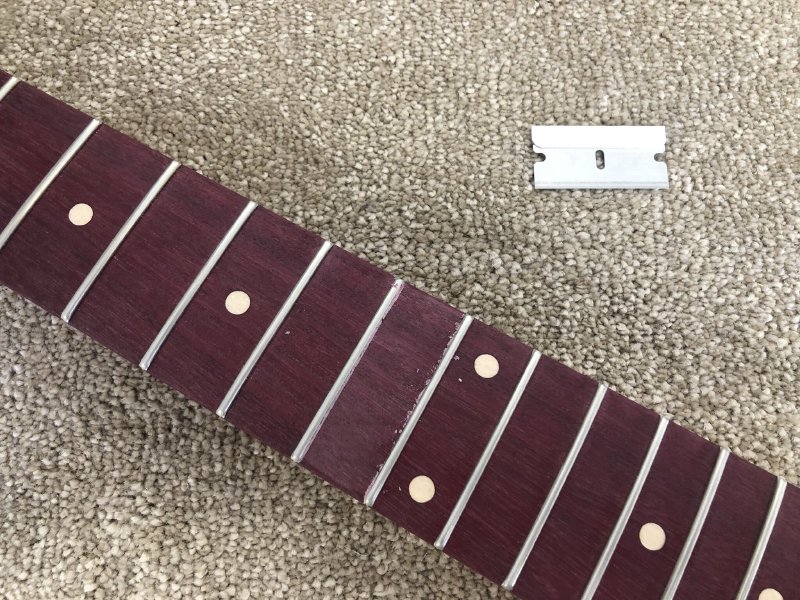
Rather than trying to carefully sand it all clean, which is what I’d have done unprompted, Jamie taught me to use the razor as a small scraper to just clear both the first layer of oil I’d applied and the glue that was left from when the frets were inserted. I used water give me a vague guide as to when I’d got all the oil: just lightly dampening the wood and watching for areas that didn’t absorb as well. The whole process took a couple of hours and gave me a blister from holding the top of the blade tightly for so long, but the results were much better than I’d have got had I tried sanding.
In fact, this is just a great general technique for smoothing fretboards once the frets are there in, and something I’ll start doing as a matter of course from now on. When you level and round the frets over you inevitably leave some small marks on the fretboard than need cleared up, and normally I try to sand them but it’s very hard to get sandpaper between the more narrow frets and right up to the fret itself, but the razor blade approach makes this much easier to do.
So, after all that is the fretboard perfect now? No, it’s not. This is frustrating, but I think to get it perfect I’d need to have done a better job at clearing the glue at the time when it was just added, rather than doing so now. So if I look at the right angle I can still see a small delineation between the area next to the frets and the rest of the fretboard, as this picture taken after I started to re-oil it shows:
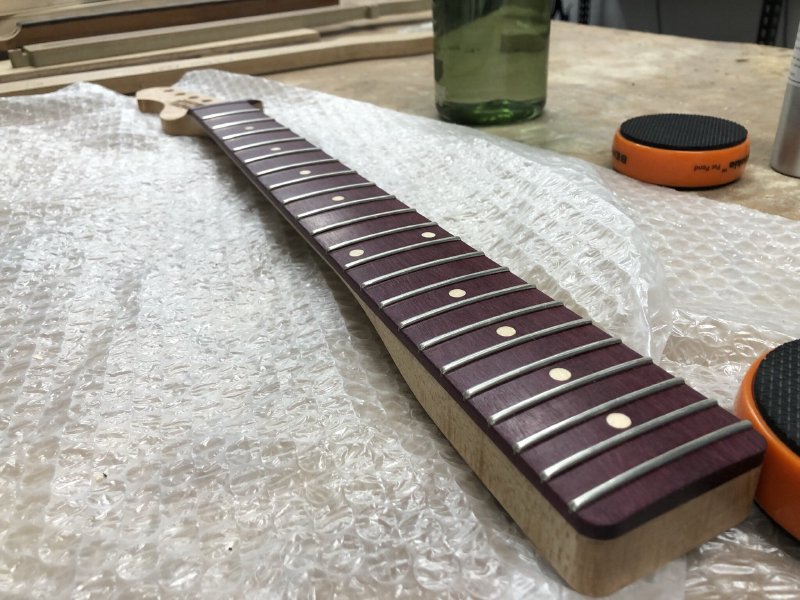
But it’s much more controlled than it was before, and in normal viewing, as I add successive coats, it’s certainly not so obvious unless you go looking for it, so I can live with it. To go back to the opening of the same article I was quoting from at the opening of this article:
If you want to be a game programmer, or for that matter any sort of programmer at all, here’s the secret to success in just two words: Ship it.
I’d broaden that statement out from programmer to any sort of maker or builder of things - shipping something is always better than honing something in the pursuit of getting things to be ideal.
Yes, the fact I’ve not totally managed to remove evidence of my earlier folly annoys me, but when working with wood at some point you need to be pragmatic as to what you can achieve in a practical time, learn from the experience and move on, and trust that the recipient of the guitar will be much more interested in what they can do with their new instrument creatively than looking to nitpick every tiny flaw, as such flaws will always be there somewhere to you as the builder.
Another way I like to look at it: you’re making an instrument to be played, not a piece of wall art. All the time you try to get it more like a piece of art is more time you’re not letting it be an instrument.
Are there things I look back at earlier builds and wish I’d actually worked on them a bit longer? Definitely, I have my regrets. But if I hadn’t shipped them then I’d never have got as far as I had done, so it’s all a balancing act.
But given all the delays I’ve had with builds for the last 18 months, I’m convinced it’s time for this one to get to the ship it stage.
Now both the Corvette’s neck and body are oiled, and I’m just waiting for the last hardware parts I need for it to ship in before I can assemble it. Unfortunately between all the workshop upheaval in the last year I’ve lost track of some of the smaller parts I thought I had in stock, so I didn’t get to start assembling it this last week as I’d hoped alas. Instead I spent a few hours going through the bits I do have, setting up my parts drawers, and generally (and literally) taking stock.
But, I did manage to add the hidden sparkle to the Covette, by adding the copper shielding to the body cavities:

and:
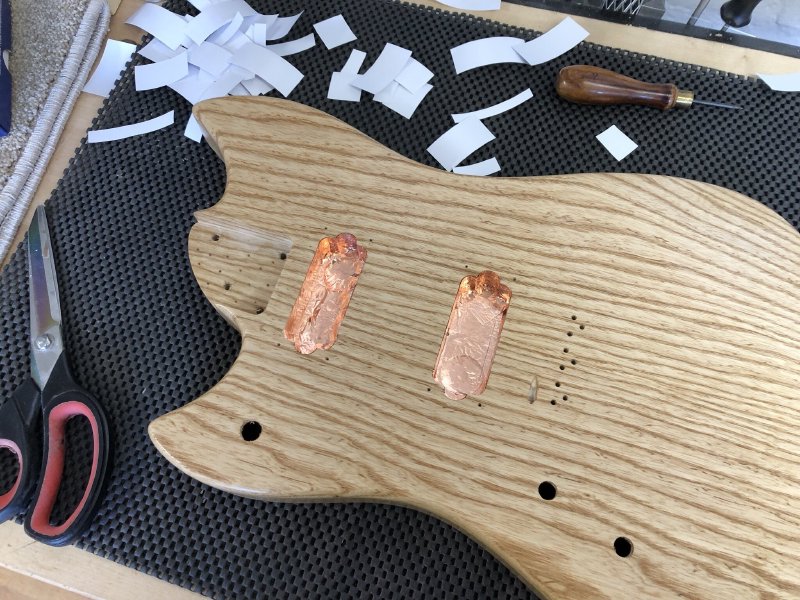
The hidden inner beauty of any guitar build. Touch wood, by the time I come to write my next set of notes this guitar should be completed.
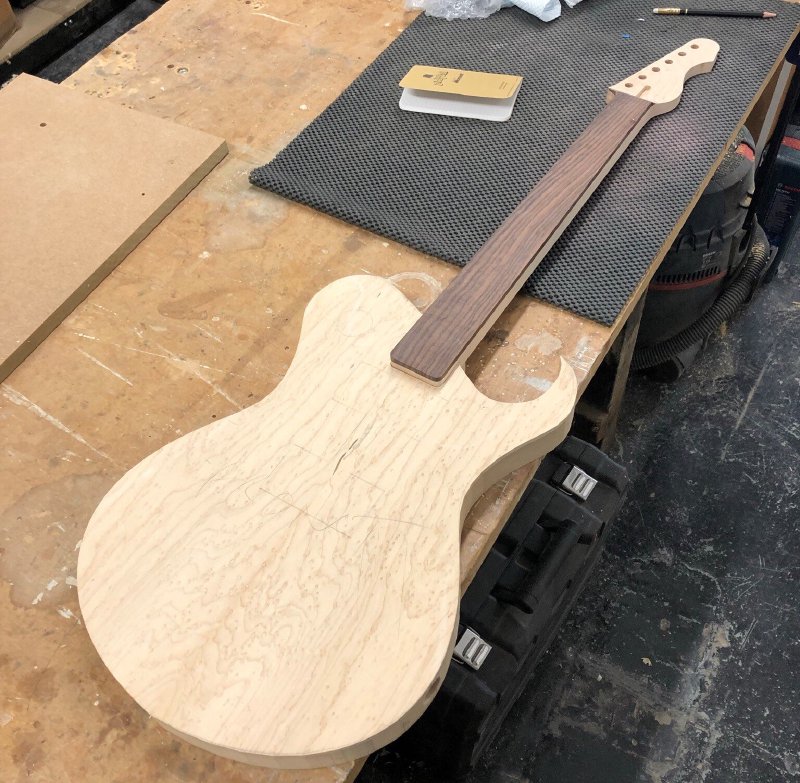
I do have another in-progress guitar that I started last year, which was meant to just be a way for me to test the new workshop and some new techniques:
I decided to do a bit of the later, trying out new techniques, by testing out the fret slot cutting jig that workshop-mate Matt has and kindly let me use:
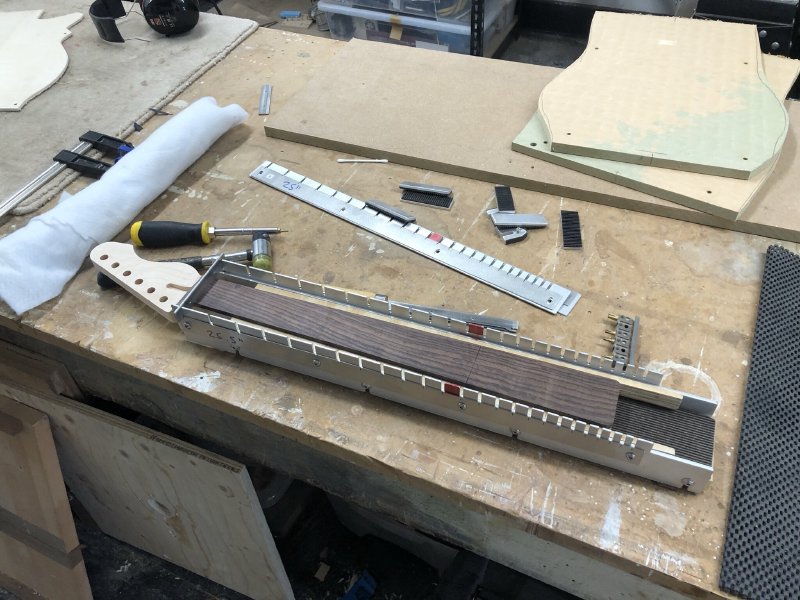
Normally I mark up the frets using a laser-cutter before hand cutting them, and I’m pretty happy with this technique, but it’s always good to try different things to see if they’re better or have anything you can learn from them.
The technique with this sort of jig is basically you line your neck up in the jig, having marked up the 0th and 12th frets. You then cut those two carefully, and insert in each a sort of locking blade that then ensures that when you cut the rest of the lots the neck doesn’t move, so you can be a bit quick with all the other slots.
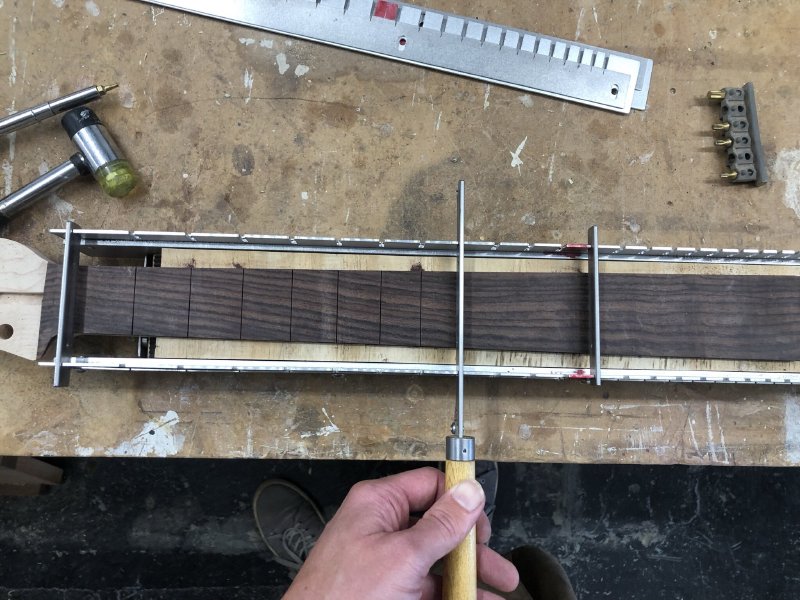
The jig comes with a set of different side rails to let you cut various common scale lengths, and a saw that is designed to fit within the slots near perfectly, though there is a little movement in there, but nothing that I think would impact a guitar give that fret positions are not perfectly intonated, just approximately so (you need to go the True Temperament route for that sort of thing).
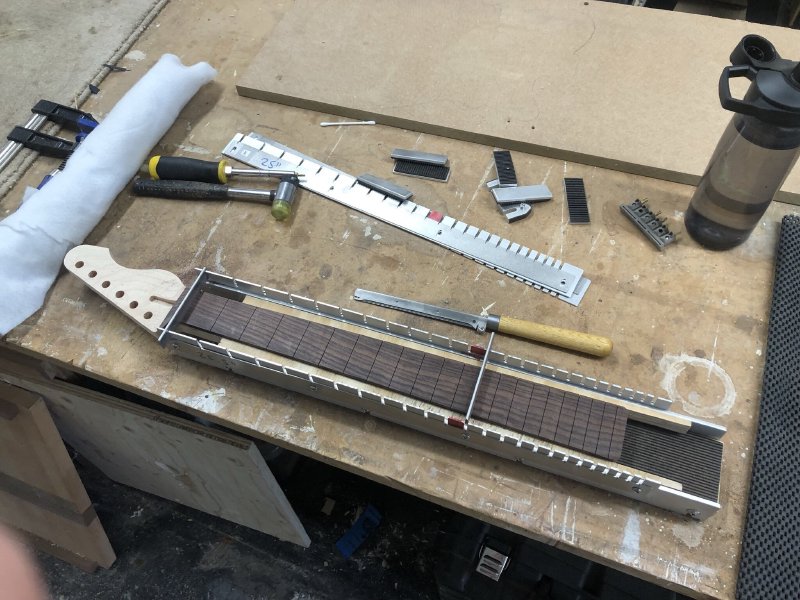
Overall, I felt this was an okay process, but given I want to put my necks into the laser-cutter anyway, to put the logo on the headstock and to mark where the inlays are, I suspect it’s not a vast difference in terms of time/effort for me versus my usual process. But if I didn’t have the luxury of that, then I’d definitely want to be using something like this.
In meta-workshop tasks, I’ve bought a dust extractor for my bandsaw so I can do my bit for keeping the new workshop’s atmosphere as healthy as it can be. I got the same one that is already set up on the far side of the workshop for a bunch of sanders, thicknessers etc. which comes from Rutlands. I look forward to installing that in the coming week and reporting back on how good it is/isn’t.
That’s about it for this catch-up. Oiling time is slow progress time on any build, as you basically touch the guitar once a day for a few minutes and then need to leave it to dry. Hopefully we get to assemble this guitar soon (and get it to the owner) and perhaps even start thinking about how we’re going to begin building the new guitar design in terms of workshop activity planning.
Until then, keep safe and well!